For anyone still using endstop switches...
-
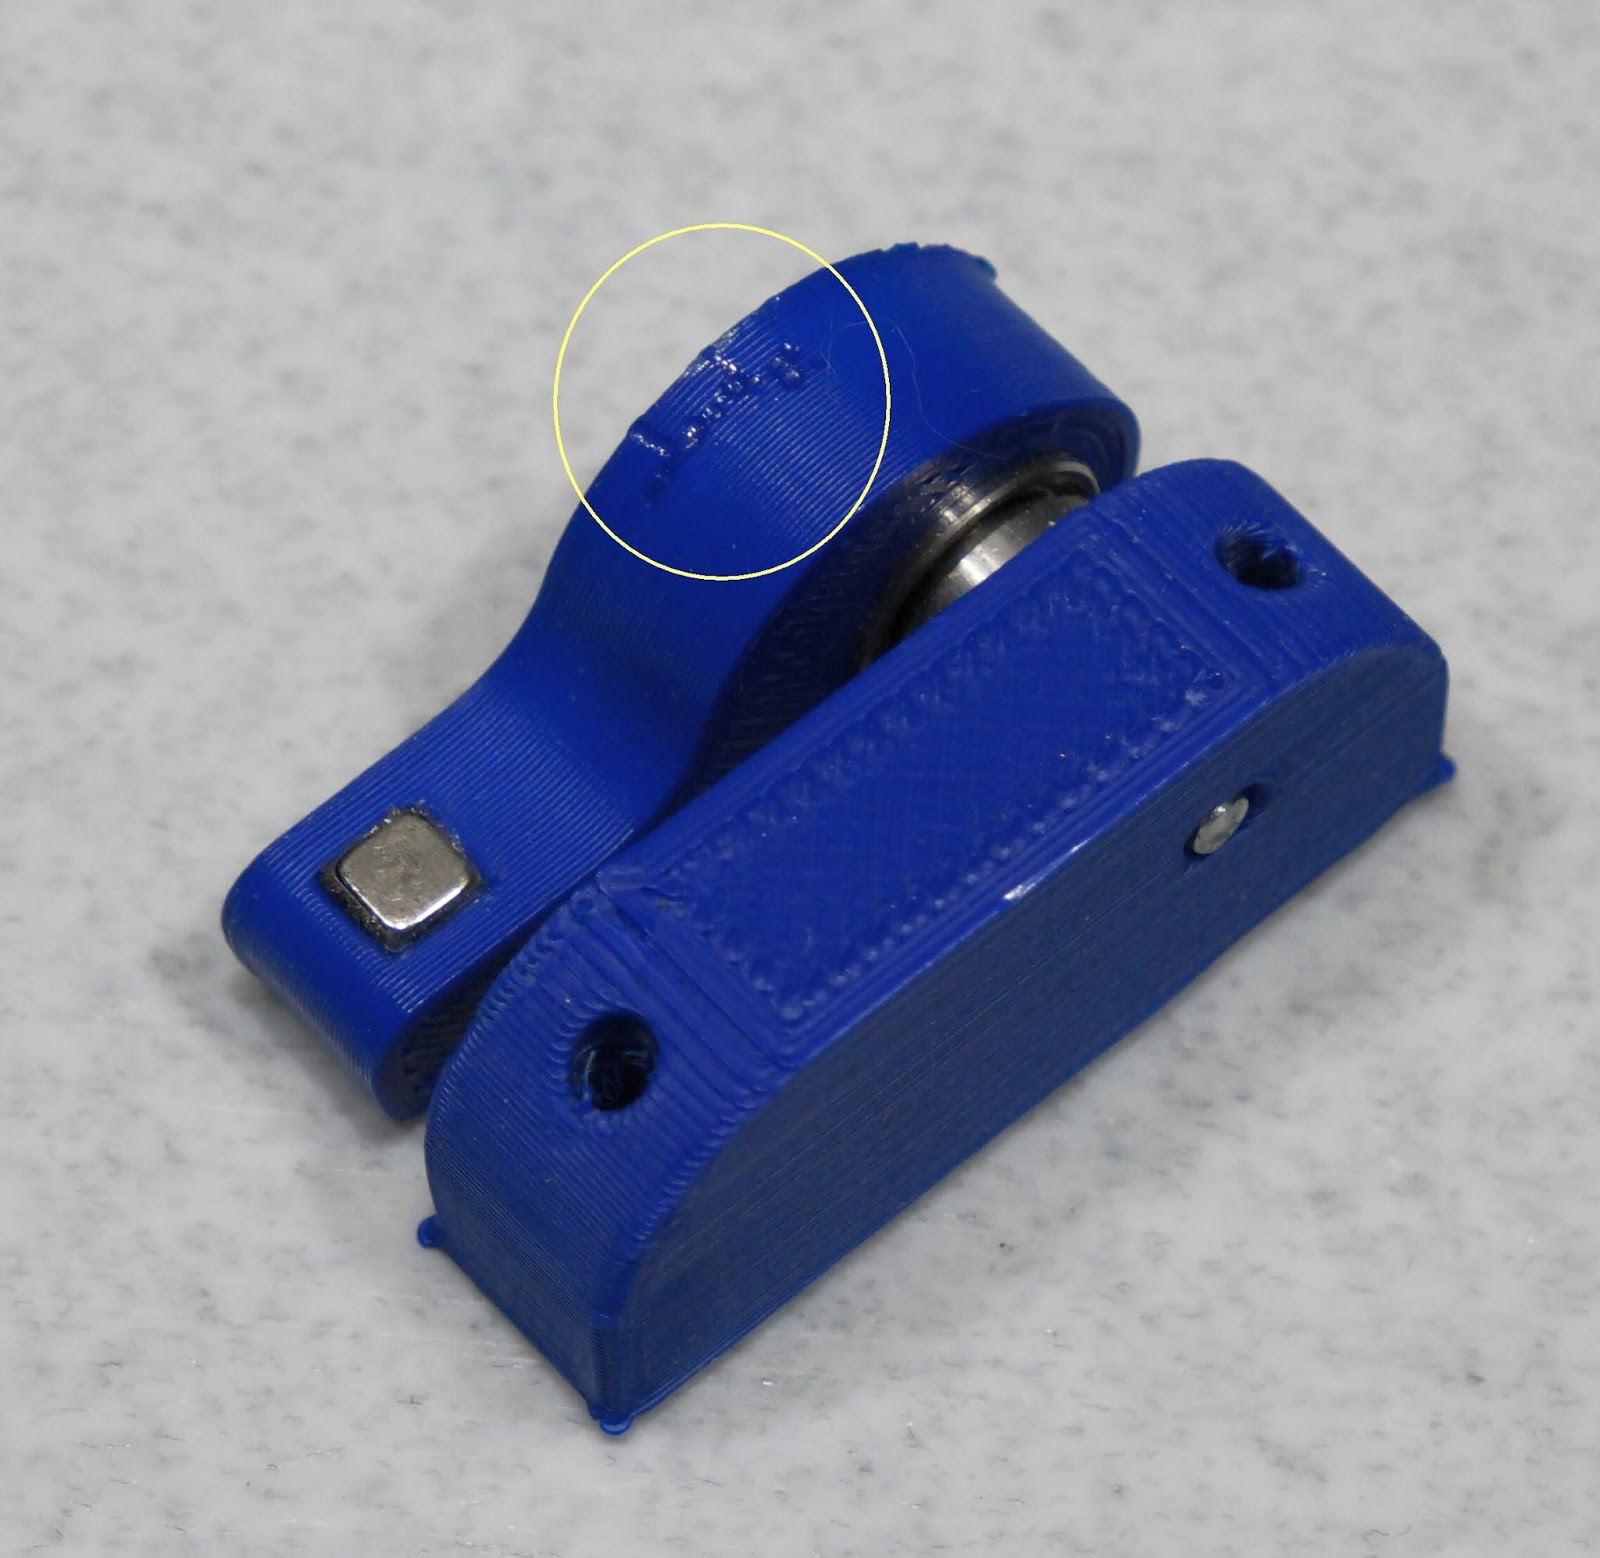
Before I made the differential screw/optical endstop for the Z axis, I used a lever and cam to bump a microswitch. The lever position effectively reduced movement of the adjuster screw by about 1:8 and gave me approximately 100 um/turn of the screw similar to the differential screw. The difference is that the cam was not linear or very predictable, where the differential screw is.
You can see the adjuster on the far right side of this picture:
One reason I wanted to switch to an optical endstop was that the printed plastic lever/cam eventually got damaged by bumping the switch too hard.

It would probably still be OK if it were made of metal, or it might have broken the switch mount. Putting limit switches in direct opposition to the motion is generally a bad idea.
-
For resume after power outage I wonder is a completely different approach would work.
- When detecting power outage printer move itself to closest full step.
- Printer writes its position to a non volatile memory.
- On resume from power outage, printer energizes steppers at a full step and read the last stepper location from non volatile memory.
- (optional) Printer sanity check the resumed location by homing using a non accurate switch/sensor.
- Printer is now accurately resumed without using an accurate sensor.
-
Only if the printer doesn't move when the motors are de-energized. Some don't. Many do.
-
Hi,
I have both a optical Z axis end stop sensor and a BLTouch.
I use the end stop sensor to do a high speed homing to within 5mm (appx) of the bed.
Later I set Z=0 using the BLTouch.
Frederick
-
i use these proximity sensors https://www.ia.omron.com/product/item/1017/ on my micro mill and one of my printers. Havent checked the printer but the mill repeats within .003-.006mm. Far more accurate than a printer needs but better is good. Aside from being very repeatable I like the small, 3mm diameter sensor and the remote amp with LED indicator. They do have other models with a larger, threaded sensor. Cheap too. Never paid more than $15 for one and recently bought 5 for $40 with free shipping. All new.
-
@3DPMicro said in For anyone still using endstop switches...:
Cheap too. Never paid more than $15 for one...Where are you seeing those prices?
I did a few quick checks with my normal suppliers and am seeing prices in the $130-$160 range.
Thanks.
Frederick
-
@fcwilt ebay. You may have to wait for the right deal but it will come.
Edit #2- Don't know about posting (US) eBay links here so I won't but I just checked and the seller I bought from is still selling them for $8.01 each. New. -
@3DPMicro said in For anyone still using endstop switches...:
Don't know about posting (US) eBay links here so I won't but I just checked and the seller I bought from is still selling them for $8.01 each. New.
Go for it. It's in context.
-
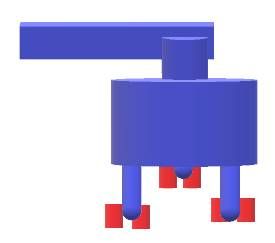
I'm thinking about building one myself like a 3d probe, but the long rod 90 degree angled like:

This should be very precise. -
-
-
@JoergS5 What is that?
-
@mrehorstdmd Something like https://www.youtube.com/watch?v=prb60JoxQSQ but as endstop. The three red pairs (often steel balls) are electrically connected with the shaft, a small movement lifts the shaft, disconnecting. I find it interesting because it doesn't bend anything at contact, should be repeatable.
-
@fcwilt I have not. Might look on Omrons site, see if they offer one and then check eBay.
-
Have any similar tests been done on the Prusa i3 MK3 with the layer shift detection and homing, without using any limit switches?
(I'm in favor of limit switches, but think it is pretty cool if it works without them!)
-
wouldnt optical anything be a problem given we usually dont have printers in a super clean area? I mean mine isnt dirty, but sure not dust free....
my home water treatment system used an optical sensor for something (forgot what it was) but it used to go out like once every 6 months....it uses something else now..... -
@mrehorstdmd - I'm looking at your optical end stop video where you test and show the repeatability. Very impressive! Are you taking the Z axis to home, and then dropping down 5mm or so? Is that your homing routine, or just for the video?
-
@lael The gauge would not fit on the printer at the normal home location, so I moved home down to where the gauge would work. When the bed moves down in the video, it moved randomly chosen distances between about 20 and 150 mm, then rehomed. The test is measuring both the Z axis motion precision and the endstop. The Z axis moves 20 um per full step of the motor in my printer.
For anyone concerned about dust interfering with the optical endstops- quit worrying. The optical endstops have been in the printer for over a year with no attention whatsoever and work as well as the day they were installed. 3D printers are pretty clean and I suspect it takes quite a lot of crud to interfere with the function of opto interruptors. Those things are used in industrial machines operating in dirty environments all the time.
I ran a print test to check the precision of the XY optical endstops here: https://drmrehorst.blogspot.com/2020/03/testing-ummds-xy-optical-endstops.html It, too, was excellent. In that test I ran two identical prints, except I rehomed the printer in X and Y at every layer change. If the X and Y precision were off, the layers would not stack properly and the Z axis print quality would suffer. The prints are all but identical under magnification.
-
Thanks! love your work on your printers and your write ups. They've been very helpful.
-
Hi,
thanks for the efforts! Can you please say if anything and if yes what is writton on the optosensor itself (not the pcb, but what sensor from which company it is)?
Lucas