Based on the table
https://e3d-online.dozuki.com/Wiki/Thermistor_table
the matching thermistor part number is 104NT-4-R025H42G
https://www.mouser.com/datasheet/2/362/P18-NT-Thermistor-1535133.pdf
Based on the table
https://e3d-online.dozuki.com/Wiki/Thermistor_table
the matching thermistor part number is 104NT-4-R025H42G
https://www.mouser.com/datasheet/2/362/P18-NT-Thermistor-1535133.pdf
The easiest and best method is to match the wire gauge, splice propely, solder the connection and use heat shrink to cover the splice. Use connectors only where needed, typically at the end of the cable where it iterfaces with a board or device. Using a connector to splice on an extension adds another potential point of failure.
Verify firmware version (as requested by dc42).
After some time struggling, I found this to be the best method to set Wifi parameters and successfully join a wireless network.
Verify device is in range of the wifi router
Avoid close proximity to multiple routers and multiple SSIDs
Start a terminal session (YAT) connected via USB
M587 (List ALL stored networks)
If there are any networks listed that you do not want your device to access they need to be removed from the List of Available Networks (M588 gcode)
I removed ALL that were listed. Completely clearing the list.
I had to remove them one by one since the M588 S"*" gcode didn't work for some reason
M588 "what ever net name is there to be removed" (remove network from the stored network list) (MUST be typed verbatim (letter for letter) and inside quotation marks ("))
<<<Edit: M588 S"*" works as expected to remove all networks.>>>
Once the list of stored networks is clean add you wifi network information (M587 gcode)
M587 S"SSID" P"NetPass" (set YOUR network wifi credentials)(MUST be typed verbatim (letter for letter) and inside quotation marks ("))
If the SSID or Password has spaces or funky characters (anything other than 0-1, a-z, A-Z) you may experience issues. Make sure the SSID and Password are typed EXACTLY the same as what the router is expecting. To rule out typos, try changing SSID and Password to something less exotic. Remove spaces and funky characters.
Finally, once the network list is clean (M588) and you have successfully joined the wifi network (M587) Launch network services (M552 gcode)
M552 S1 (launch wifi, Duet will obtain IP address)
The terminal session will display the IP of the Duet, connect to DWC via a browser.
Further reading -
https://duet3d.dozuki.com/Guide/1.)+Getting+Connected+to+your+Duet/7
https://duet3d.dozuki.com/Wiki/Gcode#Section_Quoted_strings
https://duet3d.dozuki.com/Wiki/Gcode#Section_M587_Add_WiFi_host_network_to_remembered_list_or_list_remembered_networks (M588 and M589 also listed)
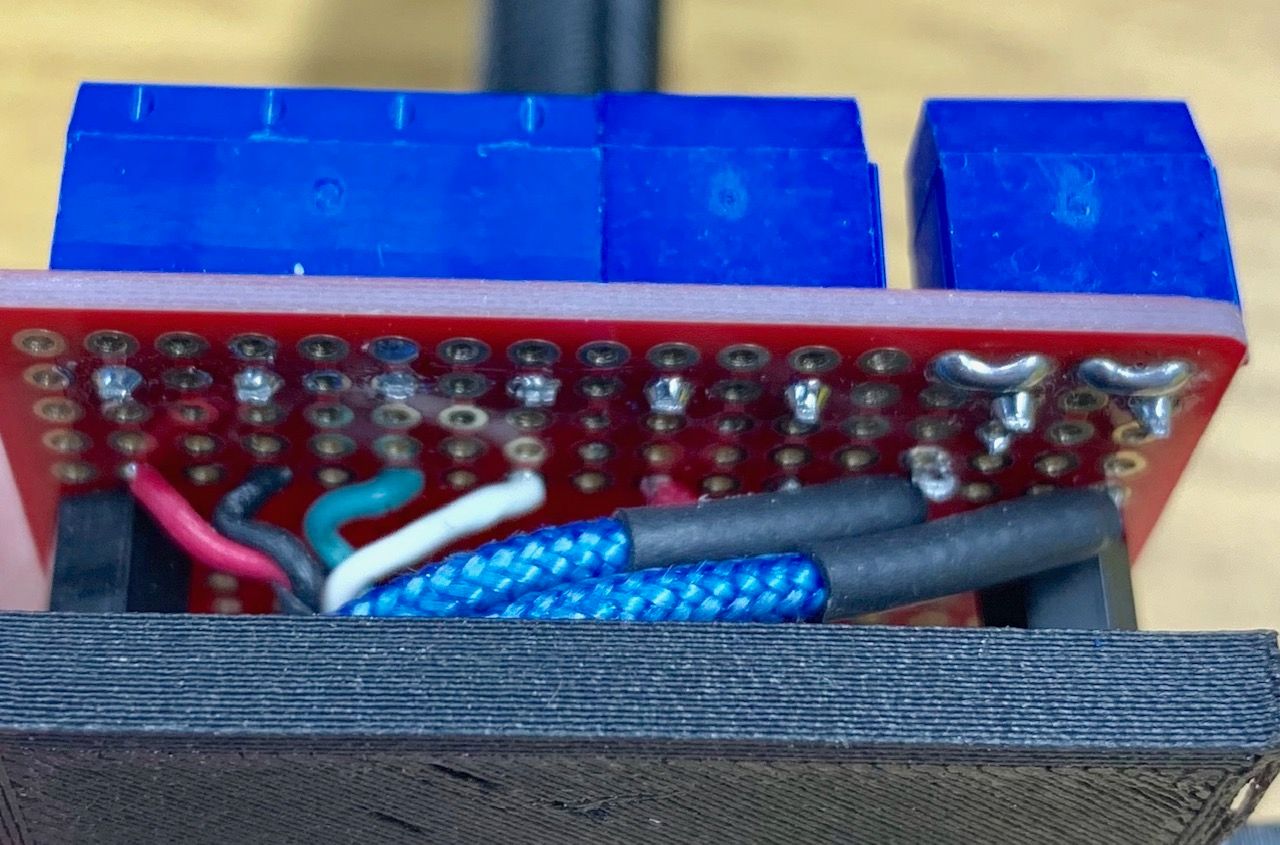
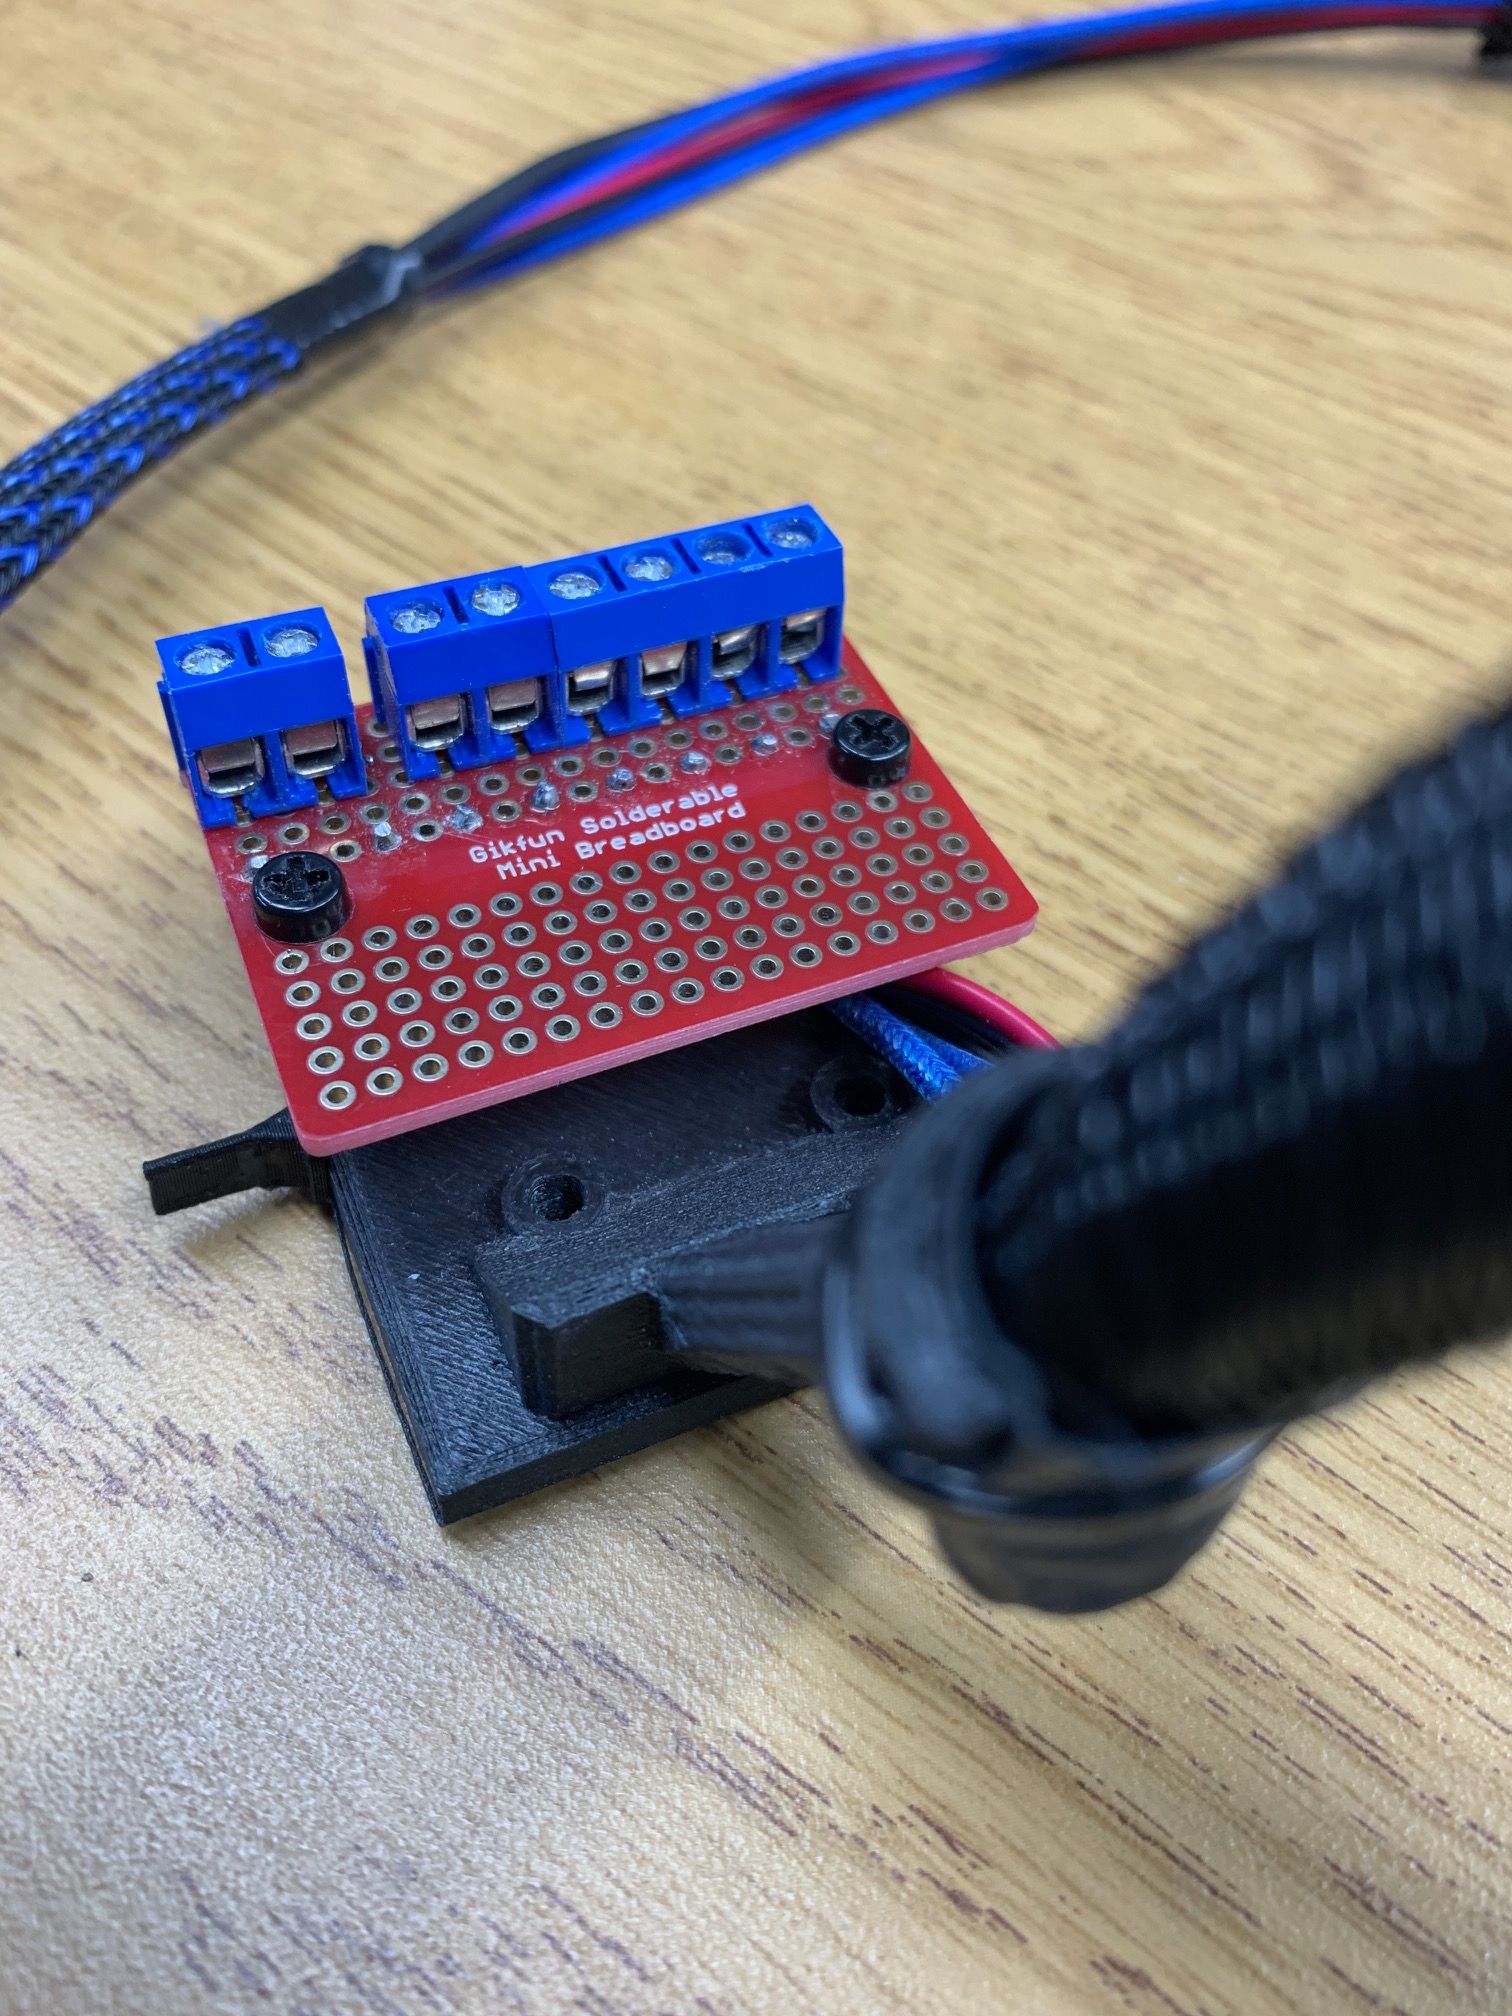
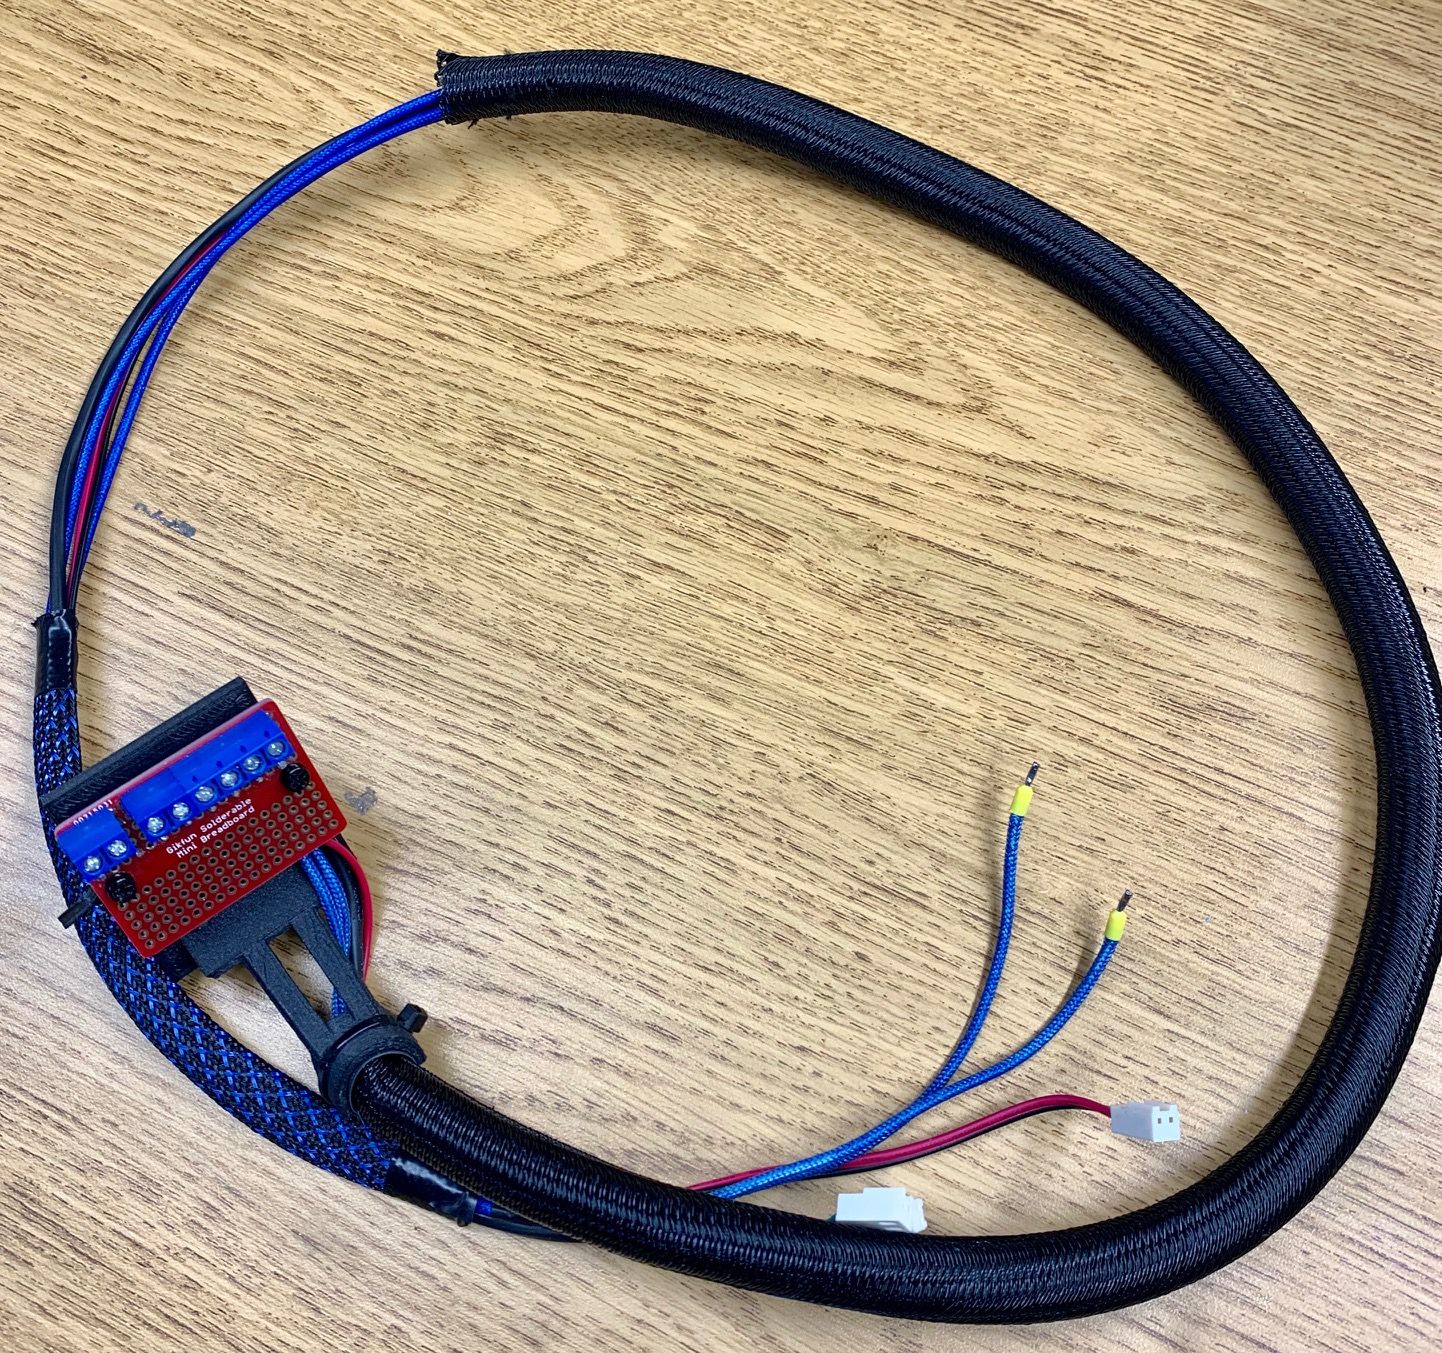
@matt3o Not sure if this would work for you (see pics).


Using extension/adapter cables or adding connectors to a harness adds bulk and creates potential failure points.
I found this method to be the best. If anything needs to be changed, its simple. Supports up to 16 terminal points.
All that's missing is a printed label plaque
I built a delta based on the AKLP spec.
240mm bed
480mm MGN12 type linear rails
Endstop switches are approx 655mm from the build plate
The linear rails start 165mm above the build plate (build plate to top of linear rail 645mm)
I'm using Haydn's 288mm mag diagonal rods, smart effector, PT100, E3D Volcano, Bondtech QR
DUET Duet 2 WiFi/2.04RC3
@dgrat
https://docs.duet3d.com/User_manual/Connecting_hardware/Z_probe_mesh_bed
Partway down under the heading:
Running bed mesh compensation
Establish a Z=0 datum
I believe the Y stepper is not wired correctly.
From Duet Literature:
Identifying the stepper motor phases
Here are two ways you can pair the stepper motor wires into phases:
Use a multimeter. There should be a few ohms resistance between two wires that belong to the same phase, and no continuity between wires that belong to different phases.
With the motor wires not connected, spin the spindle between your fingers. Short two of the wires together, then spin the spindle again. If it is much harder to spin than before, those two wires belong to the same phase. Otherwise, try again with a different pair of wires shorted together.
I installed a Smart Effector a few months ago, it really works well. I don't believe there is a better overall solution. It's an easy install and has been reliable since day one. There is no hotend offset and it uses the nozzle as the probe. It replaces the tedious process of manual calibration, with better results, from a push of a button. I run auto calibration twice (takes about a minute) and I'm ready to print. The only issue that I encountered was one of the mag arms popping off due to buildup between the magnet and ball. The sockets and balls need to be cleaned periodically. If I was to add a bed sensor to my non delta printers it would be the same type of sensor, hopefully there will be a non delta solution as well.
Another E3D blog post - 9/28/21
https://e3d-online.com/blogs/news/rapidchangerevo
I have a delta that is the same spec as the anycubic kossel linear plus. I am using Haydn 288 rods with a smart effector, volcano hotend and the stock E3d hot end fan. For the part cooling fan I use one like this https://www.thingiverse.com/thing:2808152.
The setup works extremely well.
Provide links to your config.g (and other .g files like homeing, bed etc, if they are relavant to the issue). These files can be attached to the forum post using the "Upload File" button: Upload File icon or the text can be posted within code tags, using the "Code" button: Code icon
https://forum.duet3d.com/topic/5909/guide-for-posting-requests-for-help
@droftarts
Thank you for the correction. I grabbed the pic from the current doc.
@ErlerPrint3D said in Read Voltage from Heatbed Power IN:
M308 S18
Ths sounds like what you need.
Bnnn The temperature or other value when the ADC output is zero
Cnnn The temperature or other value when the ADC output is full scale
Reference:
https://docs.duet3d.com/User_manual/Reference/Gcodes#m308-set-or-report-sensor-parameters
Additional parameters for linear analog sensors
Fn F0 = unfiltered (fast response), F1 = filtered (slower response, but noise reduced and ADC oversampling used to increase resolution). F1 is only available when using a port intended for thermistors, not when using a general input port.
Bnnn The temperature or other value when the ADC output is zero
Cnnn The temperature or other value when the ADC output is full scale
@KeithW I set the bed and hotend temperature when I start up the printer. I run calibration and print. Only need to calibrate once.
@KeithW set the hotend temperature to below the oozing point. I typically use 160c for PLA.
@oldironjunkie I bought the BQ extruders for the same reasons you stated. I bought the BQ revo for about 100 bucks. I think it was 105 landed from China and I believe I paid 160 for the Revo XS. You are correct for the right price its more attractive, but at its regular price there’s not much of a difference.
if you can buy one on Amazon, when you receive the new one, pack up the defective one and return it to amazon. Make sure when you buy it. it’s marked as shipped from Amazon (better if it’s shipped and sold from Amazon (not a third-party seller))
@oldironjunkie depending on what you paid for the BQ revo, typically the E3D original is not much difference in cost and I believe a better product.
Like I mentioned, everything from the far east is questionable, so always check thoroughly every part. I dismantled the thing completely and did a once over. This conversation had got me thinking, from now on I’m testing parts on a cheap board first.
If you can return it, that would be the best choice. If not, hopefully you can get a good working unit.
I’ve had success with the BQ Revo and original BQ V2 (using the E3D hot end parts).
Certain components are worth spending the extra dough for. It seems counterproductive to pair a duet board with subpar components.
A short to ground error is never good, recheck wiring, test the board with known good motor and cable. Change only one item at a time to limit variables while diagnosing.
Test the coils on the V2S without the cable plugged in, if you are measuring across the correct pin pairs (or pair of pins for each coil) then the resistance measurement should be the same on both coils.
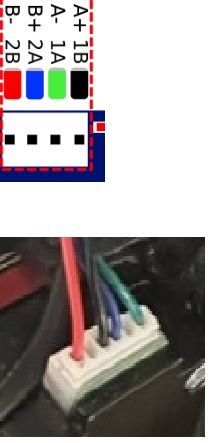
I checked the one I have and both coils measure about same 3.6-3.7 ohms. I believe I had to swap pins around on the motor side, not sure. I uploaded a pic of connections/colors/pairs I am using. Hopefully this helps. The motor you have may not match exactly, consistency with parts from the far east is always suspect.

Take a look at the document on connecring z probe under BLtouch
https://docs.duet3d.com/en/User_manual/Connecting_hardware/Z_probe_connecting
There is a link to the BLtouch troubleshooting as well.