I'm happy to report that Dave's IR sensor works great with TinyMachine's PEI plate and WhamBam's PEX plate. It is ok on textured PEI, but I believe the uneven-ness of the texture throws off the height map slightly.
Best posts made by br7408
-
RE: David's IR Sensor: Questionsposted in General Discussion
-
RE: New to Input Shapingposted in Tuning and tweaking
@dc42
I cannot thank you enough. Your selflessness, knowledge, and advice you've given over the last few years has helped me immensely and taught me so much. There is always a lazy answer, but you always take the time to explain. I hope Duet is paying you extremely well. I'll run into a snag or two, and I archive the forum, and its usually your advice that always leads me to a solution. Very rarely have I seen such efficient/ problem solving subject matter experts, and very few like you left anymore. Thanks. -
3.5 + feedbackposted in General Discussion
Duet Mini 5 wifi and 1LC toolhead on a 500x500 corexy.
I I've been running it for 2 days. No issues have appeared as of yet. Print quality is much better; PA & IS appear to be working quite well.
I am trying to compensate a Y axis issue that is beyond simple frame resonance, because it is purely a fault of my own, due to my gantry movement design. I was actually able to apply the input shaping specifically to the Y axis and tune a fair amount out; enough that I am seeing results. Part of it is also being able to tune feature jerk settings in the newest Orcaslicer RC release. I will redesign the gantry later on to remove the issue.
I still think the biggest issue is that the DWC IS interface needs more diagnostic options and a better explanation how it works and how to use it. I can see a lot of people trying to get IS to work but not really understanding what they are looking for or ideas on how to effectively utilize it. They get frustrated and run off to Klipper.
-
RE: Tuning Macros Menus (Accel, Jerk, Retraction, Pressure Advance)posted in Tuning and tweaking
These macros have been a great aid. I wrote additional macros for all of the IS algorithms in single steps 30-50 Hz. I found it useful for real-time tweaking freqs during actual printing. I can upload them somewhere if anyone wants them.
-
RE: Flagged as Spam??posted in General Discussion
I'm having the same issue. My post keeps getting flagged as spam.
-
RE: Flagged as Spam??posted in General Discussion
@br7408 said in Flagged as Spam??:
I'm having the same issue. My post keeps getting flagged as spam.
I tried posting from a different computer and it works now. Wierd.
-
RE: Issues with pressure advance since RRF 3.4posted in General Discussion
My slightly modified Creality 5 pro prints FLAWLESS prints in ASA within +/- .03mm, and perfect corners every time, and has printed several hundred of these prints for two years now in numerous sizes and detail; with no PA or IS applied.
I wonder what the true problem is here…
If you’re relying on current software to fully tune out harmonic and flow issues of your printer, you simply need to slow down your outer perimeter print speed and accept the limitations of your printer.
Without a full feedback loop of accurate algorithms, no current software will be able to adjust for all conditions and provide the accuracy that people seem to think is expected. What is happening instead is we turn into the feedback loop and chase countless inconsistencies.
You will be more successful and efficient resolving resonance/pressure issues by improving the physical design of the printer than you will be expecting software to resolve it.
I’ve been fighting this shit for over a year now, and I’m tired. I’ve finally figured out that simply slowing down outer perimeters, turning down PA and turning off IS & optimizing outer perimeter jerk/accel/speed gives me the best and most consistent print and I don’t need to re-tune for every nozzle size or material. Yes, its slower. Its also much less filament/nozzle dependent and more consistent. I can still print infill and supports at insane fast speeds to cut down on time.
If you really want super speed, buy a Bamboo and deal with their proprietary bullshit.
-
RE: Jerk/M566 how to find the ideal setting?posted in General Discussion
@droftarts I found I was able to get it the smoothest right around minimum 600 jerk. Speed wise it obviously depends on the nozzle size and material, but with a .6 and ASA getting nice smooth outer walls around 160 mm/s with 36hz mzv on the resonance tower. Inside walls I can print up to 200. Accel generally around 4-6k.
-
Test Bed corexyposted in General Discussion
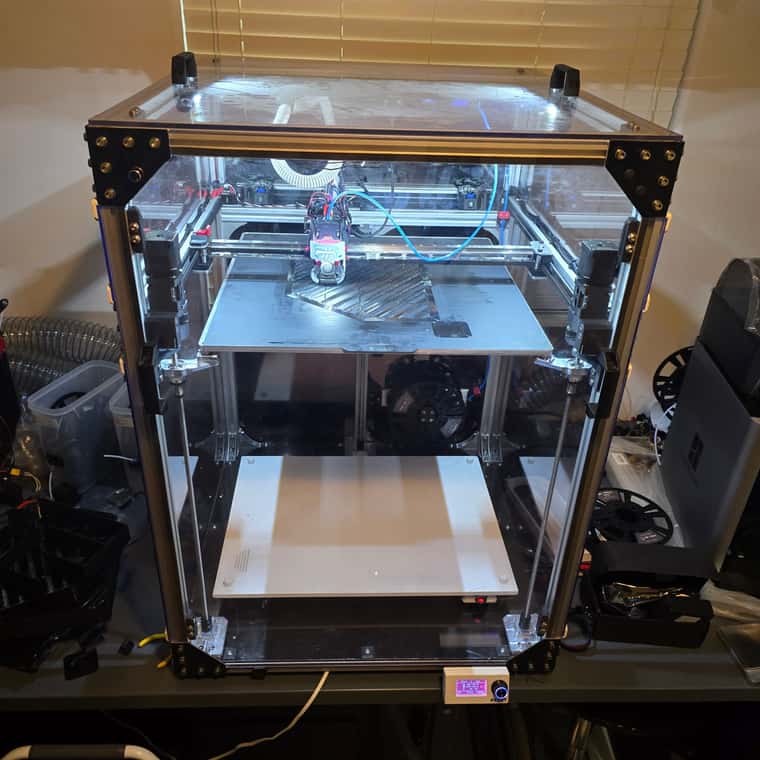
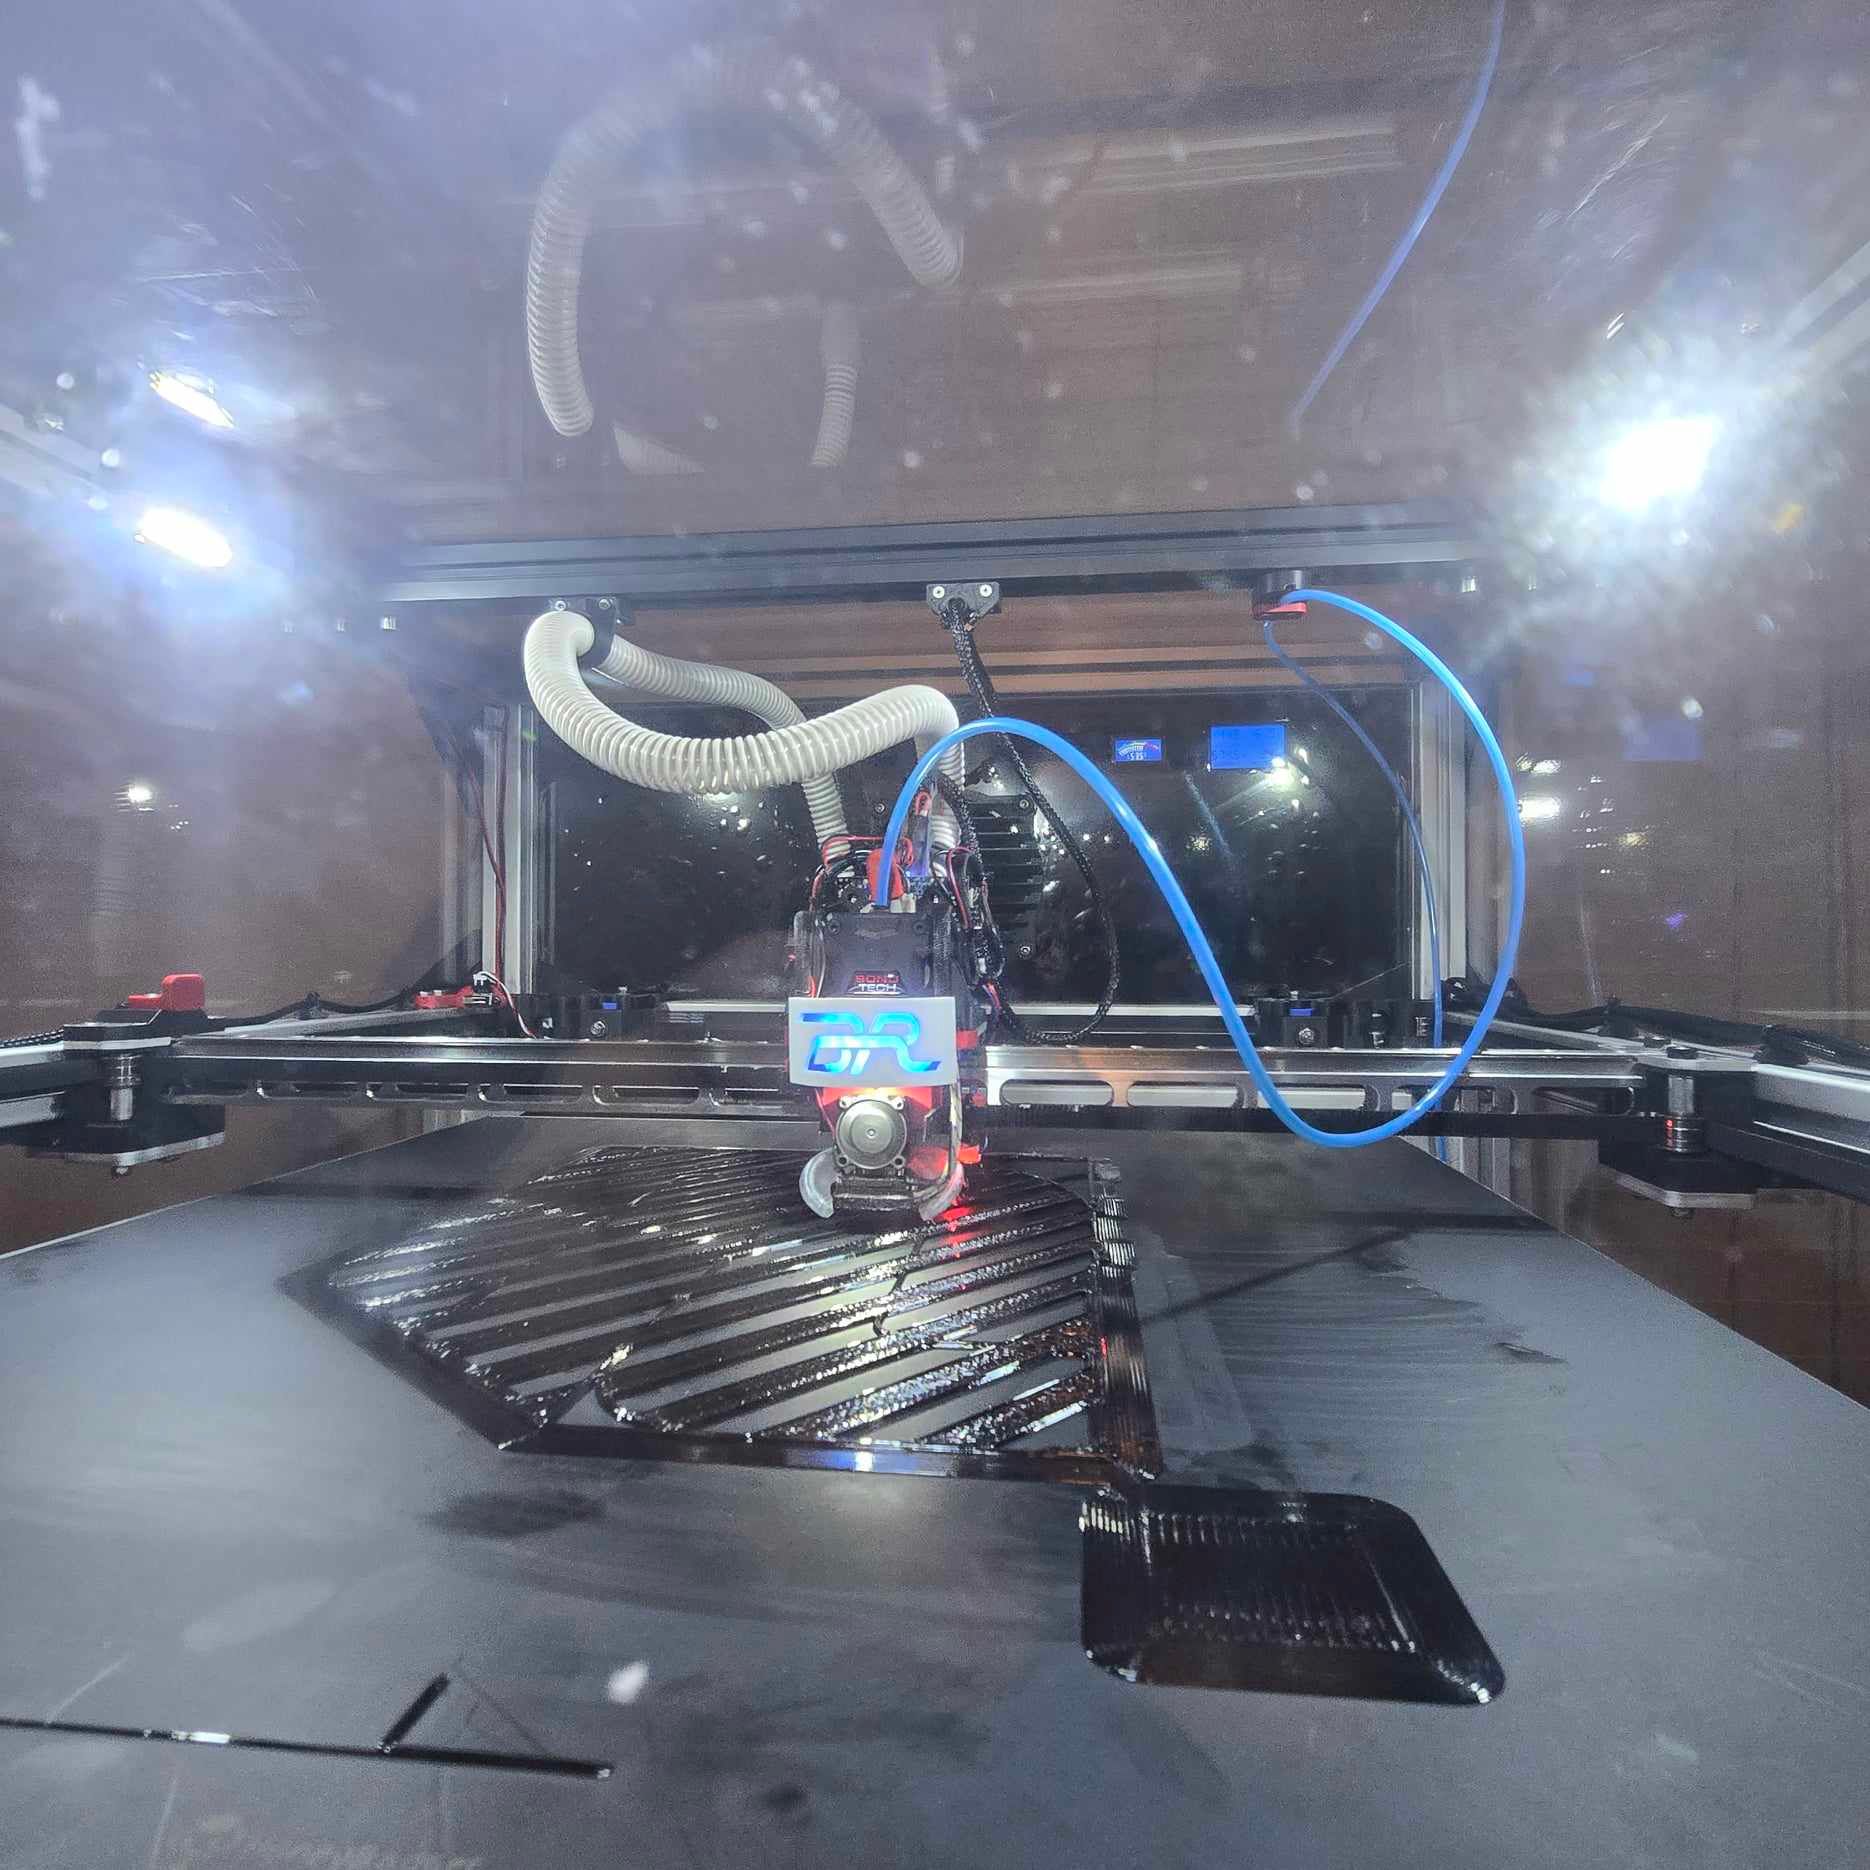
I have been revising and perfecting this first printer build for over a year now through a culmination of knowledge experimentation and research driven mostly by passion. It's a large Ratrig Vcore 3.1 based 500x500mm bed corexy running AWD, and a pogo pin manually interchangeable tool head that I designed. It also has an active heating chamber/ forced air external fume extraction system and high velocity air part cooling system that I designed. All mechanical components are top of the line; this printer performs very well. I am running it with a Duet 3 wifi board, 1LC, as well as Duet's infrared bed sensor and scanning probe. I am no engineer (I hate math), but I am a perfectionist. I usually print ASA and Polycarbonate.
I just started to build printer #2. This printer will be identical mechanically, except running a BTT Octopus board with Klipper through Raspberry Pi. I figure this would create a great opportunity to test bed two mechanically exact identical printers using two different firmware/operating systems side by side.
Its pretty clear that corexy printers are the current performance standard, and larger scale models are in huge demand as they will meet the near future consumer demands of FDM 3D printing.
I'm more than willing to offer my time to work with or help duet engineers later on for side by side testing and comparison, if this configuration will be of any benefit to you.


-
RE: Scanning Z Probe giving erratic Z valuesposted in Duet Hardware and wiring
@travasky said in Scanning Z Probe giving erratic Z values:
@br7408 said in Scanning Z Probe giving erratic Z values:
I am getting ready to install my scanner probe. I found the instructions overall very vague and unclear as well. I'm normally pretty good at doing my due diligent research on most of this stuff and coming up with answers, but this one has me scratching my head.
Could we possibly just get a full step by step instruction process for the scanning probe, in one place, written a little more clearly?
I felt exactly the same way. And thats not a dig on DC, either. I know the SZP is relatively new and there are a lot of things going on all the time with code and hardware and how they mix.
Ive done three industrial control swaps on machining centers with Centroid hardware, built other custom printers based on Duet 2, etc so I know I should have the skills to figure this out but its just not coming together for me this time.
I am getting ready to run up my prototype printer and do some calibration. If I can get the scanning probe to work, I will let you know and try and help you the best I can.
Latest posts made by br7408
-
RE: IR Height Sensorposted in Duet Hardware and wiring
@droftarts Yes, it is Duet. Bought it through filastruder April 22nd 2023.
-
RE: IR Height Sensorposted in Duet Hardware and wiring
I take that back.
I went to calibrate the probe and I am getting errors, because it is not triggering properly. How do I initiate obtaining a replacement?
Here you can see it is initially triggering way low, and then nothing, and then triggering again high. Getting 2 red blinks on startup, as it should.
Specifically: "No trigger on probe after full movement" error in Klipper. Both other IR sensors in the other two identical machines work just fine.
-
RE: IR Height Sensorposted in Duet Hardware and wiring
HMMM. Strangely it seemed to fix itself somehow. I wonder if the EBB 42 woke up stupid or something.
-
IR Height Sensorposted in Duet Hardware and wiring
I finally got around to building my third printer. All 3 are exactly identical printers. I am noticing a weird issue with the 3rd IR height sensor. It boots into digital mode just fine, but it seems to trigger at 2 different heights. The first height is well off the bed, second height is about normal. Never seen this before. Is this unit defective?
-
RE: IR Height Sensor with Klipperposted in IR Height Sensor
Excellent. I actually did more digging around last night and found one of your posts in another forum from many years ago recommending this. I will try it and report back. Your sensor is absolutely the best one out there in my opinion, so I will be happy to get it working on this machine.
UPDATE: That did the trick David. It is now booting in digital mode. Thank you.
-
IR Height Sensor with Klipperposted in IR Height Sensor
I am doing a second build of a similar printer to my first (Duet 3 wifi), running Klipper on a BTT Octopus 1.1 instead. I wanted to use the IR Height sensor on this build as well because it works really well with my heated bed (strong magnets).
I notice on startup, I get 4 pulses (analog) instead of 2 (digital). I do have the pullup signal activated, but I read somewhere about the signal from the board not engaging in time, or similarly needing to add an additional resistor to provide the proper current to activate digital mode.
I cannot find any consistent information anywhere, though. Are there any known fixes for this?
The (seemingly) most feasible solution I have read is from the original IR Sensor website that discusses adding a 470 ohm pulldown resistor from the sensor pin to the ground pin.
-
RE: strange error en 3.5.1posted in General Discussion
Is this issue confirmed fixed with the update? I'm on 3.5.1.
I did an M600, where I had my printhead move into position for a filament change on my filament-change.g
For filament-change.g I have an M291 to resume, followed by an M24.
I tested it on a small 7 layer test print to verify, and it worked flawlessly.
On a very large and expensive print, after filament change, on resume it returned to 5mm above the resume point, then dove the extruder deep into the print and then stopped. Time and expensive material wasted.
Also got the "Error in GCode file line XXXX" and "Axis X is already in use by a different motion system. "
Those errors were not present on the test print either.
-
RE: Input Shaping and Accelerometer, how do I make it useful?posted in General Discussion
@gnydick So you are running an upper and lower rail on your x gantry? What model printer? I only ask because I have contemplated running dual x rails myself on my corexy.
Of the things you fixed, which of the fixes do you think was the most influencing change, in regards to solving your resonance issue?
Are you running damper plates on your stepper motors? I found that those quieted mine down immensely.