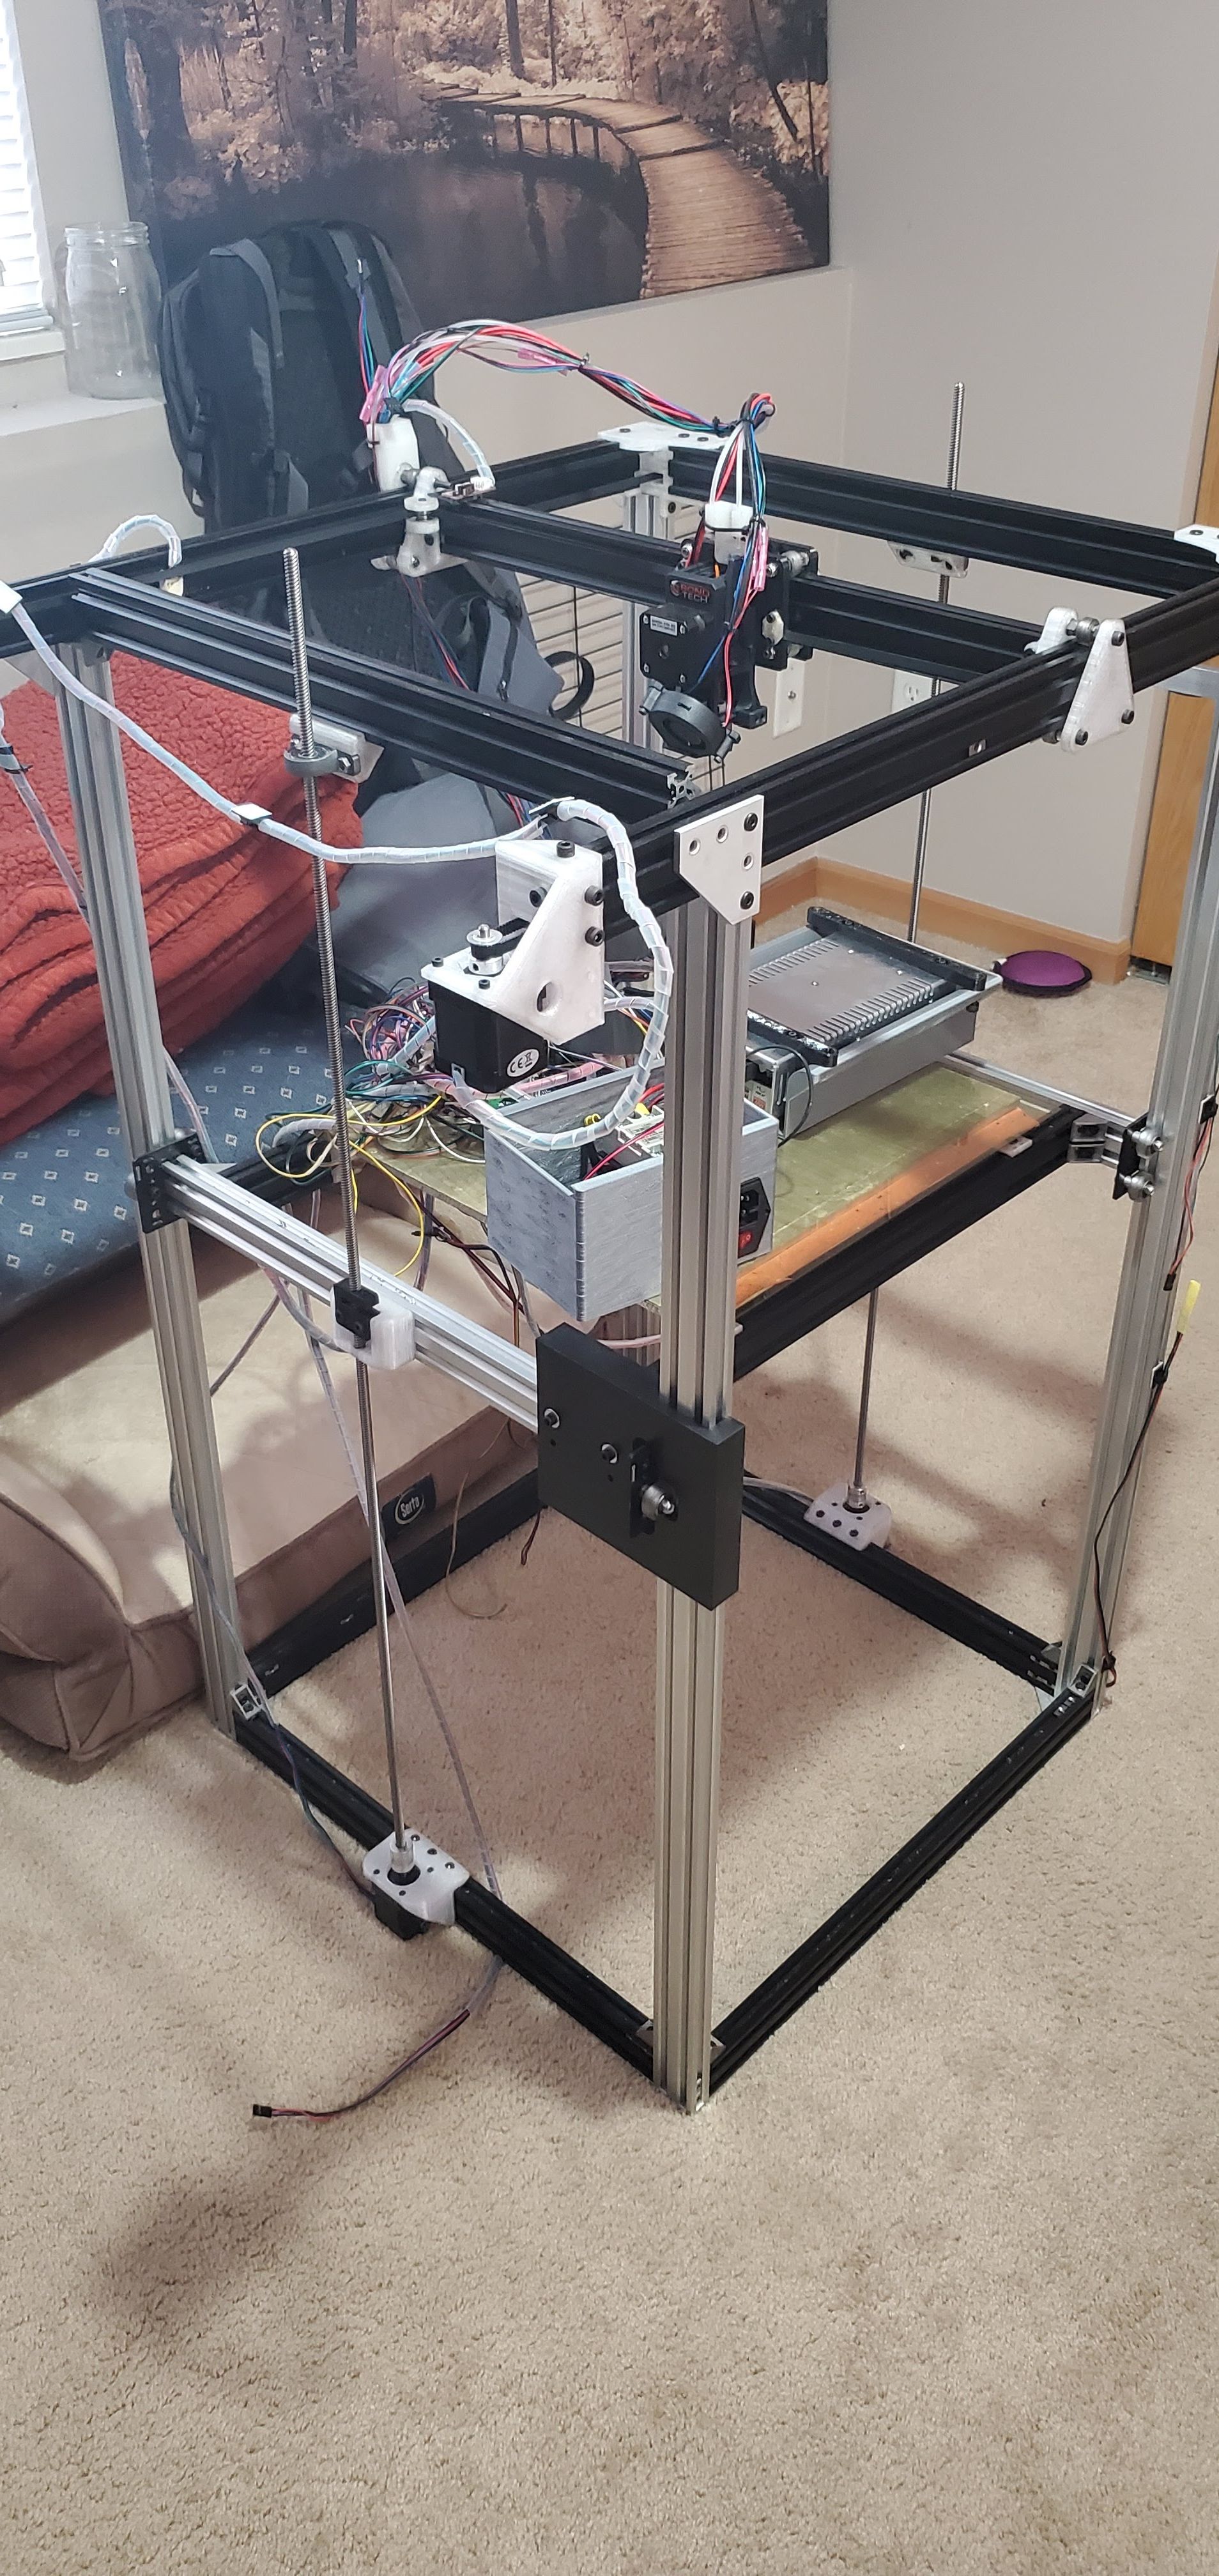
400x400x800 D-bot Problem Child
-
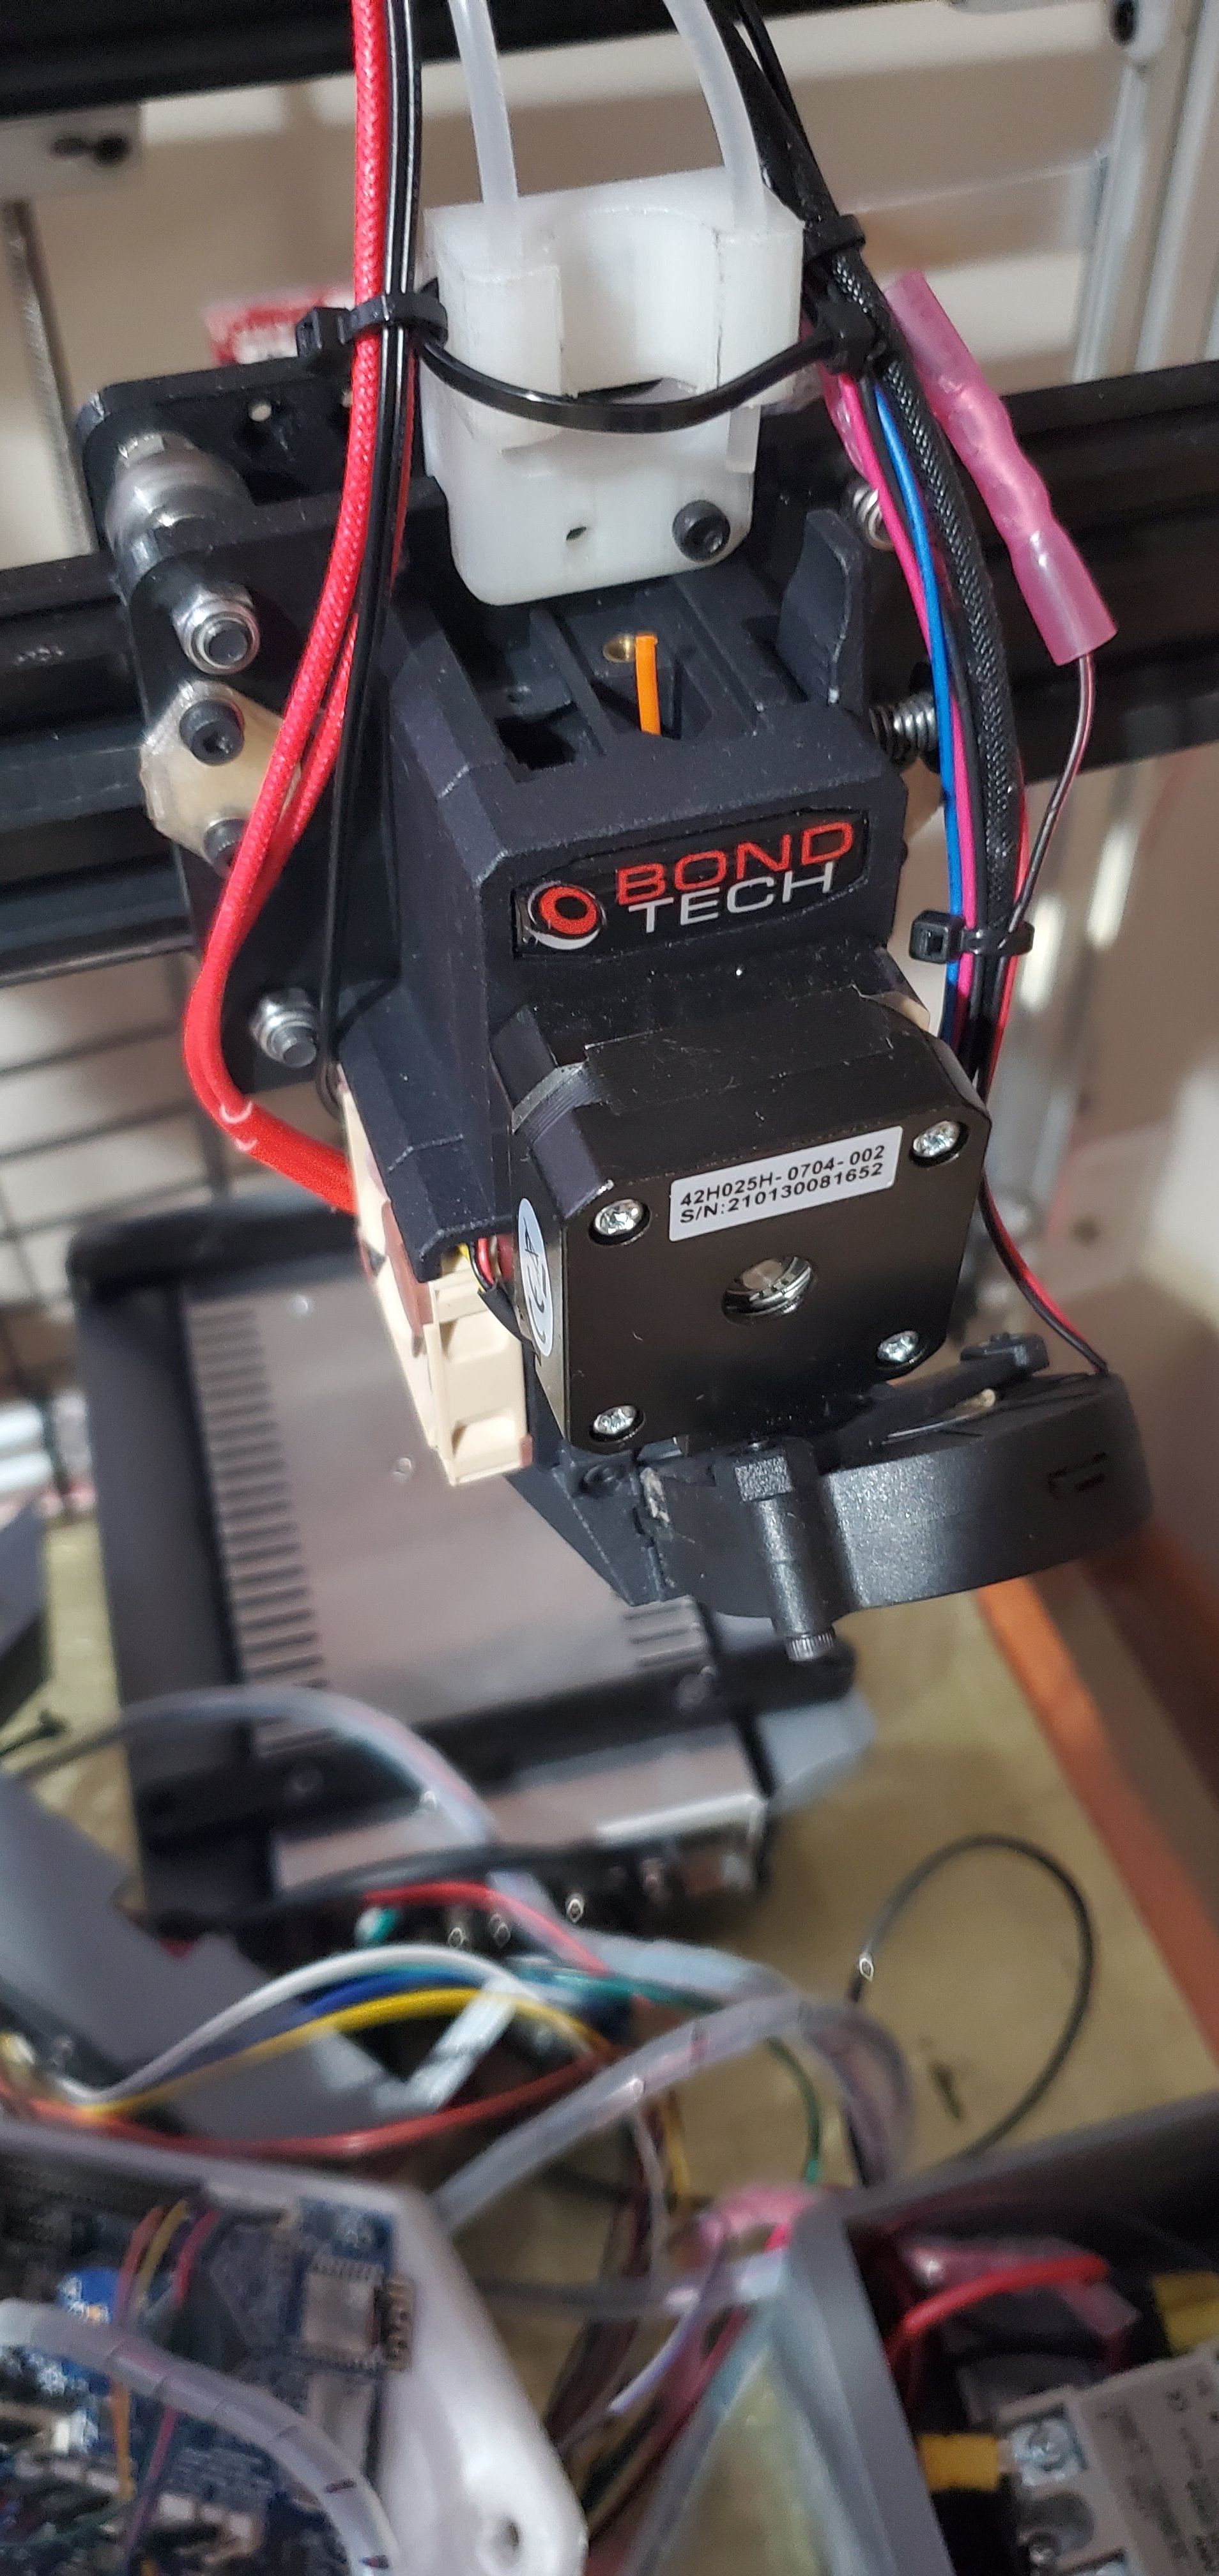
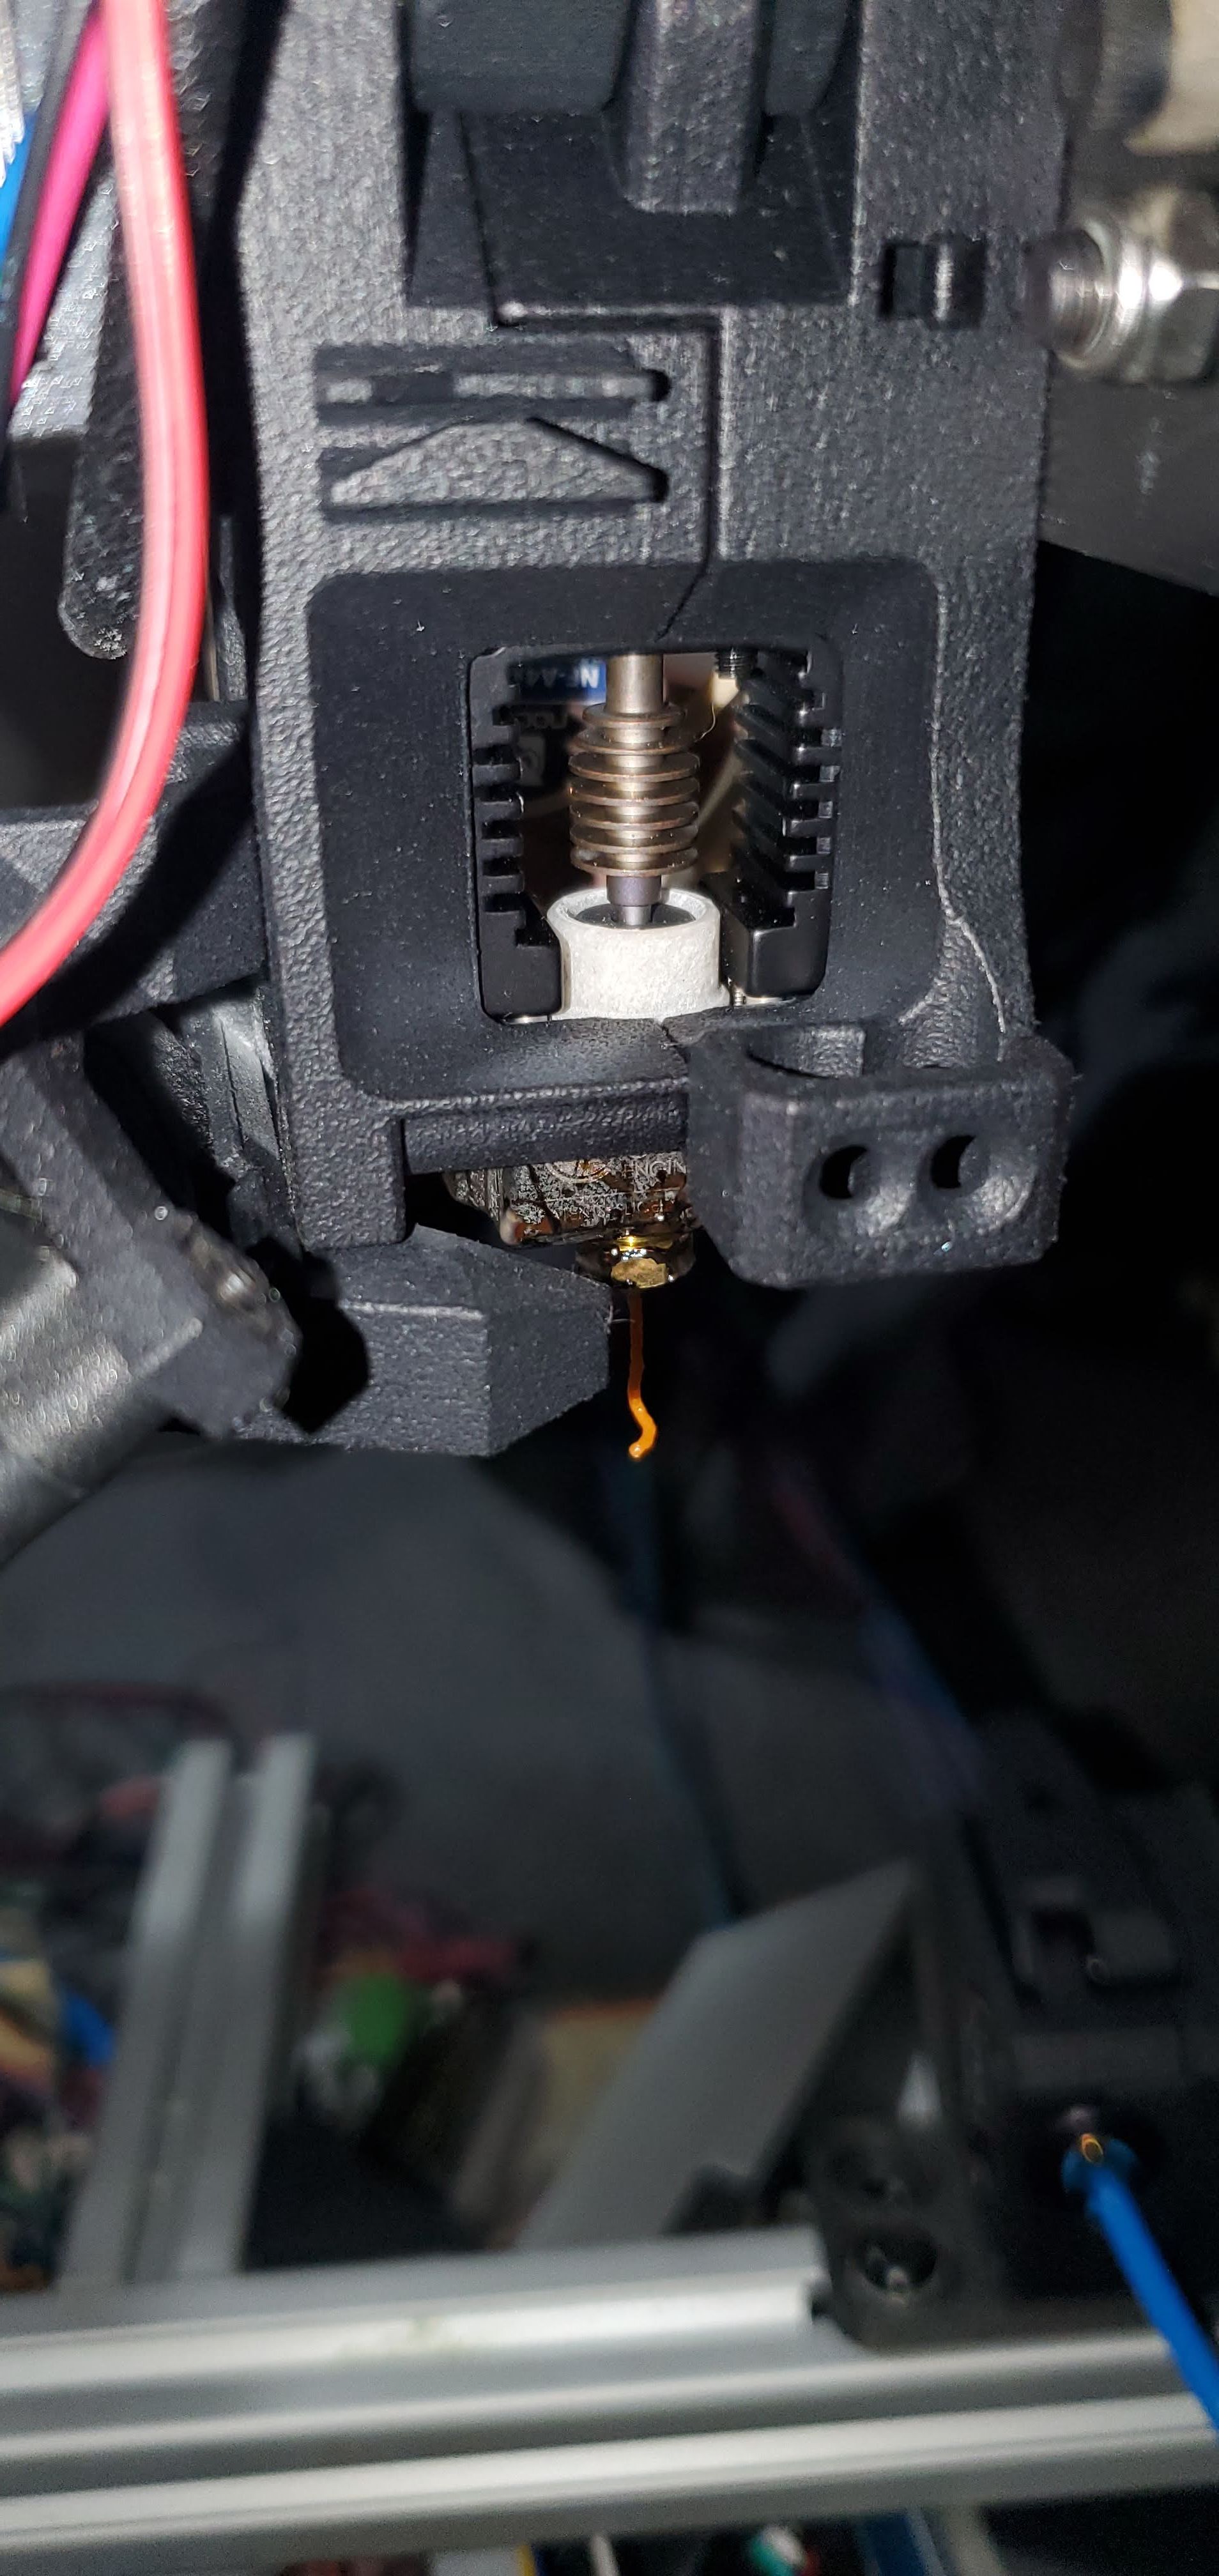
Long story short this printer started life about 4 years ago with our old 3DP manager, he never really finished it, the guys that took over the department toiled about 500 hours into it, bought a beautiful bond tech extruder and mosquito magnum hot end and never got it to print reliably. I picked it up for way less than a trip to the grocery store ("for parts") and originally had visions of pulling all the best components off for a voron build and leaving it's skeletal remains. But the last 2 weeks of research now has me pointed pointed me to saving this big boy (once I figured out where the inspiration for it's design came from) and trying to root cause it's issues.
I'm brand new to these printers, but my first thought is that the Z is too tall to every be reliable. The bug that they never figured out was at some point the printer would either skip a step or the extruder would slip and it would make the best looking bowl of spaghetti you've ever seen over night. My assumption is that at this point, the extruder should be reasonably reliable with this set up, but I'm not sure the best way to monitor or debug this particular problem. I'm thinking of setting up a longer print, affix a dial indicator to the frame in view of a camera to monitor the Z movements and just let it run. When it starts making spaghetti, I can review the footage and see if I can pick up any sort of skip, stall etc. But I'm open to ideas and asking for any help anyone can provide.
TLDR; I think this beast can be saved. My first thought is halve the Z height (unless I can get it running as is), add a 3rd lead screw (ala Phaedrux 3 screw mod) and possibly redo the wheel mounts with the 3 wheel mods that seem to be very popular.


-
@imadunatI'
Cool project!
I'd probably halve the Z height too, but either way, add some triangulation bracing to the frame. I suspect the problems come from having the rigidity of wet spaghetti! I can see it's got some corner brackets, but with the length of the Z legs, I'd doubt they're enough to keep it from flexing while the carriage is doing it's thing.
I've got an Ender 5 Plus, which is getting on for that size in X and Y. They've doubled up some extrusions to try and make Z a bit more rigid, but it's still quite unstable when you get to around 200 Z because the frame starts moving. I've not got round to it yet because I don't tend to print tall parts, but triangulating the frame is on the list for upgrade.
Some nice parts there - will make a great printer

-
@imadunatic
I agree with LoFi, the first thing you need is some serious diagonal bracing, eg. every corner plate fitted with all screws, and where possible long diagonals across each corner to try and get it as rigid as possible - but you may have to re-arrange the vertical carriage arrangement where that massive corner block is!Another option for extra stability and accuracy is to move both existing Z motors all the way to one side, then add another in the middle of the opposite side, to it can level totally from the Z drives.
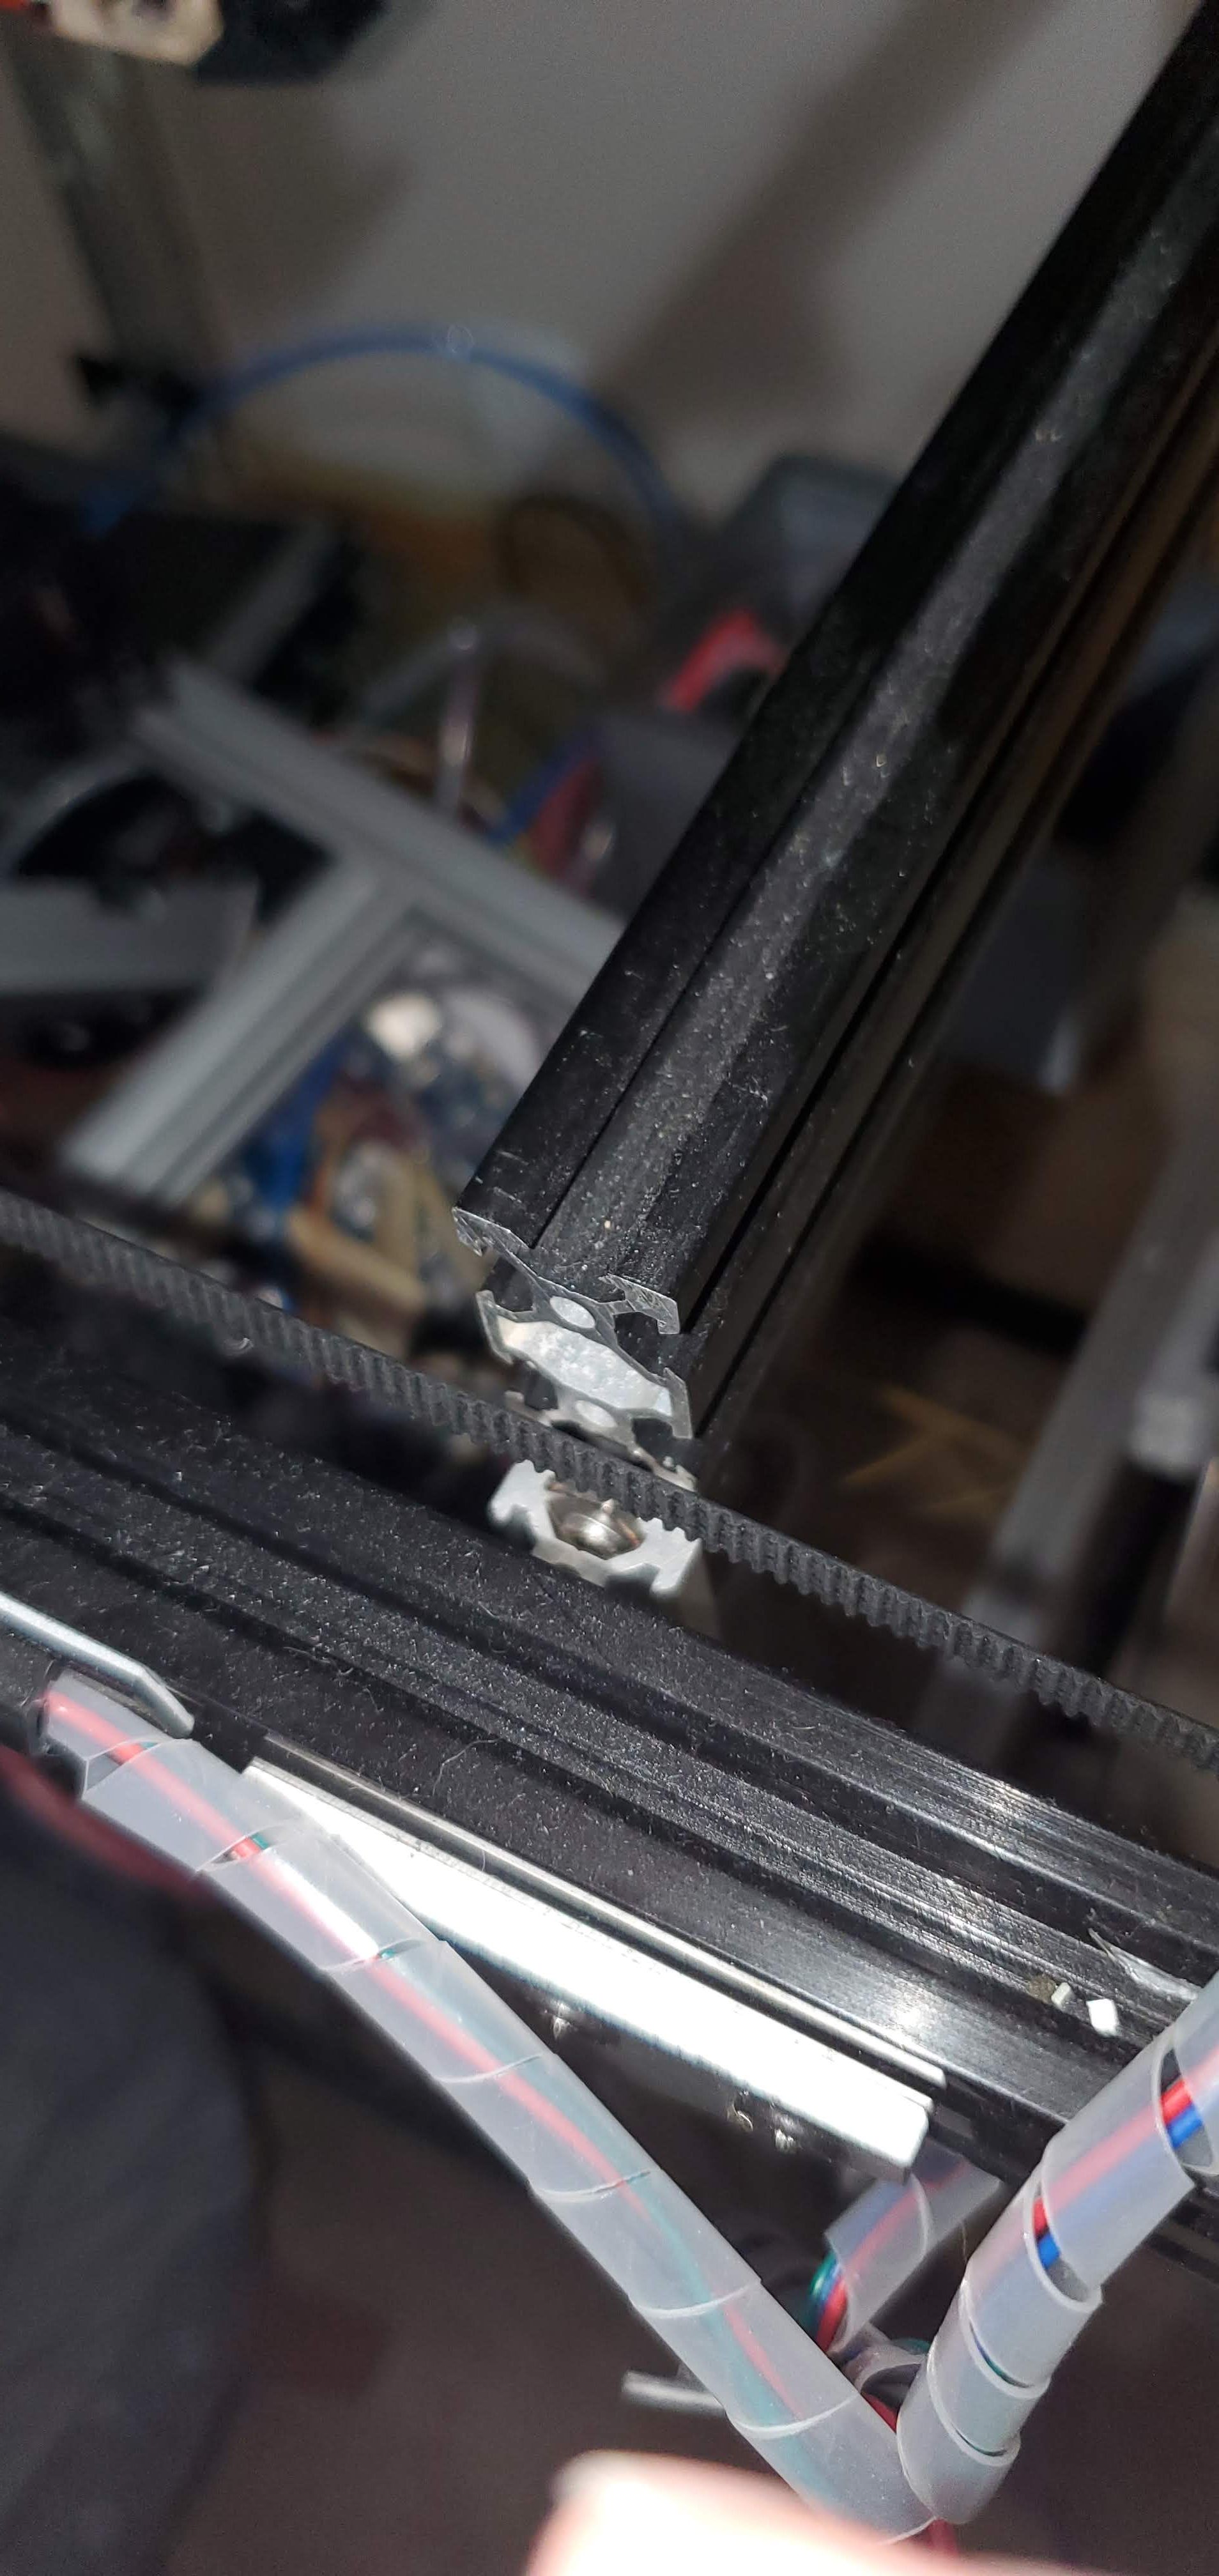
Are the belts tight enough? The long runs should give a bass-guitar type note when plucked; if they just flap about, they need more tension.
-
For info, my CoreXYUVAB is 600 X 600 X 1000 using 2040 extrusion for the legs and no diagonal bracing. The XY gantry sits at the top of this 1000mm tall section, the UV and AB gantries are mounted on an extension which adds another 500mm or so to the overall height. So the 800mm Z height should not in itself be a problem as long as the machine is built properly.
-
I still love my Dbot. It would be sad to see this one gutted for parts.

If you don't need the 800 height, consider chopping it down.
Corner plates and bracing can help a lot. Re-print the printed parts in something stiffer.
If the frame assembly is suspect, take it all apart and rebuild it.
-
It's good to know that it's certainly possible to get this printing in this configuration given that there are larger versions out in the wild printing successfully!
I think those massive corner blocks might actually be contributing to the z possible skipping or jumping since it adds even more weight to an already heavy Z, and since they're only kitty corner from each other, it adds to instability.
Based on everyone's thoughts, this is my plan of attack:
-
Update printed parts with the newer mod versions that appear much stronger. Specifically the 3 wheel carriages. Thinking of printing in PETG, but open to thoughts on this as well.
-
For the Open builds steel gantry plates that ride on the verticals, I kind of feel like they're likely stronger than 3D printed because they're steel, but honestly, it seems like all modern D-bots and variants use the 3 wheel adjustable printed version, and I'm thinking there is a reason for that. Anyone have experience with that? Otherwise, I'm considering replacing the steel gantry plates with the 3D printed versions, or design a 3D printed plate to support the other end of the axles at least
-
Convert to a 3 ball screw configuration with a single z motor drive like Phaedrux shared in his build.
-
Rather than cut the Z down, I'm considering just moving the rails up and bracing them roughly in the middle of the legs for a shorter but hopefully more robust 400mm cube but still the same height so it can sit on the floor comfortably. Still on the fence about this, since I now think it's possible to get this printing well even at this height with the proper bracing
-
Add aluminum braces at key corners with all of the screws
-
Properly tension the belts, they are literally flapping the breeze they're so loose. This might actually be the main cause of the issues with failed prints since I'm positive I could easily jump a tooth on the current belts.
-