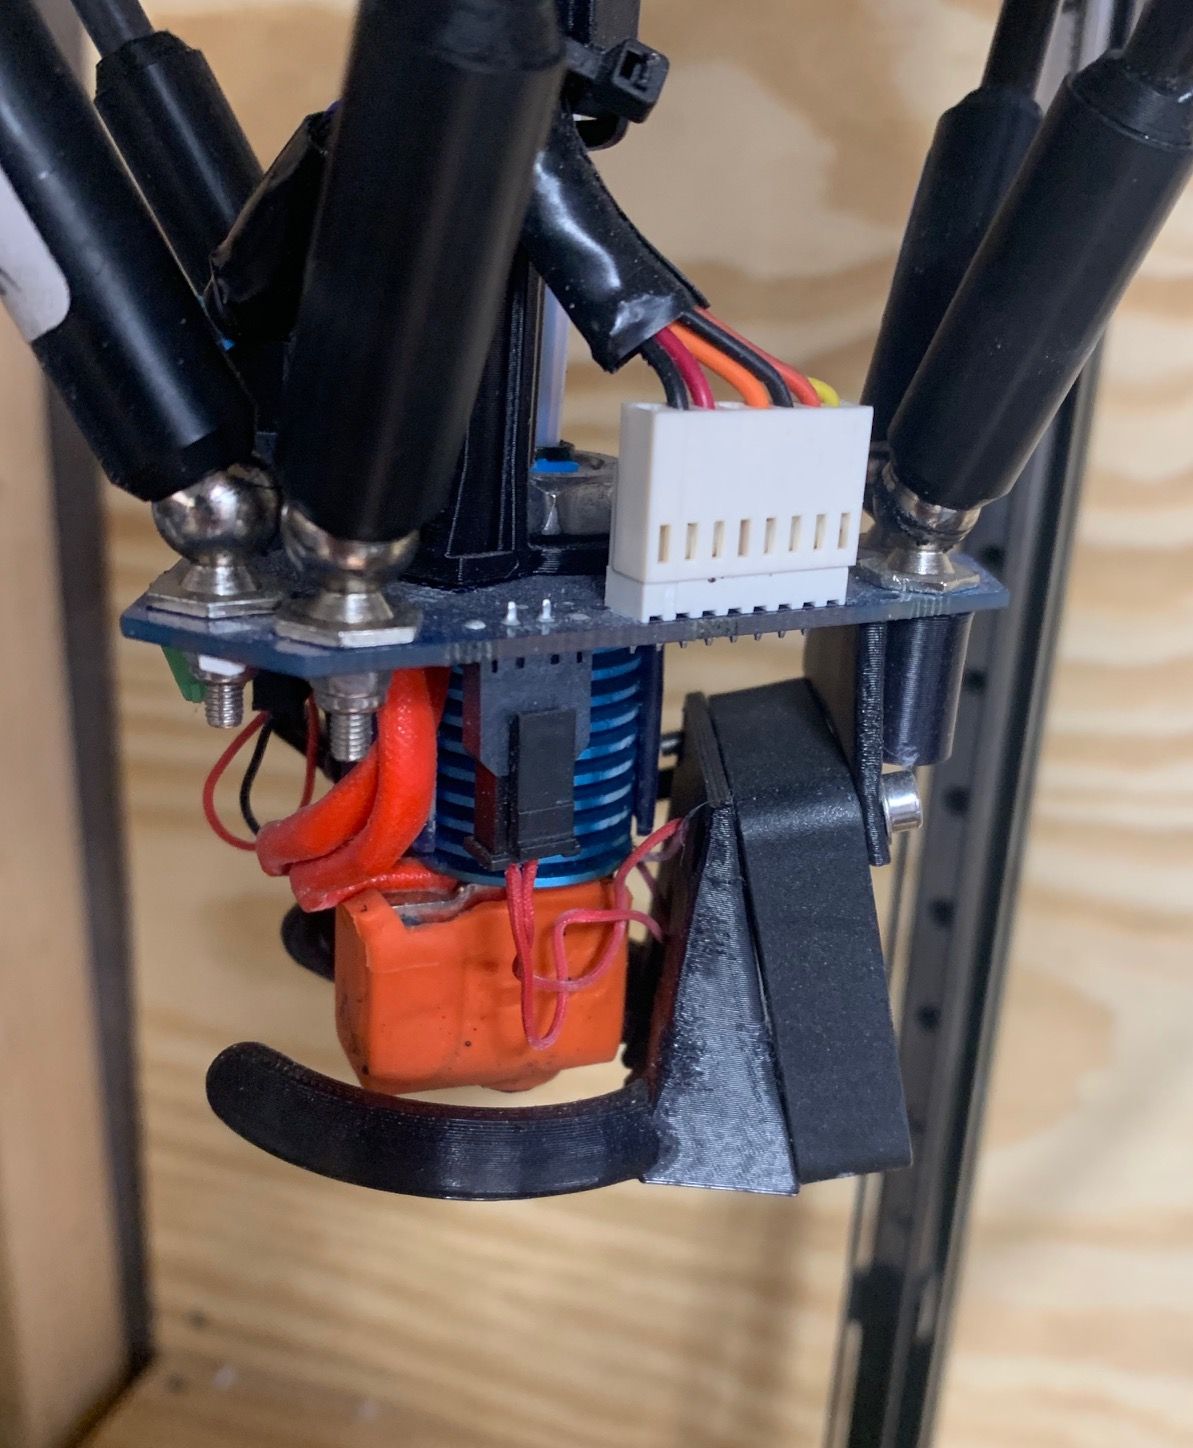
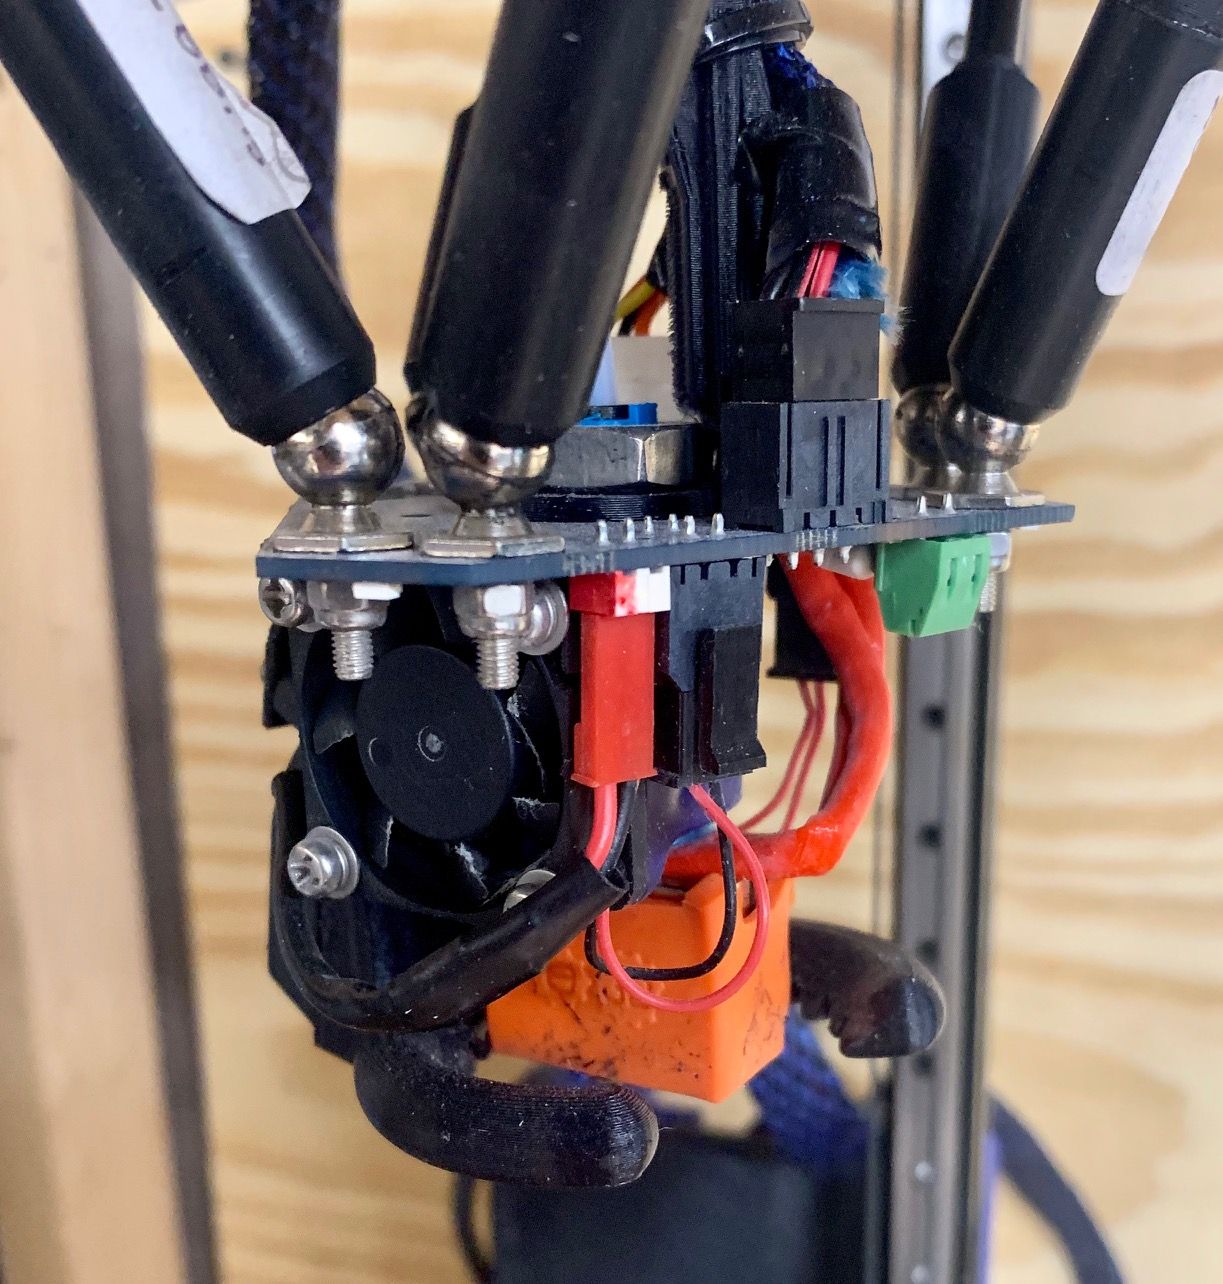
Smart Effector sensor
-
Separately, I want to note that the molex in the lower part on the thermistor and on the fans is a terrible decision. Replacing a thermistor or fan turns into a headache
-
@Denis The design of the smart effector has worked well for me. The connections have not been an issue, not sure what you are experiencing.


-
It would be more maintainable to make terminal blocks below not only for the heater, but also for fans and a thermistor. Sometimes they have to be changed and then you have two ways - to compress the molex again or to cut and twist the wire. Easier to tighten into the block
-
@Denis it was designed around the E3D Parts which come with those Molex connector on already and to be honest they are much better than terminal blocks and aren't that expensive to buy new ones (Or get a pin extraction tool and a pack of spare pins)
-
@Denis said in Smart Effector sensor:
I know that everything works without a fan) I wonder why it does not work with it?)
The strain gauge produces only a few tens of microvolts output, so varying magnetic fields in the vicinity of the strain gauge amplifier can induce enough voltage to trigger it. Fans generate varying magnetic fields. We designed the Smart Effector around the E3D V6 hot end, and the standard 30mm fan supplied by E3D does not normally cause triggering. In the later version of the Smart Effector, we also moved the connectors around such that you can position the heatsink fan on the opposite side to the strain gauge electronics.
Some possible ways to avoid the problem:
- Reposition the fan so that it is not so close to the electronics. One user printed a longer duct to move the fan out.
- Use a small spacer between the heatsink and the underside of the effector. Make sure there is still enough thread on top of the effector for the nut and the protective fibre washer.
- Use a different fan.
The print cooling fan isn't a problem, because it doesn't need to be on during probing.
-
@dc42 thanks. I put a 30mm maglev fan and everything became fine, but another problem appeared) In the previous assembly, the yellow LED on top of it was always on during operation. He blinked randomly. Now it does not burn at all, although the heating is on and everything is printing.
By the way, I was looking for information on the network, but I could not find it - what is the error of the strain gauge? I have repeatability of the results within 0.02 mm (but I want to note that I use a klipper, although the board and the effector are a duet) -
Smart effector schematics are at https://github.com/T3P3/SmartEffector/tree/master/SmartEffector. I suggest you check the soldering on the LED D4 and the series resistor R6.
-
@dc42 I'll see. what about accuracy?
-
Repeatability depends mostly on your mechanics. With good mechanics, the best you can hope for is a resolution of a single 1/16 microstep. This will be between 5um and 12.5um depending on your motors and pulleys. When running RRF you should use probe mode 8 which is unfiltered, because that gives the fastest response. I've no idea how Klipper handles probing moves. It may involve an additional latency, depending on whether the host is involved in stopping the move.
In RRF it's usual to configure probing 2 or more times until 2 consecutive readings return the same result to within a specified tolerance.
When I run a repeatability test of 32 probes with the fan turned off, every reading I get is either 0.003 or -0.002mm, so the repeatability is the expected 0.005mm (i.e. a single 1/16 microstep).
-
Honestly, I don’t know what can be improved in my mechanics. I installed hivin rails and haydn magnetic rods, optical stops.
the bed is a plate on the entire area of the delta .. all that comes to mind is to anchor it to the floor) -
Are you using 1.8 or 0.9deg motors?
-
With the nozzle hot and the heatsink fan running, the reproducibility is less good because the first several probed heights are a little higher than the rest. I suspect this is due to filament that has oozed out of the nozzle while the printer was idle, and needs to be squashed flat a few times. So if you probe hot, then it's probably worth doing a few dummy probes at the start of the calibration sequence.
-
@dc42 0.9 degrees. These are Wantai motors, 2.4A with a fairly low inductance
I did not try this with a 30mm fan, but with the 4010 fan turned off, the repeatability was better. Although accuracy of 0.02 suits me, if only the accuracy of calibration affects only the first layer. If this affects print quality further layers, of course I will fight for better accuracy.