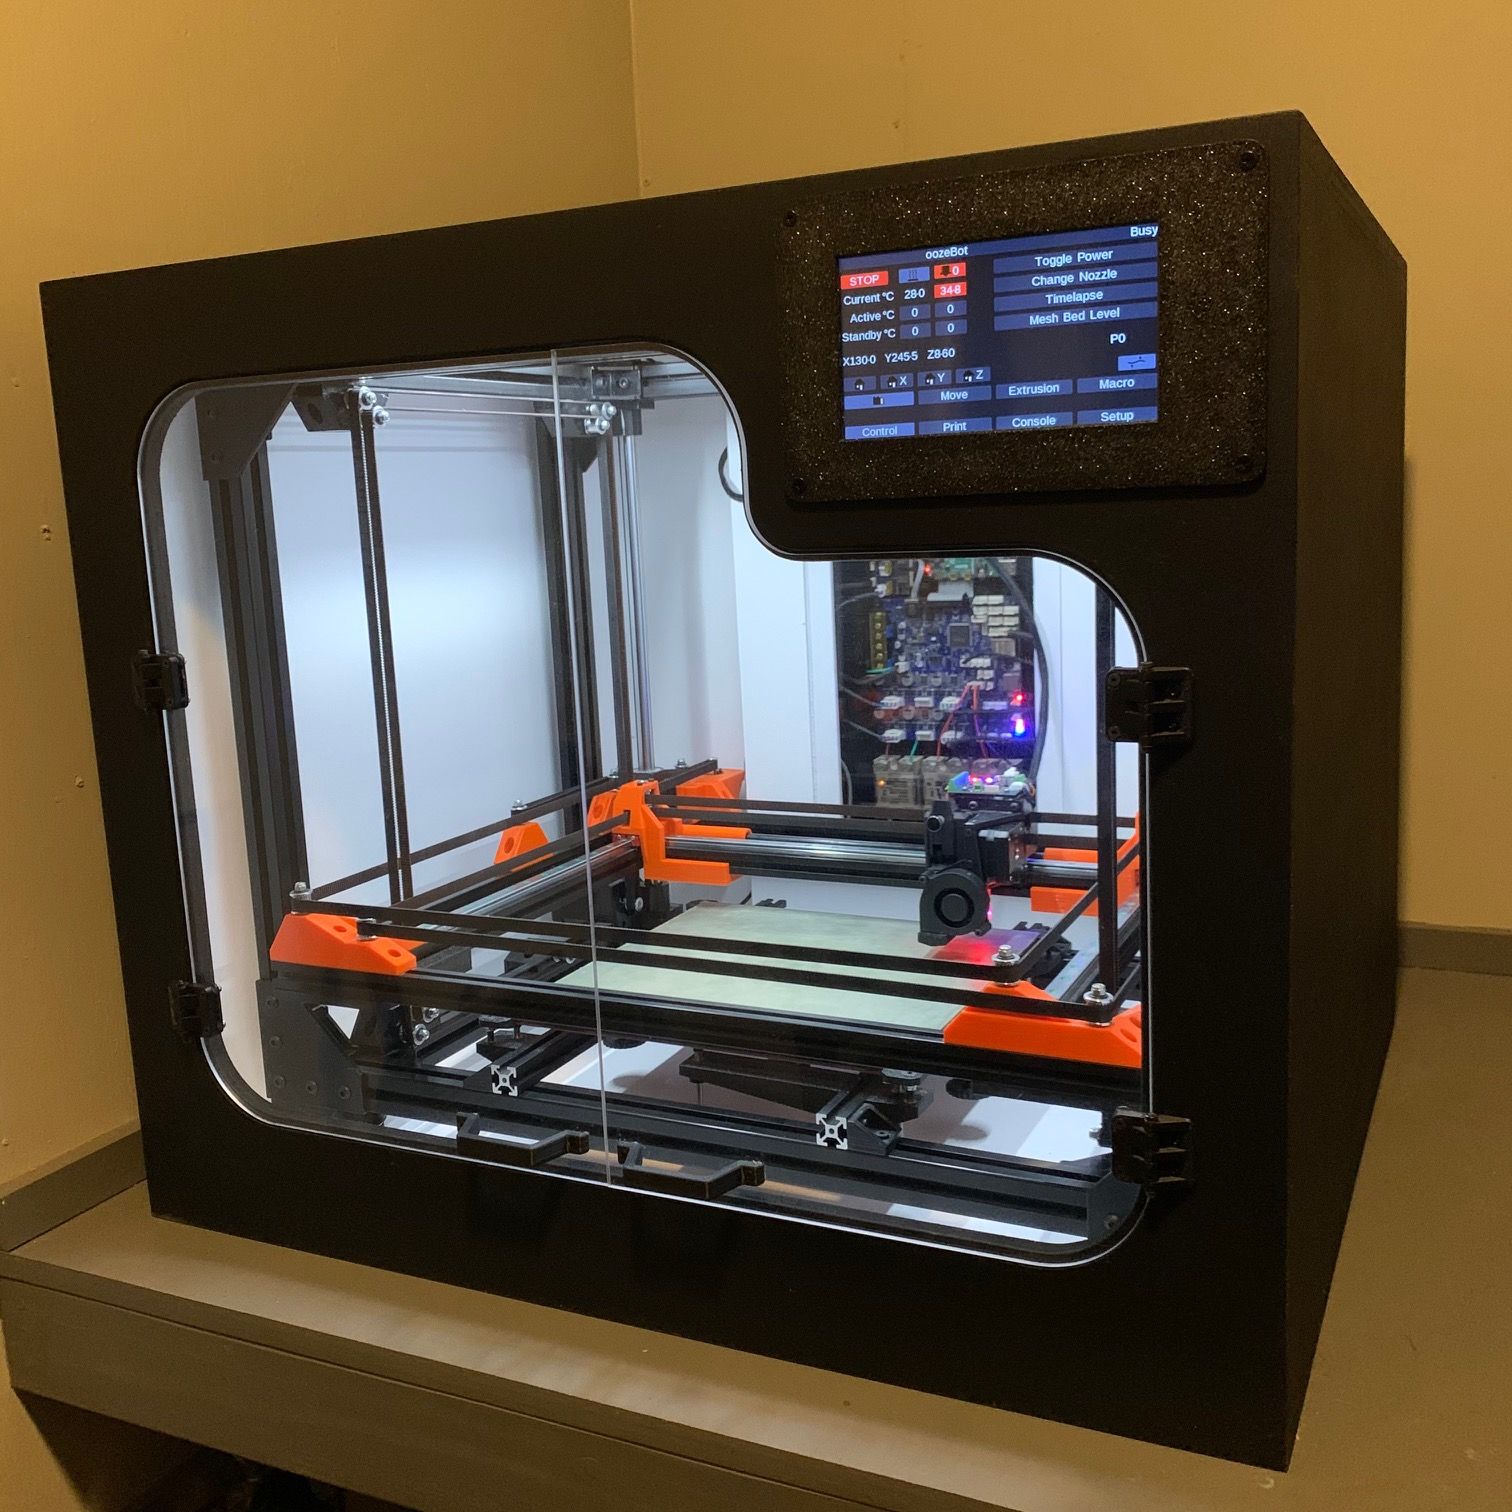
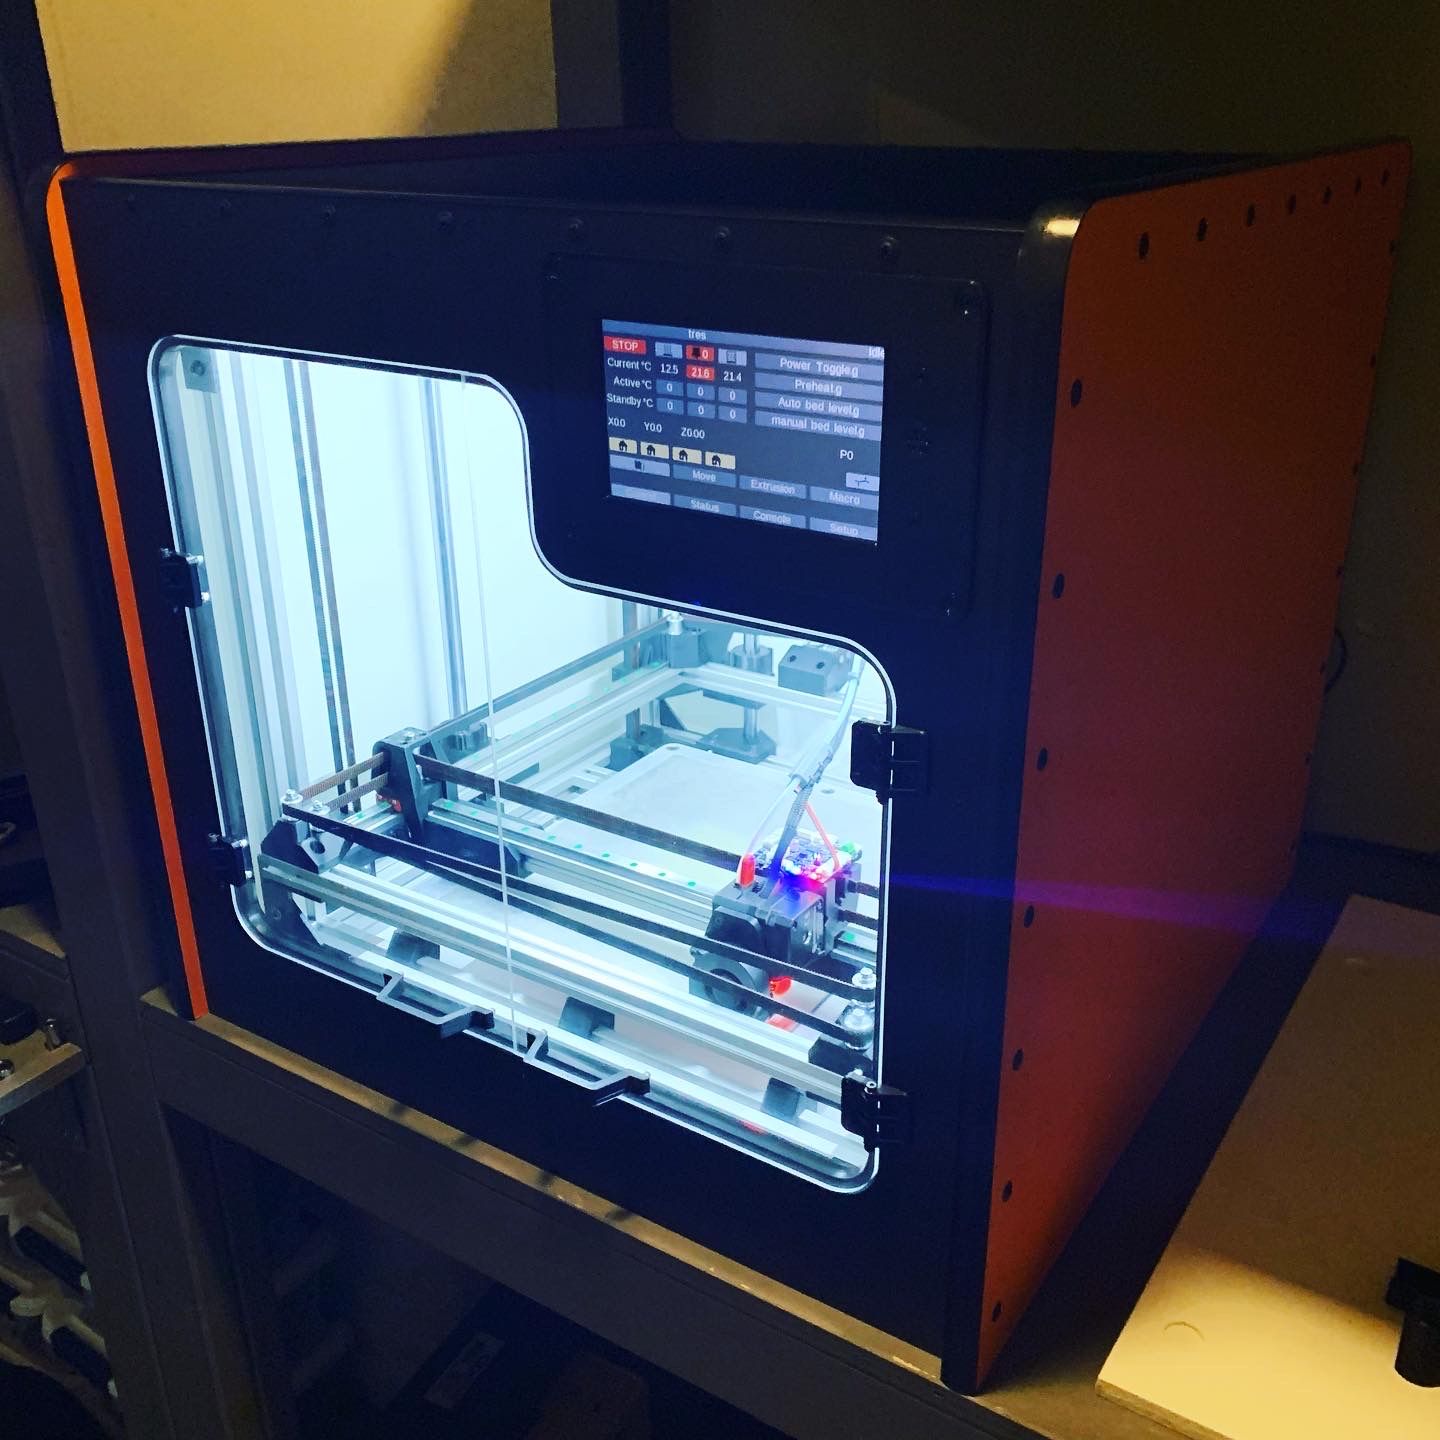
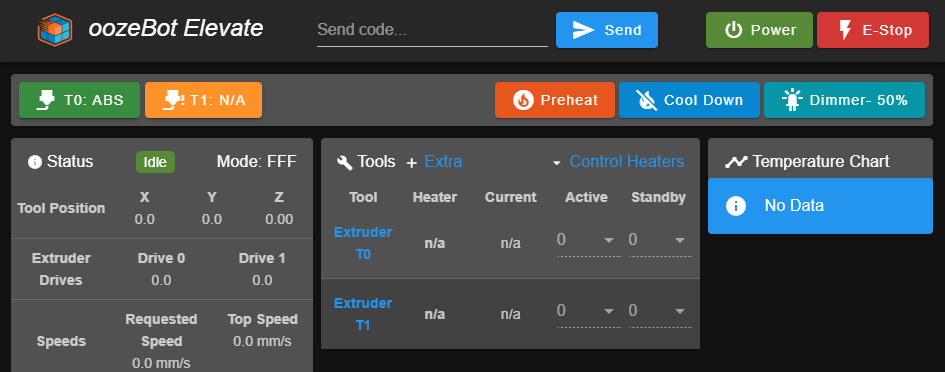
Our intent with DWC is to only enhance its functionality by adding in some unique functionality necessary for our printers. However, we weren't fully satisfied with filament handling, so we overhauled it. It isn't as clean underneath as it uses globals to handles the various states, but overall, it's working well. Feedback is welcome and the final code will be released on our github.
Best posts made by oozeBot
-
Preview of our updated DWC UI
-
You down with OPP? (oozeBot Post-Processor)
We thought we'd create a thread about the initial beta of our post-processor (PP) for Slic3r-based programs (PrusaSlicer, SuperSlicer, etc) - especially with the recent threads about only probing the needed area on the build plate as that is its primary goal. Also because there isn't much info out there on building PPs and this could be used as framework for other projects.
The project lives at: https://github.com/oozebot/OPP It is not yet documented, as I just posted it. I'll get to that soon, but will provide an overview here on how to utilize it.
The script is written in Python, so you will need to install the latest version on your machine. OPP.py needs to be downloaded to your local machine and then referenced in your slicer under Print Settings > Output options > Post-processing scripts as follows:
"C:\Path To Python\python.exe" "C:\Path To Script\OPP.py"
To keep it lightweight, it relies on two additional lines of code added to Printer Settings > Custom G-code > Start G-code:
;=== OPP HEADER === ;FirstLayerMinMax: X{first_layer_print_min[0]}:{first_layer_print_max[0]} Y{first_layer_print_min[1]}:{first_layer_print_max[1]}
There are several variables that are defaulted in the script that can either be altered within it for your setup or can be passed into the script on the Post-processing command line referenced above. These are documented within the script but here they are as written in the command line with a quick overview:
"C:\Path To Python\python.exe" "C:\Path To Script\OPP.py" mesh=2 points=5 spacing=18 start=M9000 xOffset=19 yOffset=19 minGrid=0 maxGrid=300
It really only makes sense to pass in mesh and either points or spacing. The rest can be quickly adjusted in the script for your printer.
There are 3 options for Mesh:
Mesh=0 disables the functionality
Mesh=1 creates a custom mesh grid utilizing points- example: An object where X=100 and Y=200 with 5 points will probe the X-axis every 20mm per row and probe the Y-axis every 40mm per column, generating a 25 point mesh grid
Mesh=2 creates a custom mesh grid utilizing spacing
- example: An object where X=100 and Y=200 with 20mm spacing will probe the X-axis 5 times per row and probe the Y-axis 10 times per column, generating a 50 point mesh grid
As explained above, Points are used with Mesh=1 and Spacing is used with Mesh=2.
Start is the filename or customer mCode for an equivalent of start.g (we use M9000 / M9000.g). A unique start file is needed as start.g is called prior to executing any gcode at the beginning of a job and the unique mesh grid will not be executed otherwise.
And if you aren't using an initialization script like start.g, you should really consider converting to one!
xOffset and yOffset are your probes offset. They are used to find the center of the custom mesh grid. This is useful to set your Z=0 in the center of the mesh instead of the center of the build plate.. because you really only care about the relative section of your build plate when using a custom mesh.
minGrid and maxGrid are the boundaries your probe is capable of reaching. It the algorithm creates a mesh outside these bounds, the script will alert the user and no mesh will be created.
The end result of the PP is the injection of the following code. Note the size of the mesh is different as Mesh=1 uses the exact size of the printable object(s) + 1mm where Mesh=2 creates a grid based on the spacing around the object.
Mesh=0
;== Modified by OPP: oozeBot Post Processor ;== Source: https://github.com/oozeBot/OPP ;== Initialization script M9000
Mesh=1
;== Modified by OPP: oozeBot Post Processor ;== Source: https://github.com/oozeBot/OPP ;== 25 point mesh grid M557 X73:146 Y42:137 P5 M9000 C"mesh" X90.5 Y70.5
Mesh=2
;== Modified by OPP: oozeBot Post Processor ;== Source: https://github.com/oozeBot/OPP ;== 30 point mesh grid M557 X72.0:162.0 Y36.0:144.0 S18.0 M9000 C"mesh" X98.0 Y71.0
Note the parameters being passed into the custom start code (M9000). They can be handled like this within M9000.g (or whatever you use).
G28 ; Home all axes if exists(param.C) if {param.C} = "mesh" ; Generate custom mesh grid if exists(param.X) & exists(param.Y) G1 Z5 X{param.X} Y{param.Y} F9000 ; Move to center of object to set Z=0 else G1 Z5 X136 Y136 F9000 ; Move to center of build plate to set Z=0 M558 F200 H2.0 A20 S0.02 ; Configure z-probe M561 ; Clear bed transformations G30 Z-500 ; Probe build plate M208 X-10 Y-10 S1 ; Allow negative travel for X & Y M290 R0 S0 ; cancel baby stepping G29 S2 ; cancel mesh bed compensation M561 ; Clear bed transformations G29 S0 ; Perform mesh probing M208 X0 Y0 S1 ; Disallow negative travel for X & Y else G29 S2 ; cancel mesh bed compensation M561 ; Clear bed transformations G29 S1 P"heightmap-110c.csv" ; Load height map M376 H5 ; Set mesh taper
-
Duet 3 / Toolboard - significant issue when connection is lost
We recently had the power wire leading to the toolboard fray which resulted in it losing power. When this happened, the print continued, however the BLTouch's probe extended breaking it in half.
While this exposed our carriage needs better strain relief, we would like to request the firmware immediately pause the print if it loses it's connection to the toolboard.
Is this possible? Thanks
-
RE: oozeBot Elevate
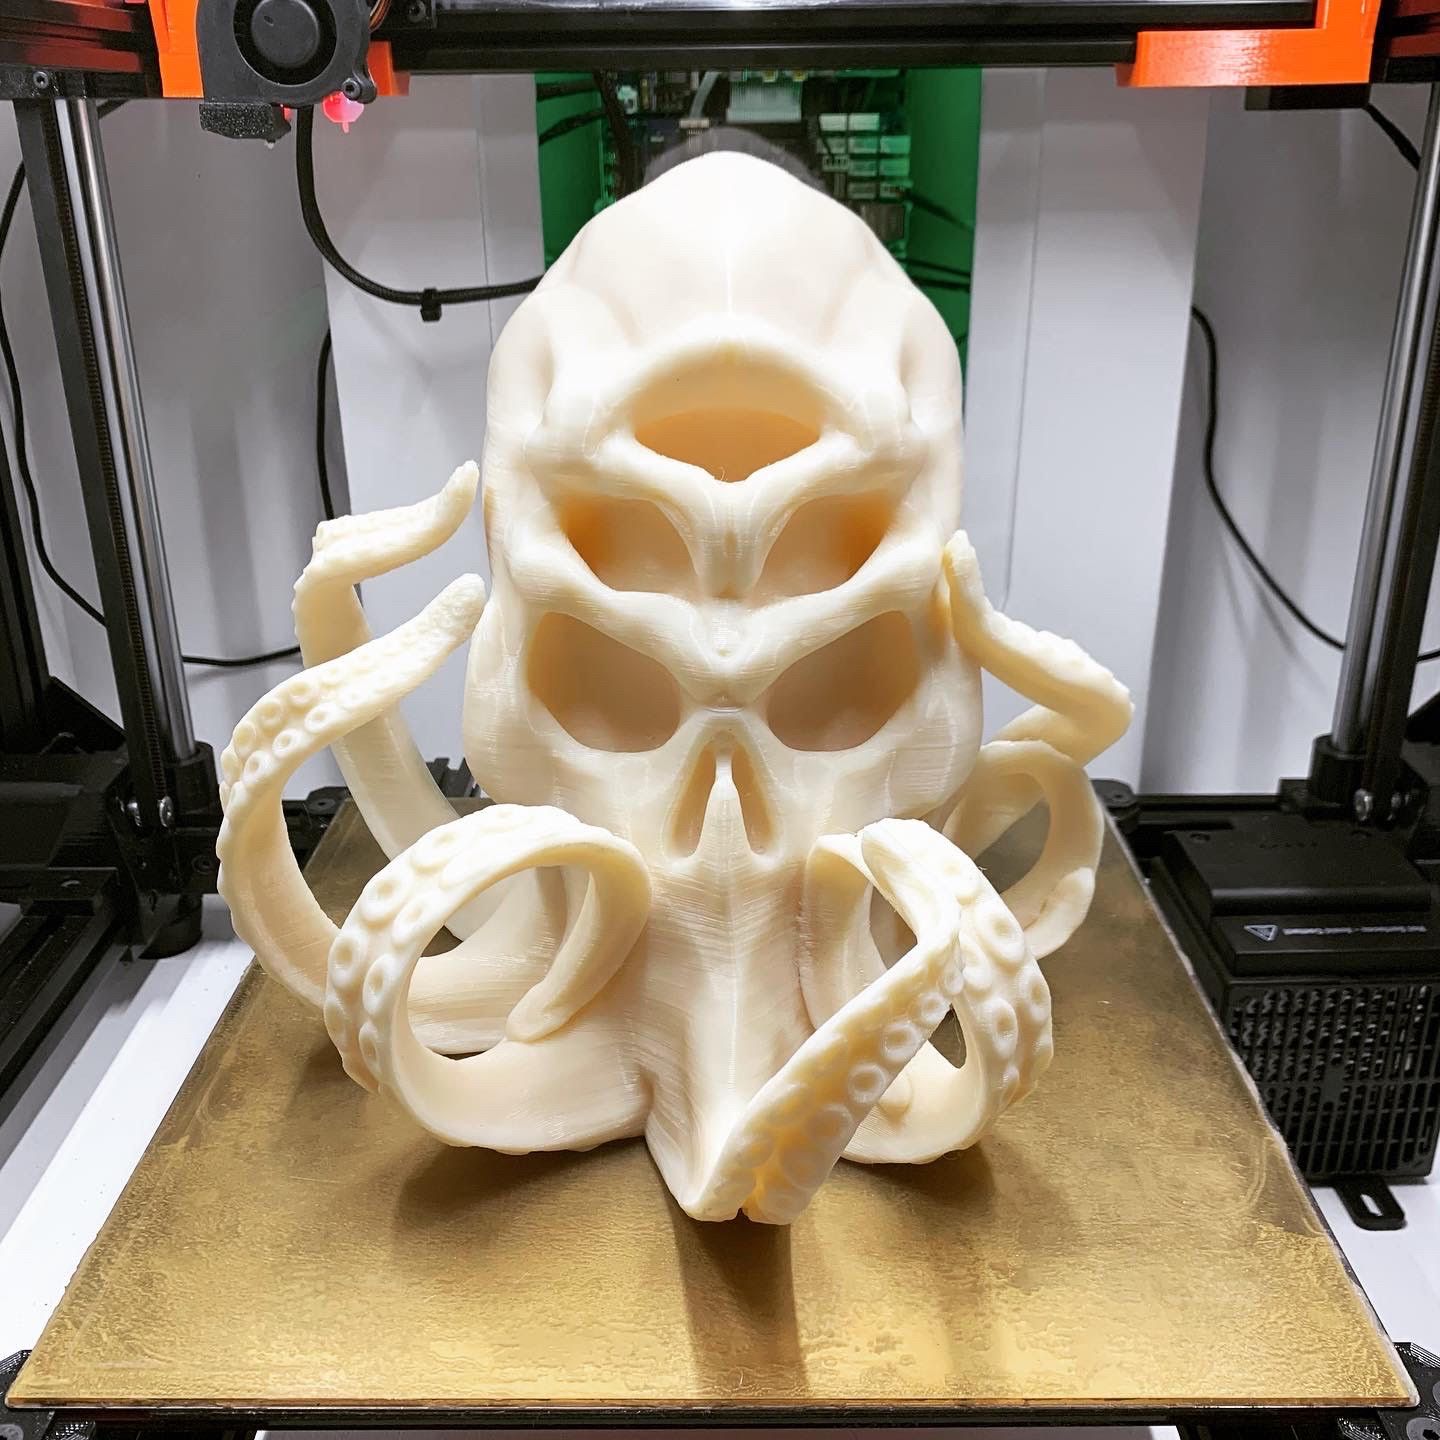
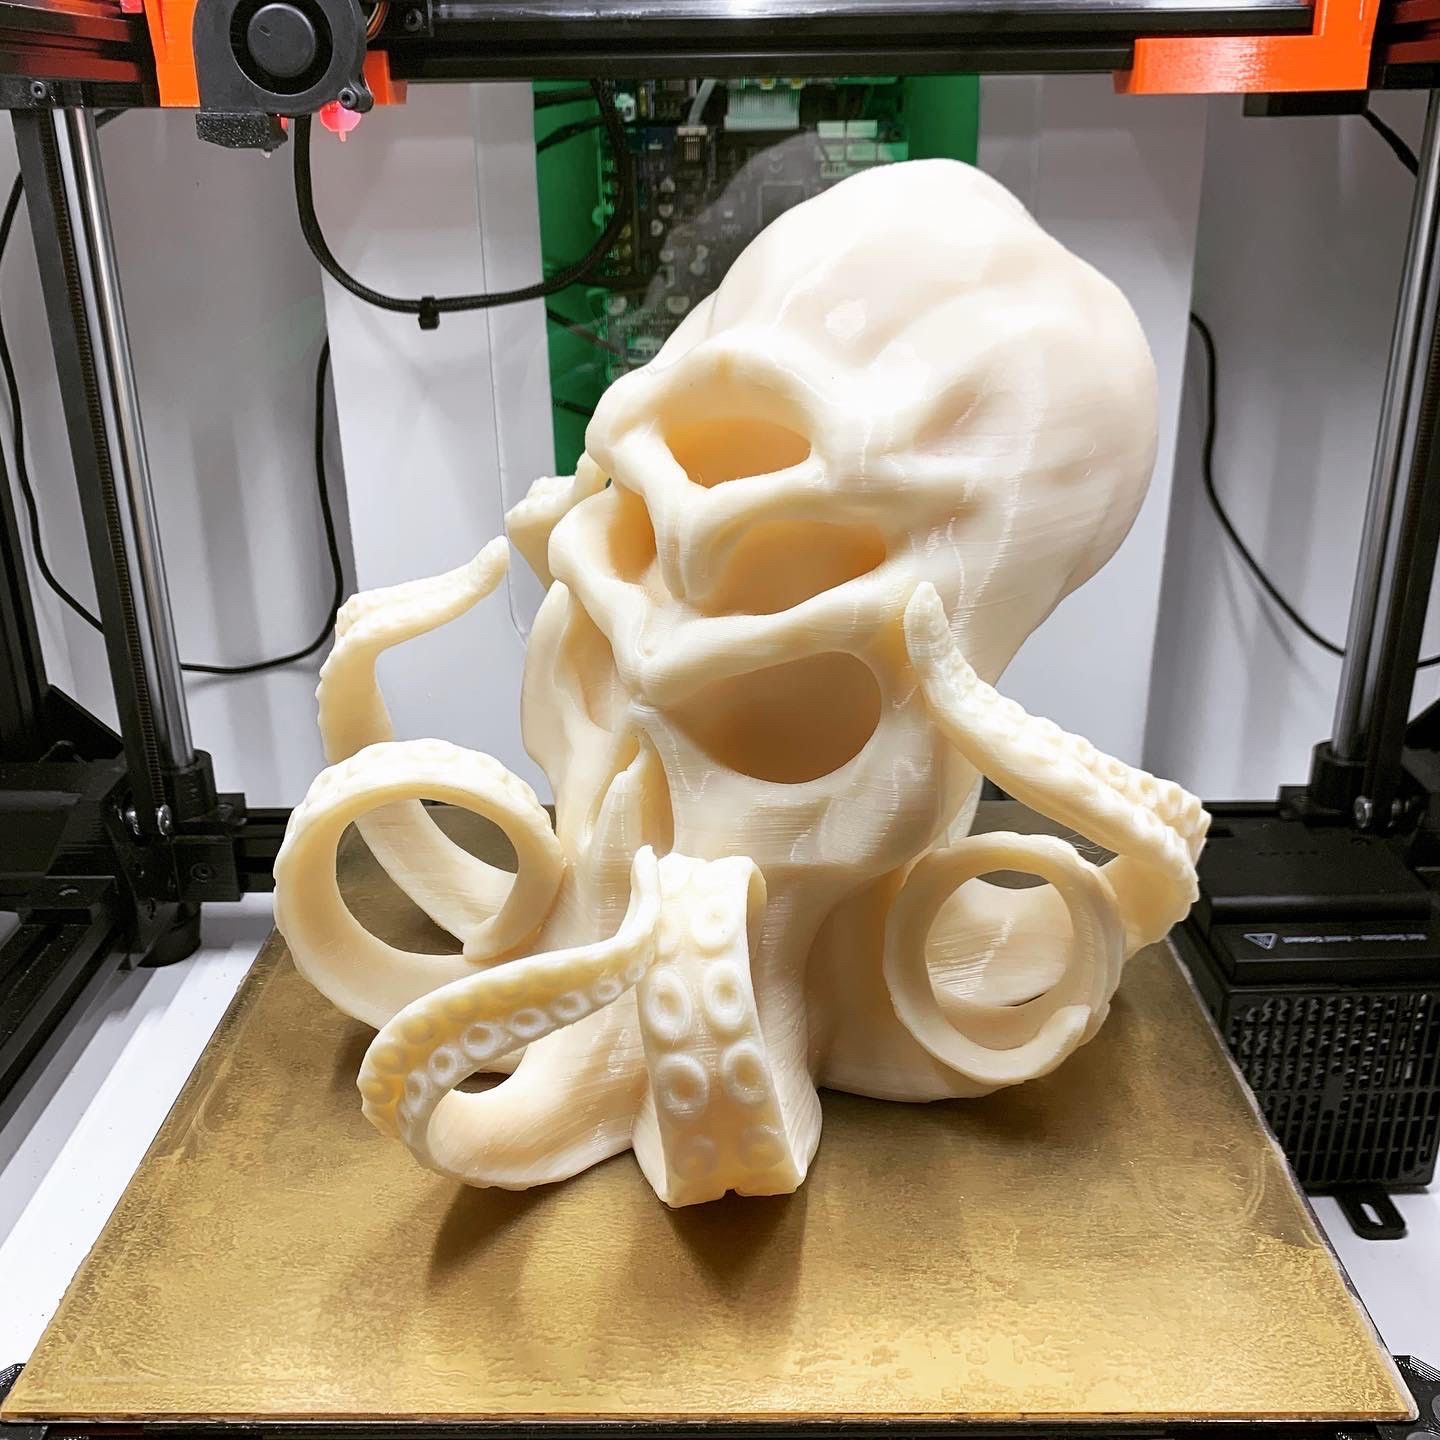
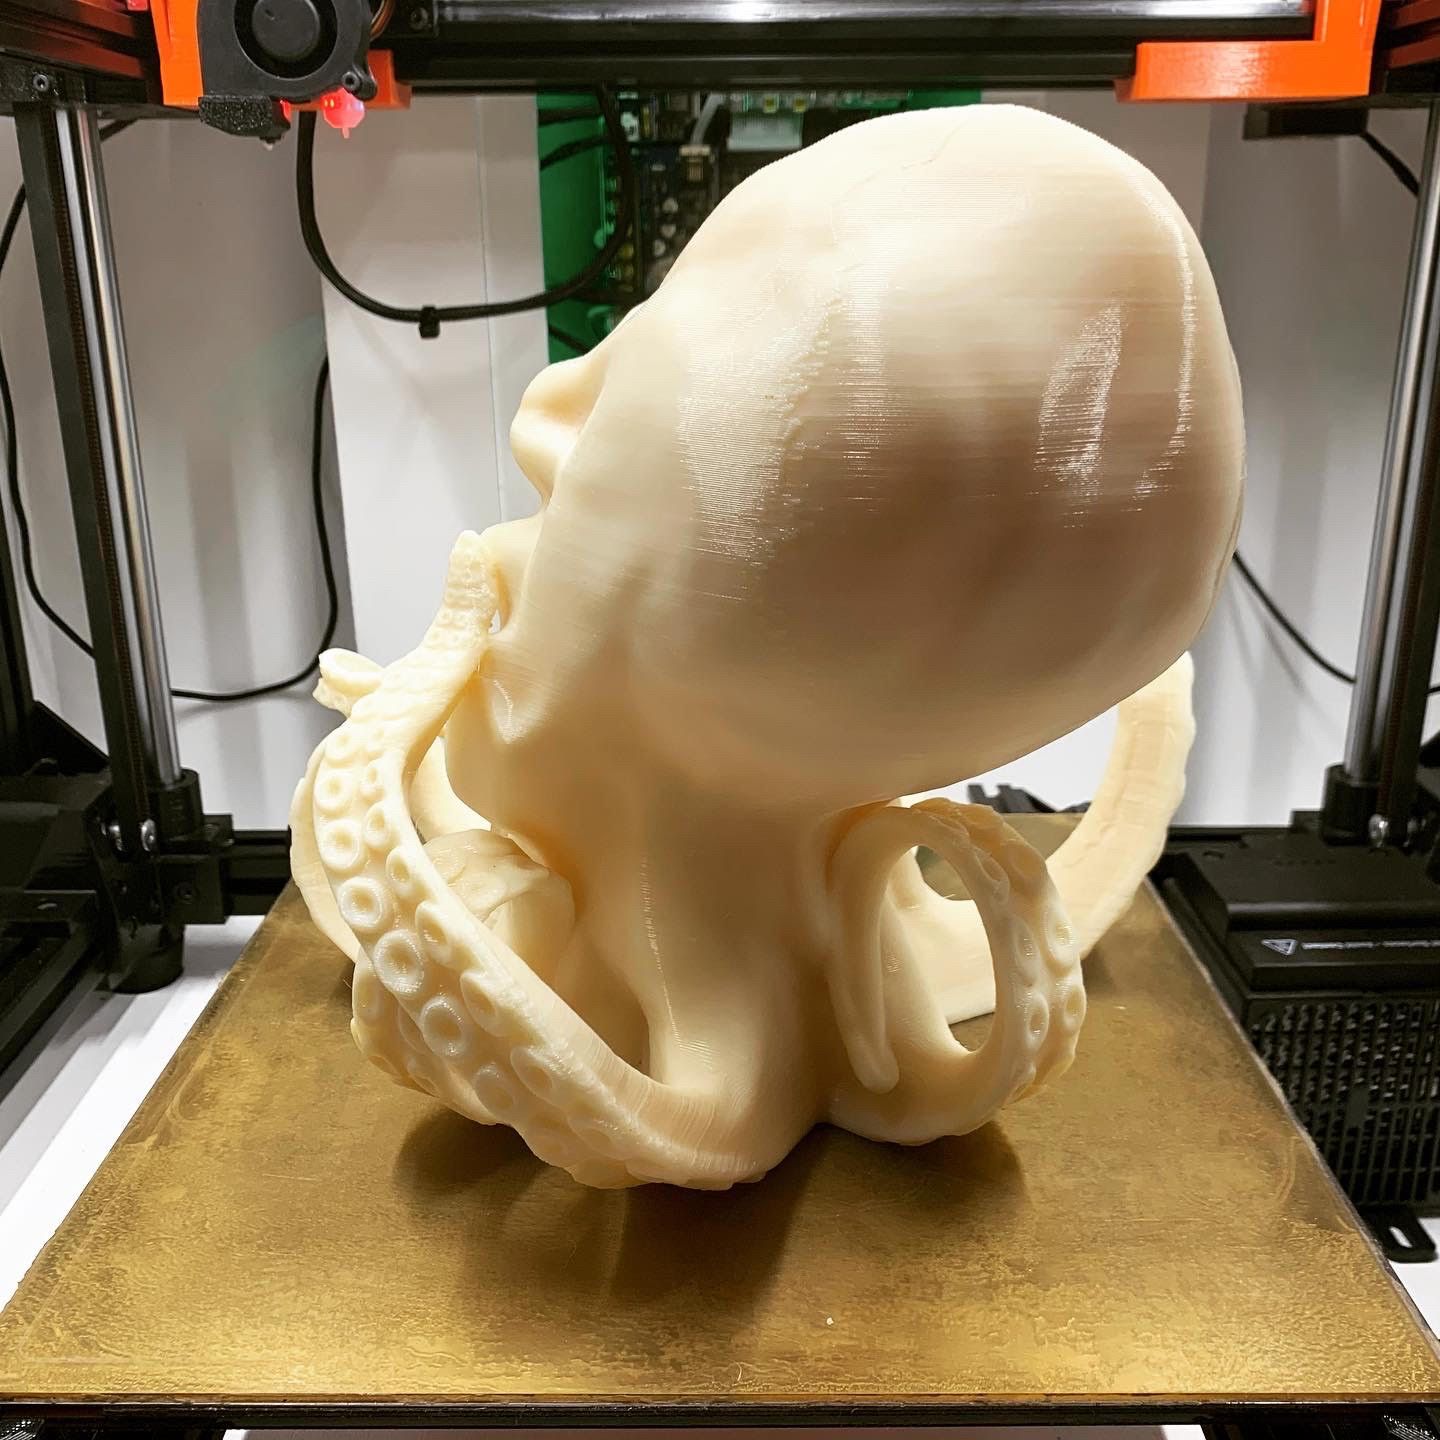
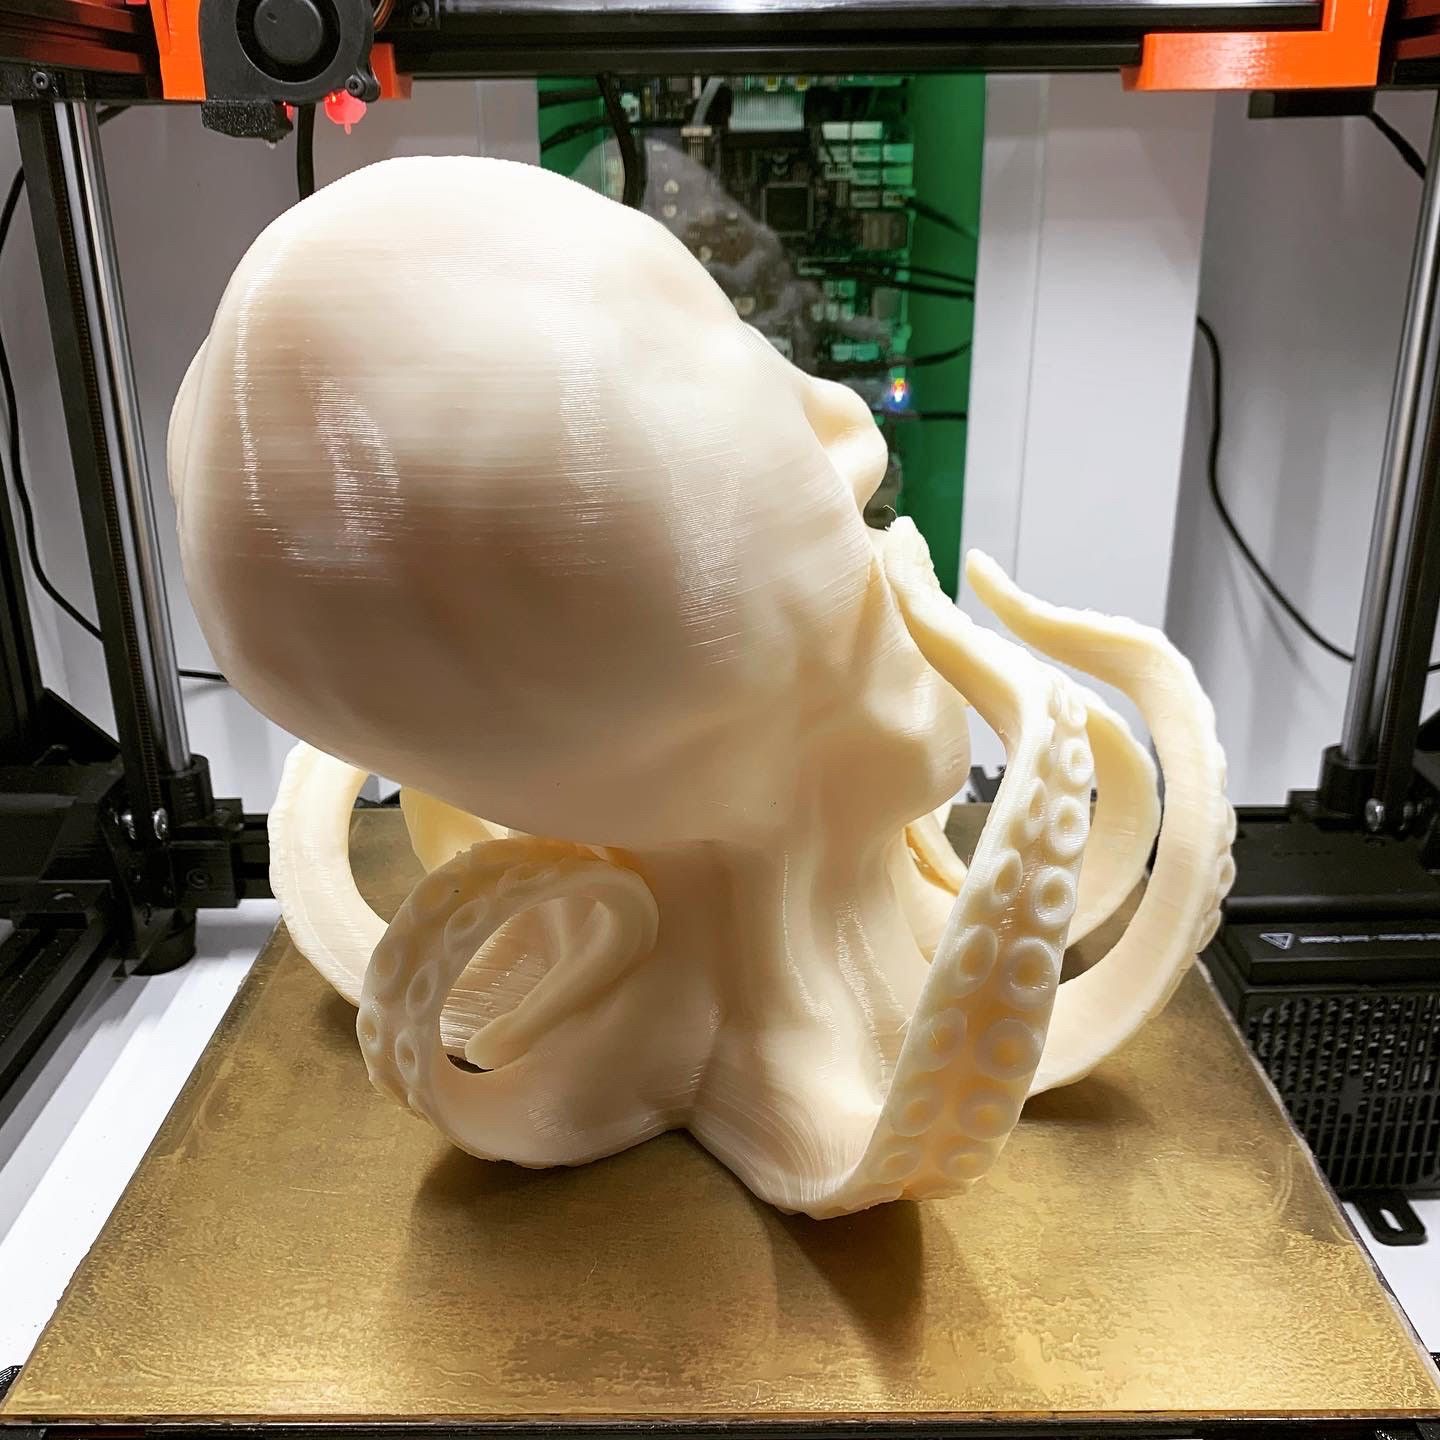
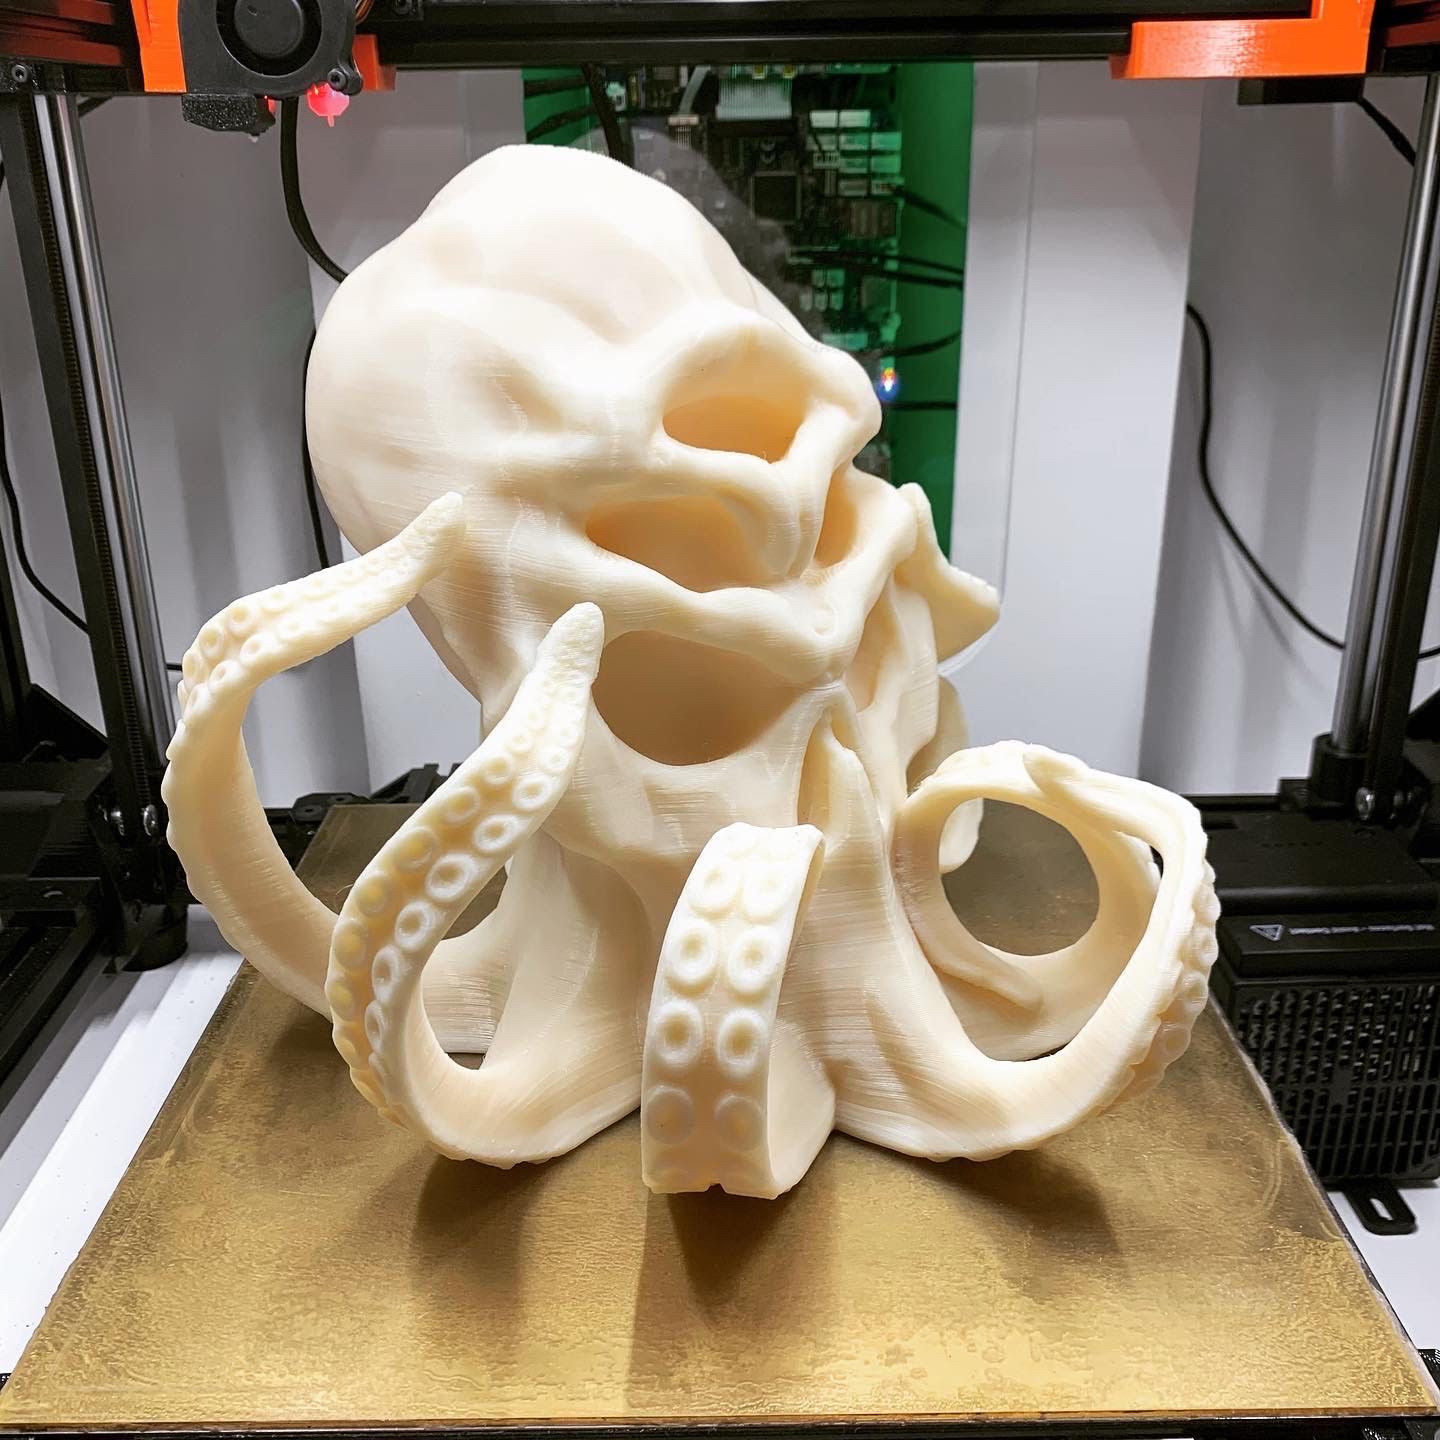
I wanted to post a few photos of a Halloween "torture test" we recently completed. This was printed in ABS, with no supports, using a 1.2mm nozzle. Extrusion width was 1.8mm and layer height was .4mm. It is 300mm deep x 264mm wide x 244mm high, was printed in ~17 hours, and weighs right at 3.5lbs.
This was our first time using a 1.2mm nozzle and getting the retraction settings right to (mostly) control stringing was a challenge, but firmware retraction made the changes easy! There was some mid-air printing near the base, but that was in the design and it recovered beautifully..
-
RE: Duet 3 / Toolboard - significant issue when connection is lost
@dc42 / @T3P3Tony - We need to raise this issue again to see if anything could be done about it, potentially in 3.4 as it creates a significant risk.
What was just discovered is that if the toolboard isn't communicating with RRF, the following errors are reported but then the script continue. This is extremely hazardous for bed leveling as it continues with the homez.g script even though the toolboard/probe isn't responding.
3/5/2022, 12:54:39 PM Error: Failed to enable probe 3/5/2022, 12:54:39 PM Error: M280: Response timeout: CAN addr 20, req type 4012, RID=73 3/5/2022, 12:54:38 PM Error: Response timeout: CAN addr 20, req type 6037, RID=72 3/5/2022, 12:54:37 PM Error: M280: Response timeout: CAN addr 20, req type 4012, RID=71
To us, the condition of losing connection with the toolboard is significant enough that RRF should immediately halt.
-
RE: oozeBot Elevate
Check out this video Slice just posted of one of our machines in action! What they didn't mention is this 200mm tall Spider-man was printed in ABS at 100mm/s (50mm/s external perimeter) in ~8 hours!
-
RE: New Input Shaping plugin v3.4.1-b1
One thing I just realized is that the the moves are based on max speed set in M203 - which in our case is 400mm/s - way above normal printing speeds. It might be beneficial to allow setting the speed of the moves as a parameter as that definitely plays into the readings..
-
Pushing the bounds of DWC on a SBC
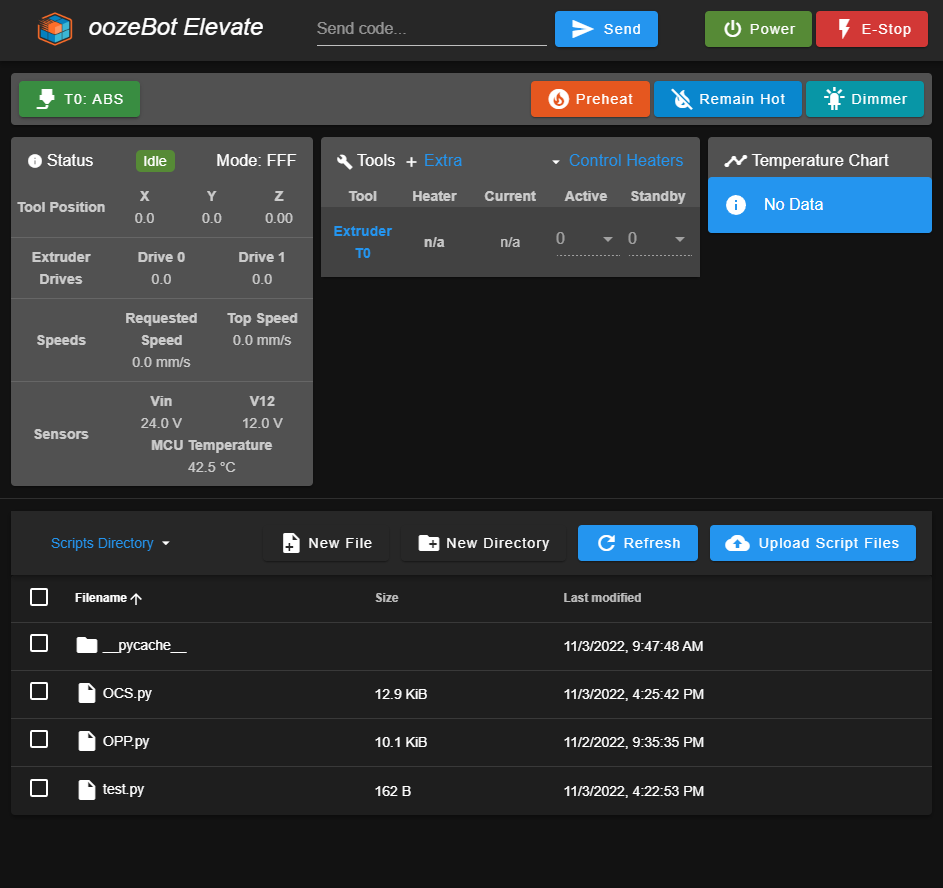
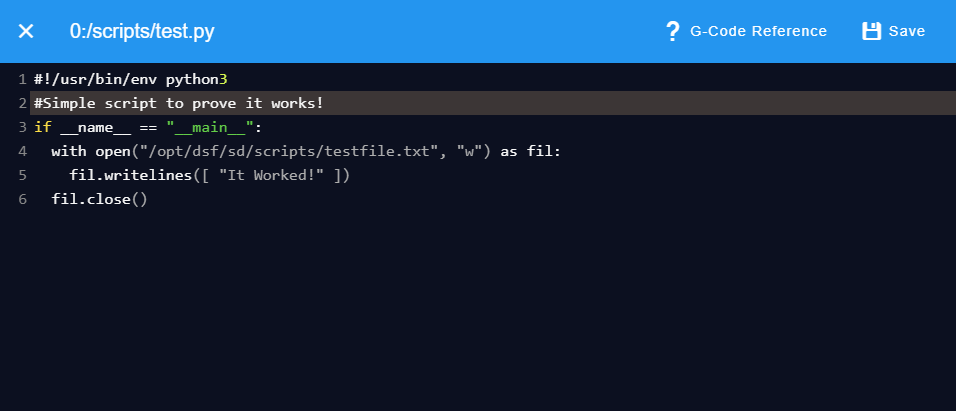
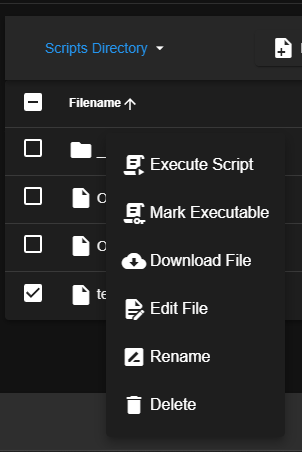
I had some time today to mess with DWC today and implemented a new list view for python / bash / other scripts under System. We needed a clean way to distribute scripting updates to not-so-savvy linux users. I'm pretty pleased with it so far and would love some feedback. This will be posted to our github just as soon as version 3.4.4 of OWC (oozeBot Web Control) is wrapped up.
New Script List
File Editor
New Menu Items:
results of executing the script:
-
PSA - Disable RPi WiFi Power Save
A few months ago, our machines began experiencing random failures where the SBC (we use the Raspberry Pi 4b) would become unresponsive. It was worrisome, to say the least, as it began randomly happening to all our printers. After considerable effort in diagnosing the issue, we believe the issue to be WiFi Power Save mode. After disabling, we have not experienced any further failures for several weeks.
If/when the WiFi module 'hiccups' due to Power Save being enabled (and it's enabled by default) the SD Card will timeout as it shares the same interface as WiFi and the RPi becomes unresponsive.
If anyone reading this disagrees, or has better insight, please feel free to correct us.
There are several ways to disable WiFi power save mode. We chose to create a service to handle it based on information found here: https://raspberrypi.stackexchange.com/questions/96606/make-iw-wlan0-set-power-save-off-permanent
Create a new service file:
sudo systemctl --full --force edit wifi_powersave@.service
Insert the following code and save:
[Unit] Description=Set WiFi power save %i After=sys-subsystem-net-devices-wlan0.device [Service] Type=oneshot RemainAfterExit=yes ExecStart=/sbin/iw dev wlan0 set power_save %i [Install] WantedBy=sys-subsystem-net-devices-wlan0.device
Run the following two commands and then reboot:
sudo systemctl disable wifi_powersave@on.service sudo systemctl enable wifi_powersave@off.service
After reboot, you can verify it is now disabled by running the following:
iwconfig | grep "Power Management"
The output should now include something like the following:
lo no wireless extensions. eth0 no wireless extensions. Power Management:off
-
RE: oozeBot Elevate
Here's a quick pic of our latest prototype in the enclosure I just finished..
-
RE: You down with OPP? (oozeBot Post-Processor)
We'd love some feedback on this and ideas for additional functionality it can accomplish. While this is geared towards our printers, we are trying hard to keep all our code flexible enough where it will work for others as well without reverse engineering.
-
RE: oozeBot Elevate
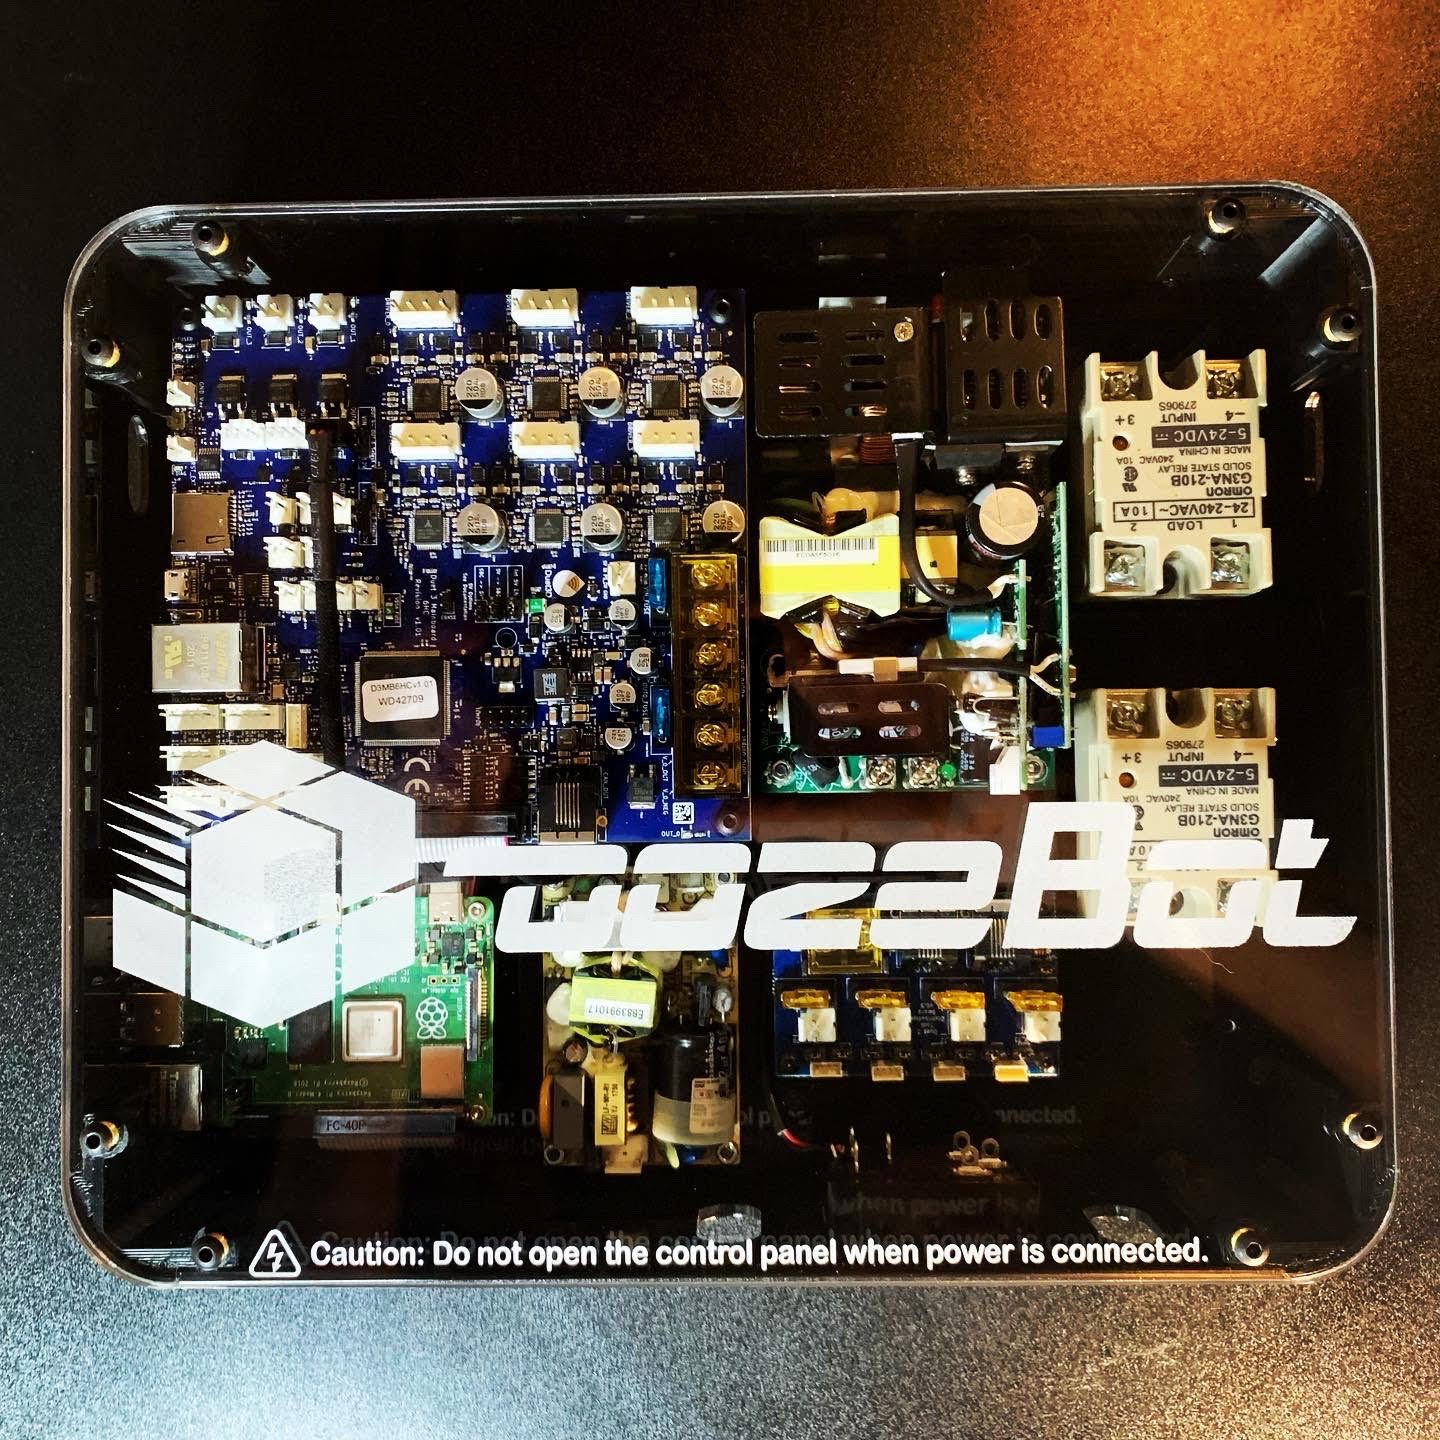
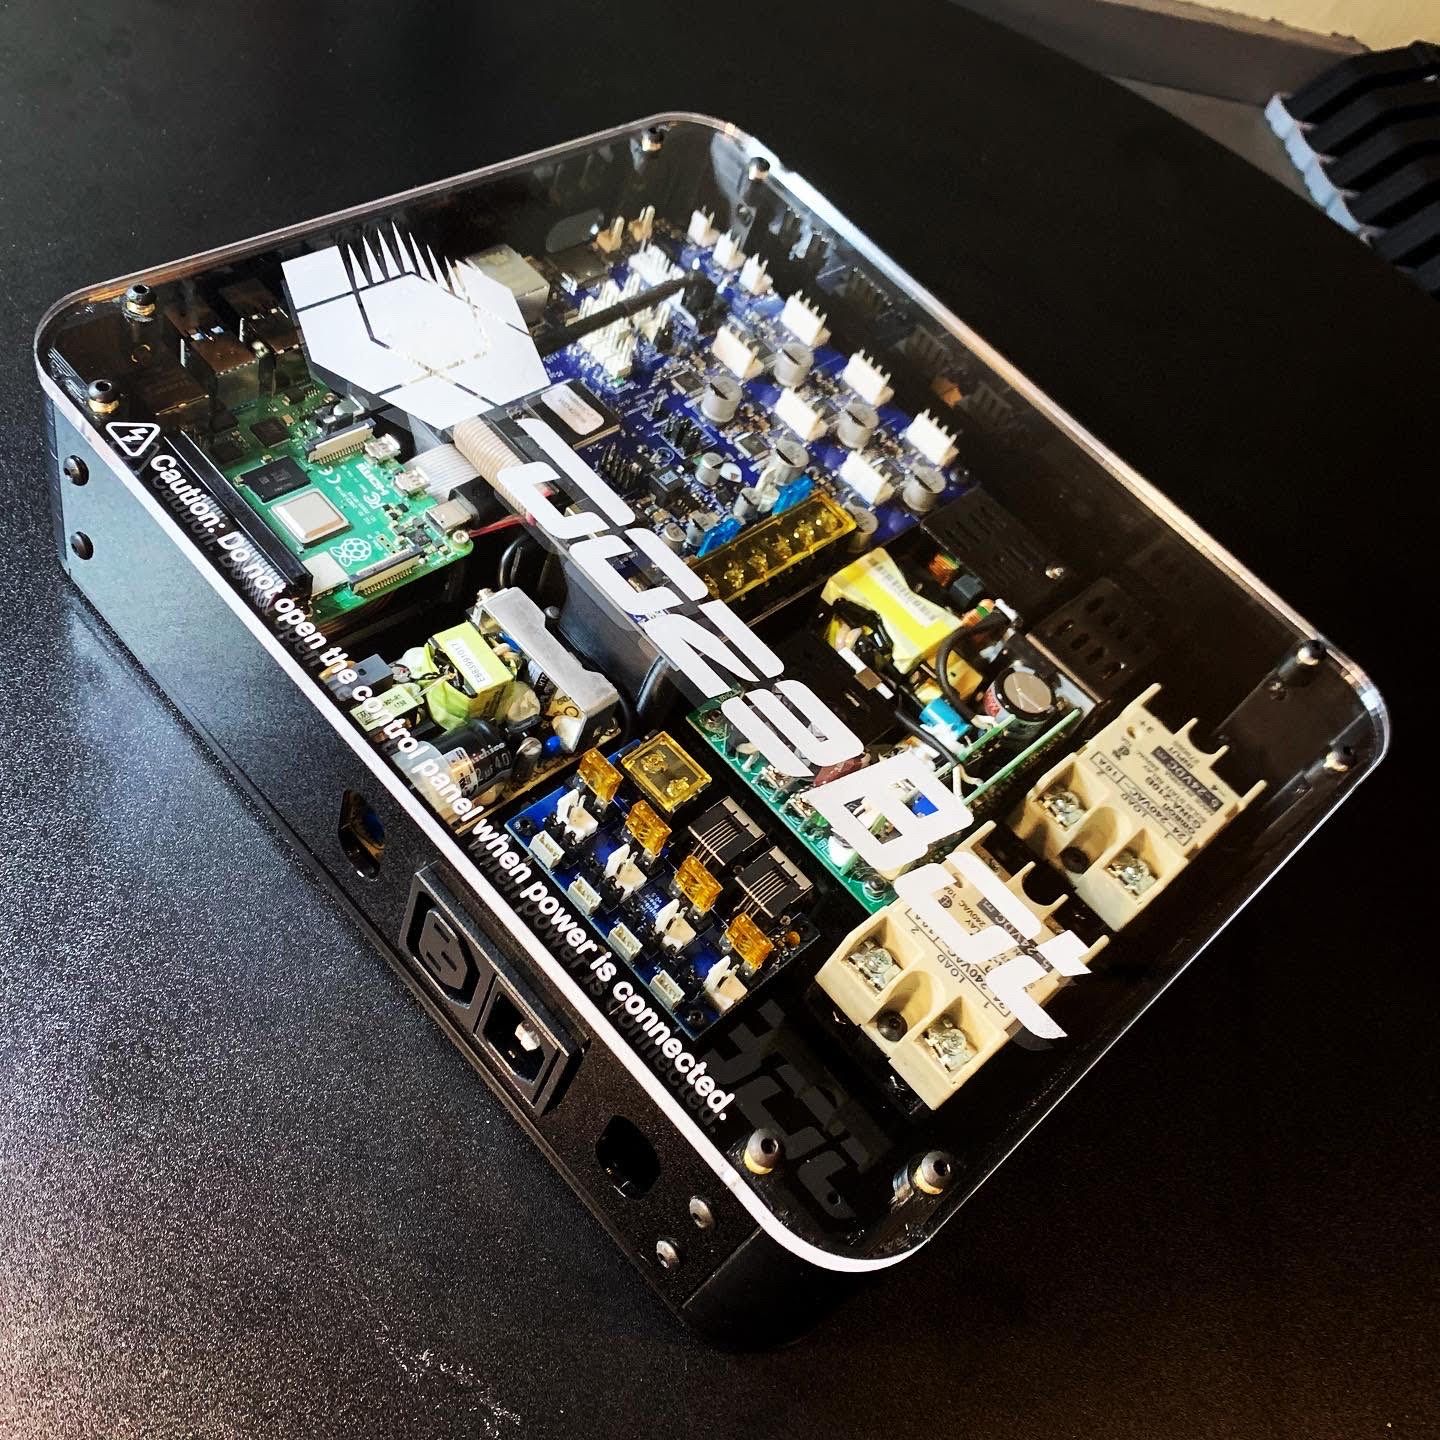
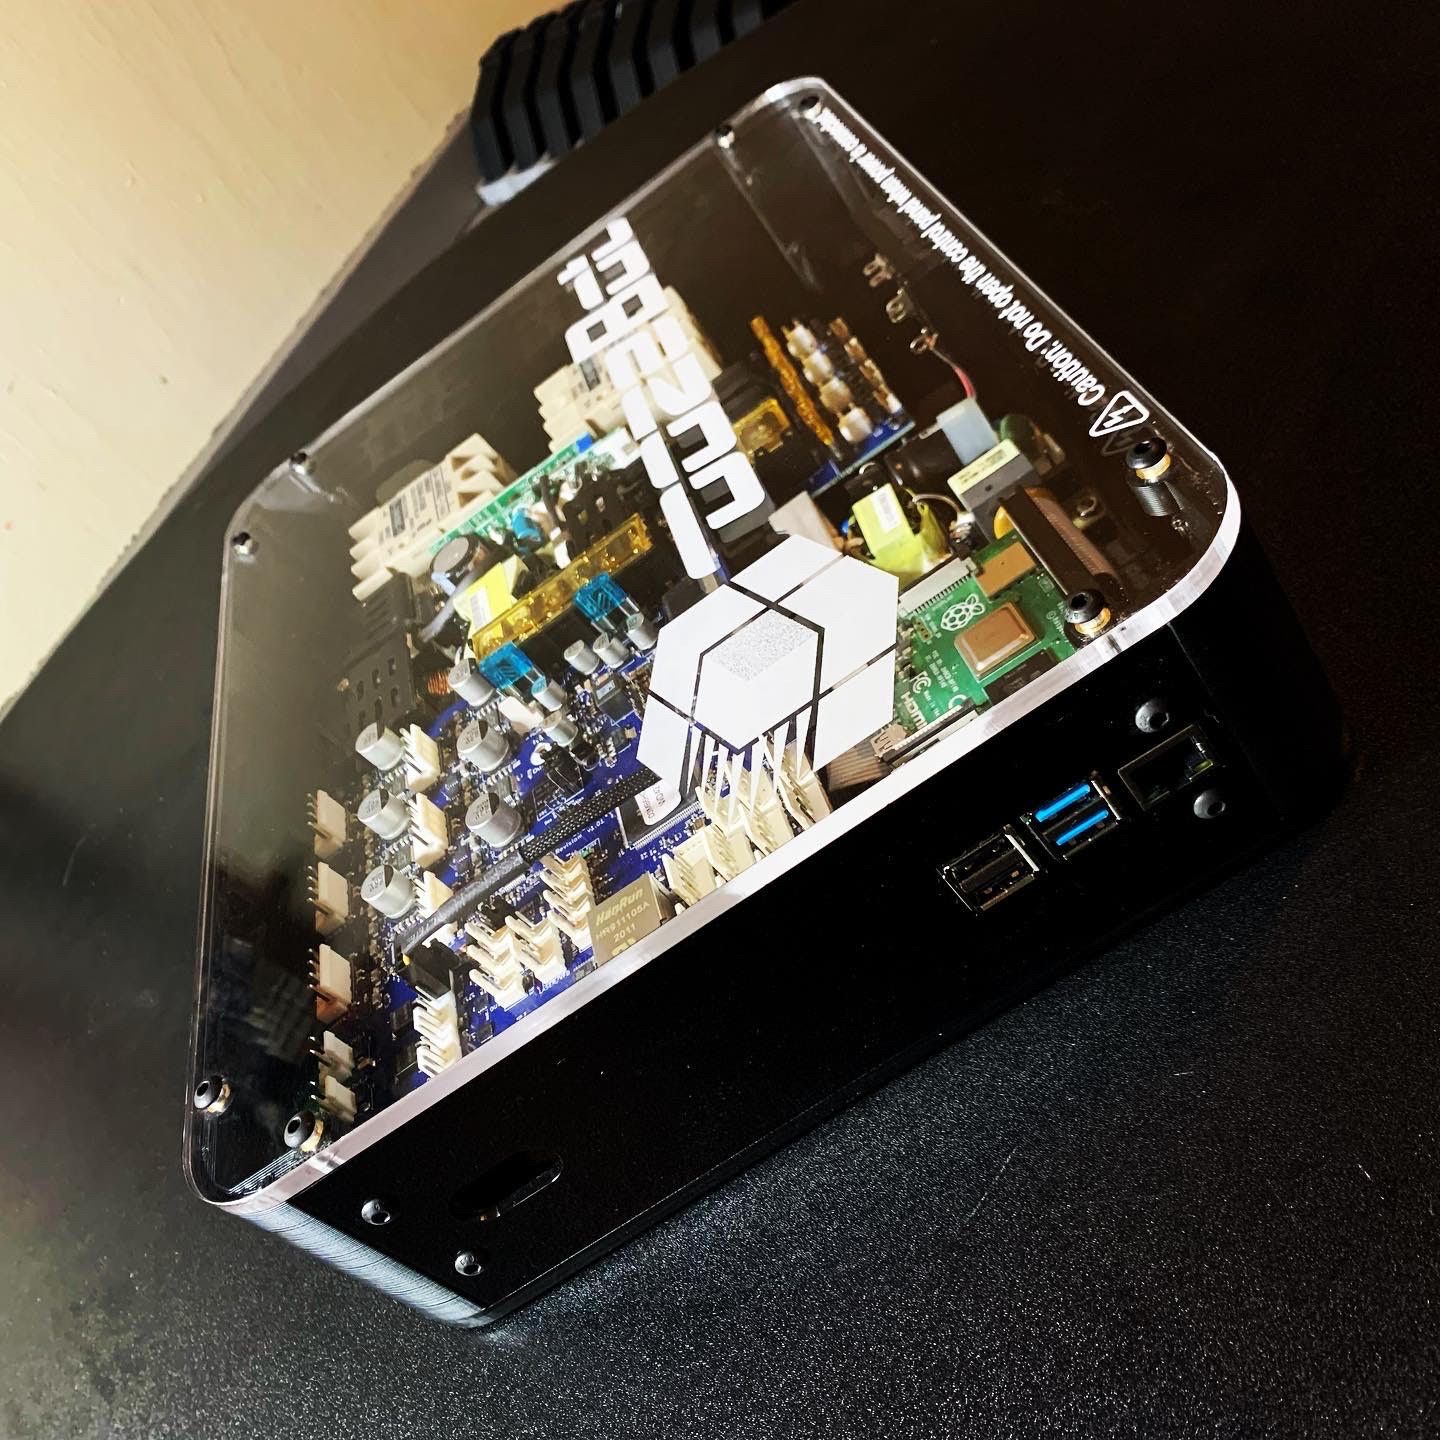
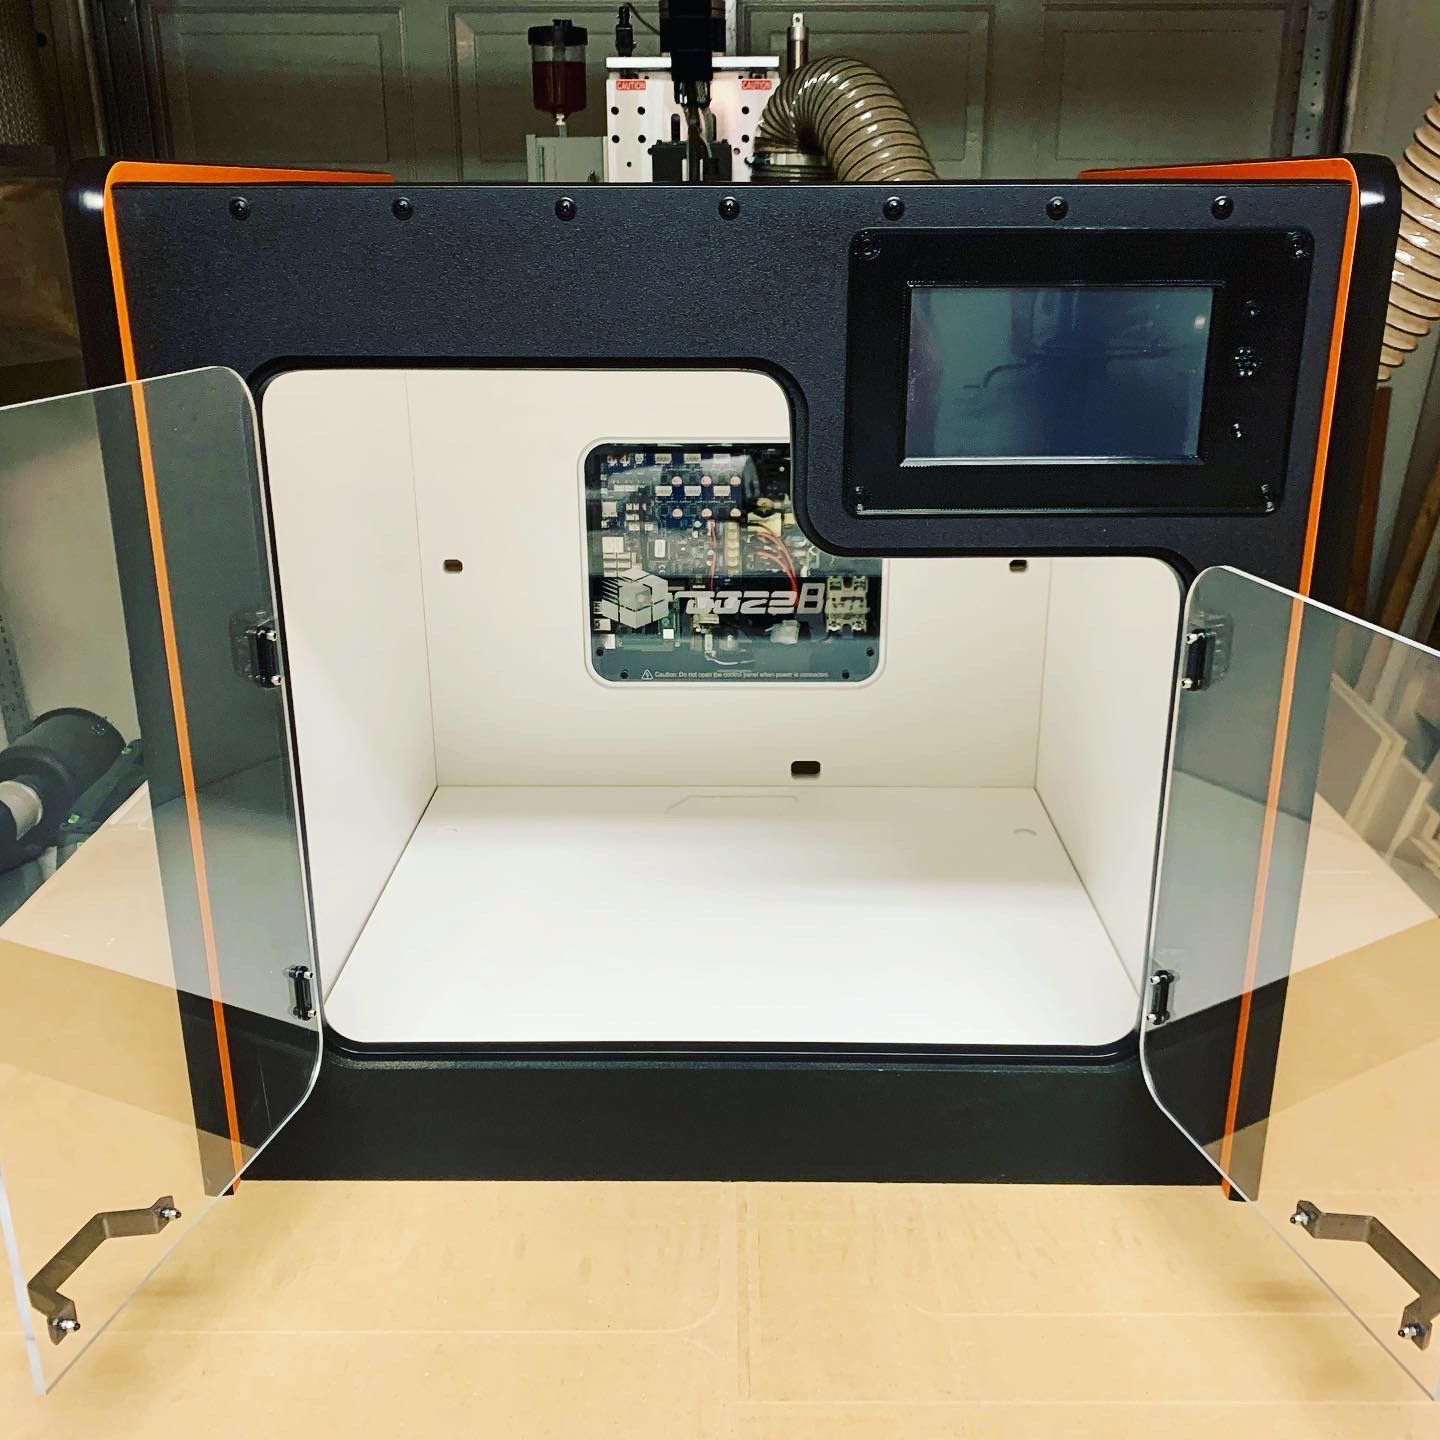
We have just wrapped up the design of our electronics control panel and thought it would be of interest. It features a Duet 3 (6HC) mainboard, a Duet breakout board (IDEX only), a 2gb RPi4b, two Omron SSRs for build plate and chamber heaters, and both a 5v and 24v Meanwell power supply. Hidden underneath the Duet 3 mainboard is a 92mm intake fan with air channels venting towards the power supplies and other electronics.
-
Timelapse video through execonmcode!
I'm pleased to give back to the community with the following script to add timelapse video when using a Duet3 and Raspberry Pi. I am unsure if this will work with a Duet2, but maybe..? if execonmcode works, then yes it will..
example video:
https://vimeo.com/468721949This one does take some setup, but the payoff is well worth it. Note that this expects the files to be in the following folders as the default:
- timelapse.sh should be in a folder named /scripts located off of the root directory
- a folder named pix must be located in the /scripts folder
- a seed file named timelapse_counter, containing only a -1 must be located in the /scripts folder
- a folder located in the root directory named /timelapse for the output video
Also note that both mjpg_streamer and ffmpeg must be installed on your RPi.
First, here is the service code. I chose M5575.
[Unit] Description=Duet API listener for Timelapse Video by oozeBot After=duetcontrolserver.service Requires=duetcontrolserver.service [Service] ExecStart=/usr/local/bin/execonmcode -mCode 5575 -command "./scripts/timelapse.sh %%A %%F" Restart=always RestartSec=10 [Install] WantedBy=multi-user.target
Here is v1.0 of the bash script:
#!/bin/bash # Timelapse Video by oozeBot (www.oozeBot.com) v1.0 - released 10/15/2020 # Usage: ./timelapse.sh Action FPS # Example: ./timelapse.sh "Enable/Disable/Make/Remove" "1-30" # gCode: M5575 A"Enable" ;Enables timelapse and cleans up the image folder # gCode: M5575 A"Capture" ;if enabled, captures a snapshot from the video feed # gCode: M5575 A"Disable" ;Disables timelapse # gCode: M5575 A"Make" F"12" ;Creates a video of the snapshots @ 12fps # gCode: M5575 A"Remove" ;Removes all images in the image folder Action=`echo $1 | tr [a-z] [A-Z] | cut -c1-1` CounterFile="/scripts/timelapse_counter" ImageNum=`cat $CounterFile` if [ "$Action" = "E" ];then #Enables timelapse by setting the counter to 0 and removes all images in the image folder ImageNum=0 rm -rf /scripts/pix/* echo $ImageNum > $CounterFile elif [ "$Action" = "D" ] && [ $ImageNum -gt 0 ];then #If enabled, disables timelapse by setting the counter to -1 ImageNum=-1 echo $ImageNum > $CounterFile elif [ "$Action" = "M" ] && [ $ImageNum -lt 0 ];then #Creates timelapse video at the specified FPS, else defaults to 24 #This will return an error if no images exist and only works when disabled fps=$2 if ! [[ $2 =~ ^[0-9]+$ ]];then fps="24" fi ffmpeg -framerate $fps -start_number 1 -i "/scripts/pix/%d.jpg" -s:v 1920x1080 -vcodec libx264 -qp 0 -preset veryslow /timelapse/$(date +"%Y_%m_%d_%I_%M_%S_%p").mp4 elif [ "$Action" = "R" ] && [ $ImageNum -lt 0 ];then #If disabled, removes all images within the image folder (optional as all images will be removed after restart) rm -rf /scripts/pix/* elif [ "$Action" = "C" ] && [ $ImageNum -ge 0 ];then #Increments counter and captures snapshot ImageNum=$((ImageNum+1)) wget http://localhost:8080/?action=snapshot -O '/scripts/pix/'$ImageNum'.jpg' echo $ImageNum > $CounterFile fi
Note all M5575 commands should be preceded by an M400 if you want the extruder to stand still
I put examples in the script of all usage through gCode. For the example video above, in the starting script of my slicer, I've added M5575 A"Enable" to enable timelapse. In my layer change script, I've added M5575 A"Capture". And finally, in the ending script, I've added M5575 A"Disable" to disable.
Why did I do it this way? Because I wanted to process the video outside of the control of the job's gCode - however, you could include the following in the bottom of your ending script to both make the video and clean up the photos: M5575 A"Make" F"12" (whatever FPS you want) followed by M5575 A"Remove". Just be prepared to wait before the job actually completes as it holds in process until the video is done.
I also did it this way so I could adjust the framerate by just running the command with various FPS from DWC..
This was also designed to be added to your daemon.g file using M5575 A"Capture" followed by a G40 S10 (or whatever second delay you want) to make a different type of timelapse. It will only save photos while the timelapse has been enabled using M5575 A"Enable".. so it's safe to just leave in there if you so choose. However, it currently supports layer change or X seconds - not both at the same time. If there was demand, I could add that..
And if there are an ffmpeg experts out there, please feel free to correct my usage of it. What I've used might be overkill or not perfect, but it's working well..
-
RE: oozeBot Elevate
We should probably just let this old thread die as almost everything posted was during our prototyping phase and has been replaced and/or updated. However, we'll keep it going with new updates instead of littering up the forum.
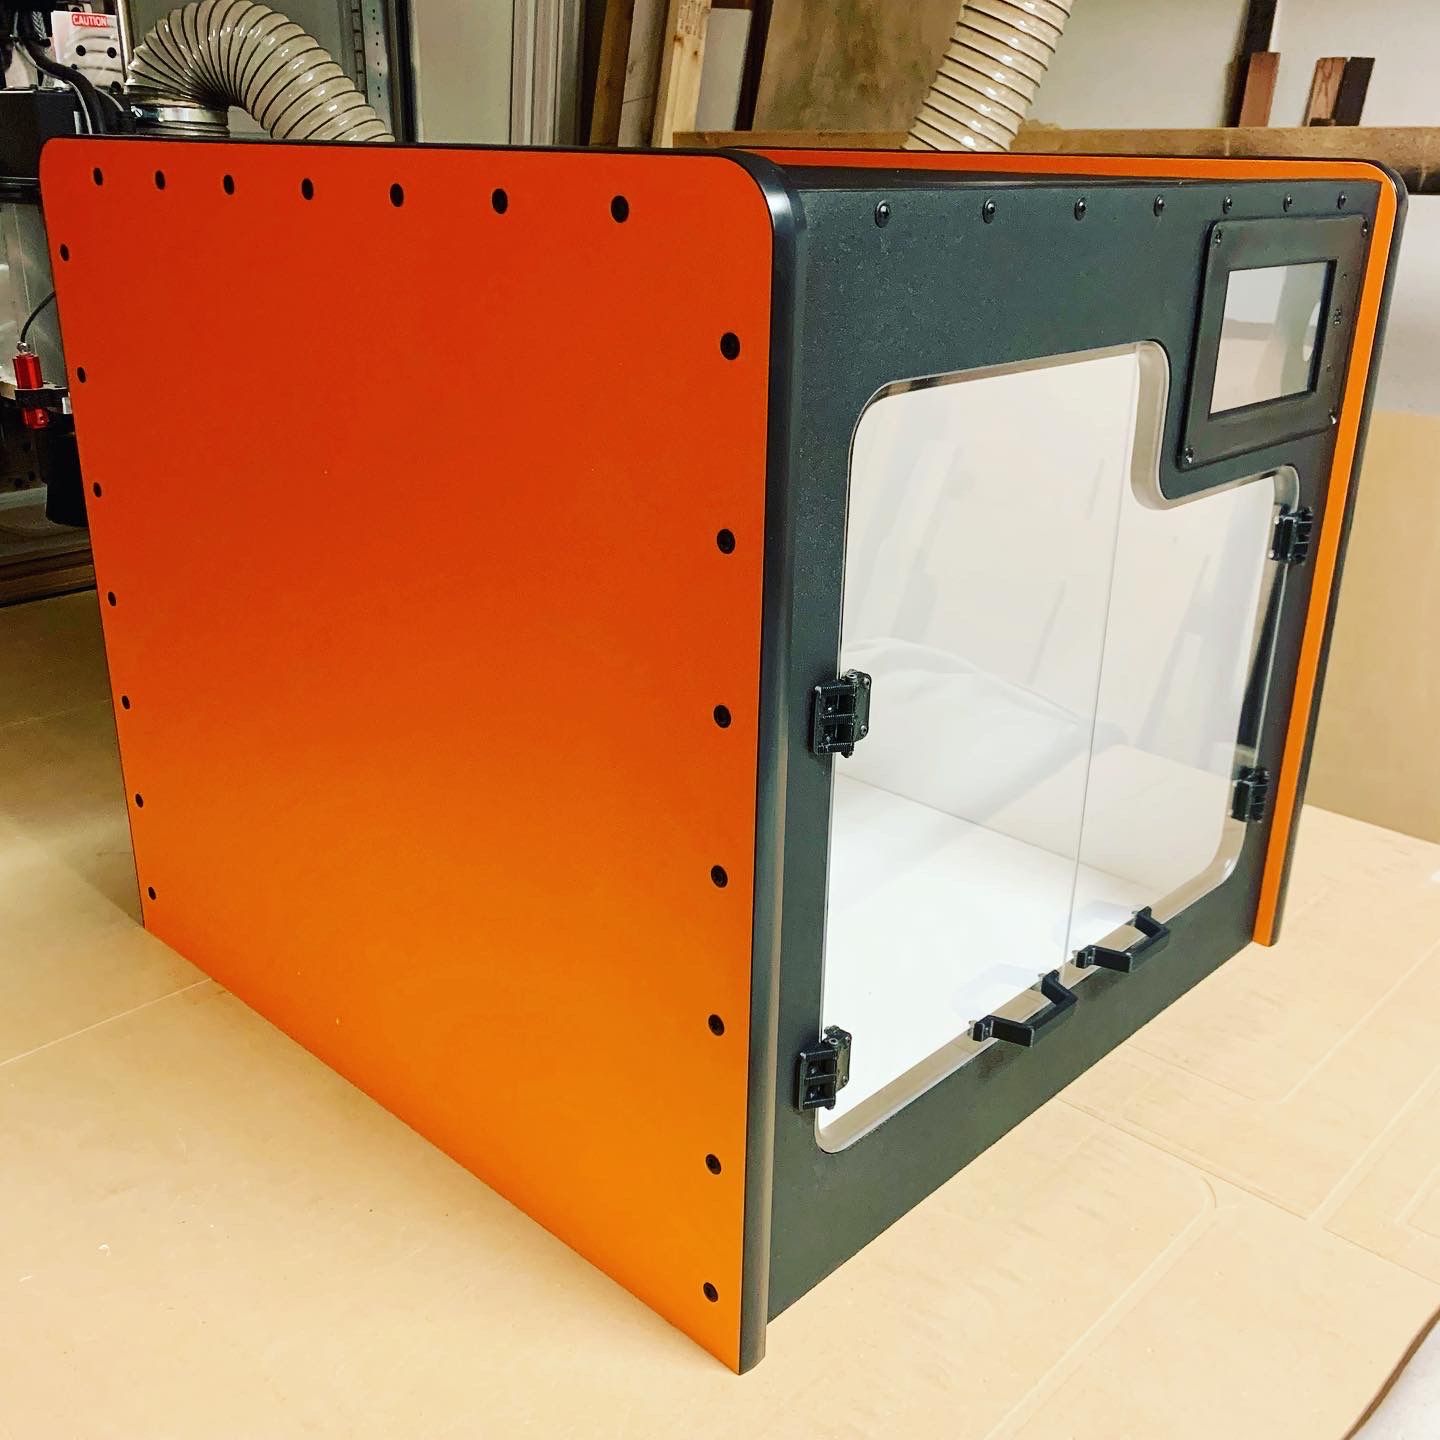
Here is the near final version of our enclosure which takes some design hints from an 80's arcade machine. Yes, that's real t-molding. It will be sold as a flat pack with optional paint schemes and other extras such as side windows and a few other surprises.
Also, here is our new filament storage chamber design. This is the first of several we are building as we expand our farm. Each holds 12 mega-spools (10kg or 22lb) of ABS filament and feed 6 printers. It's controlled by a Raspberry Pi and a bank of relays to maintain ~20% humidity at 40~45c once stabilized.
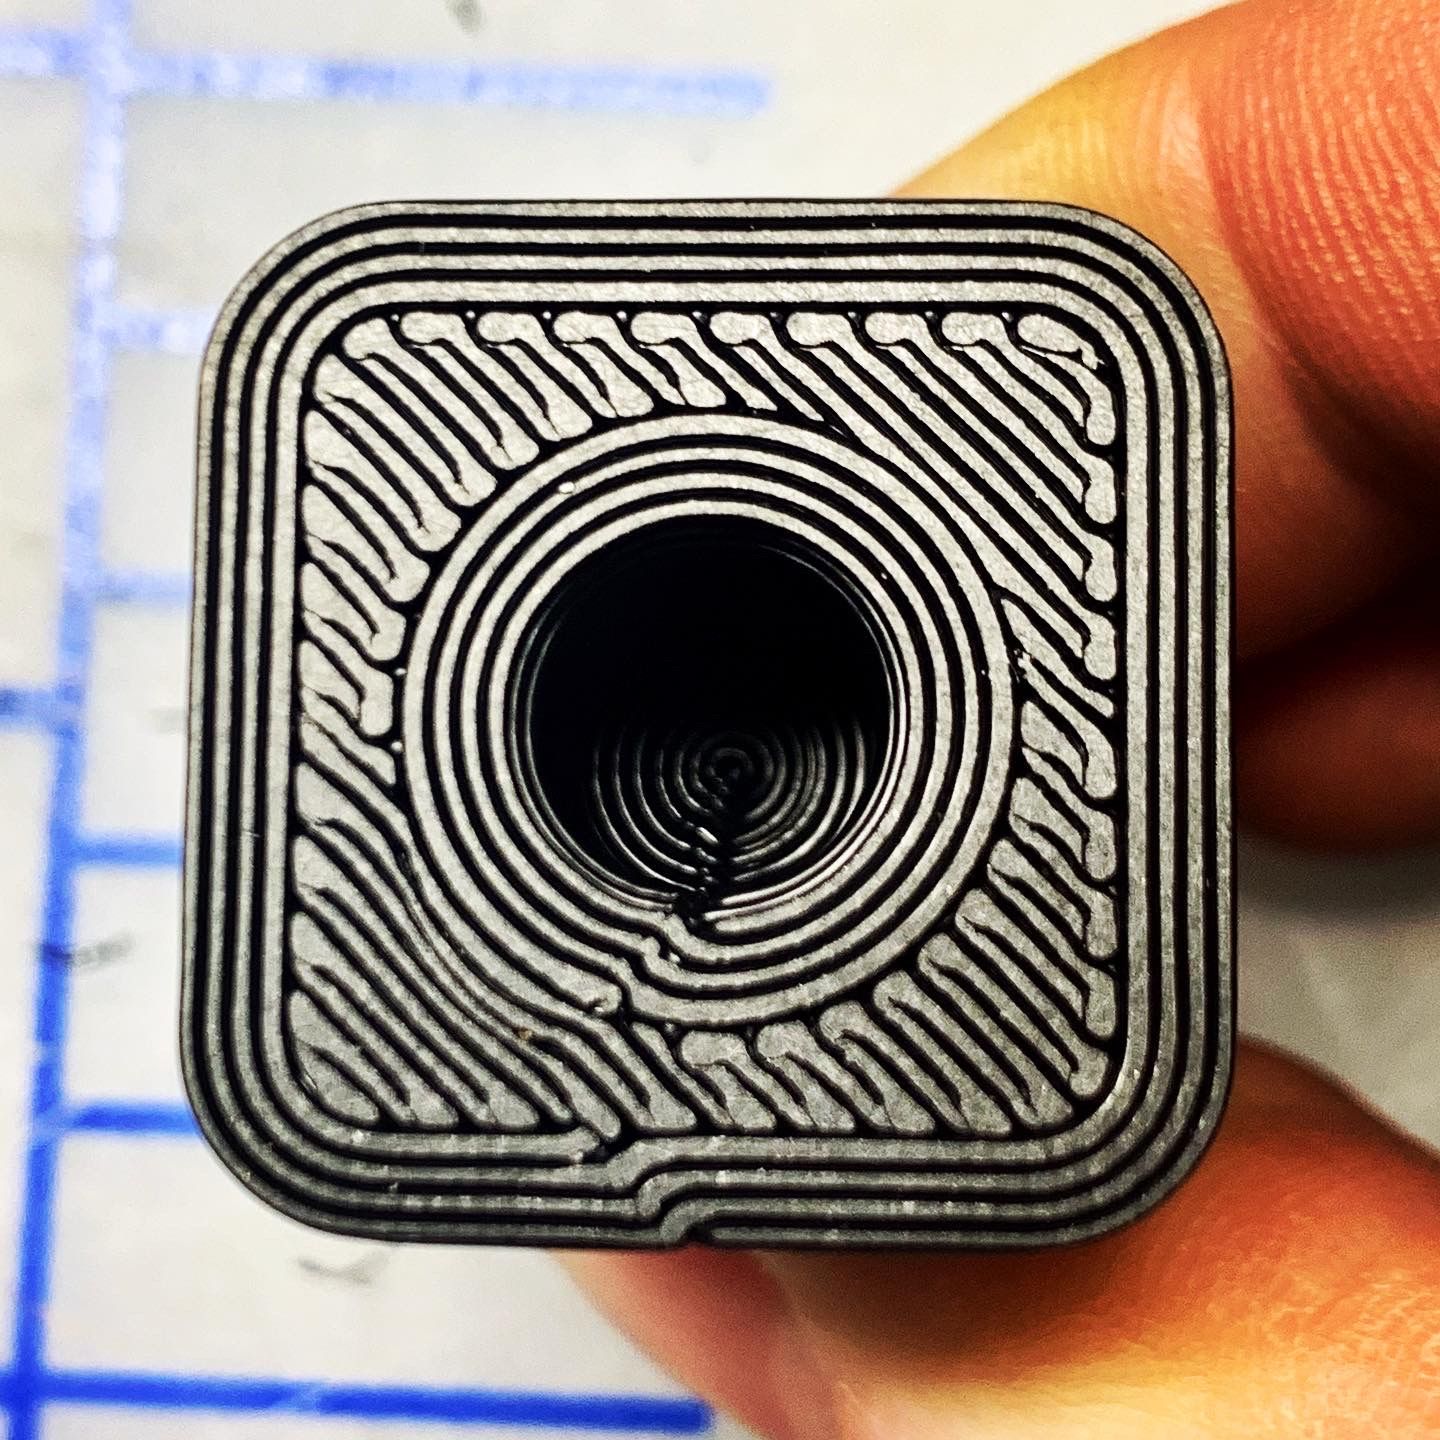
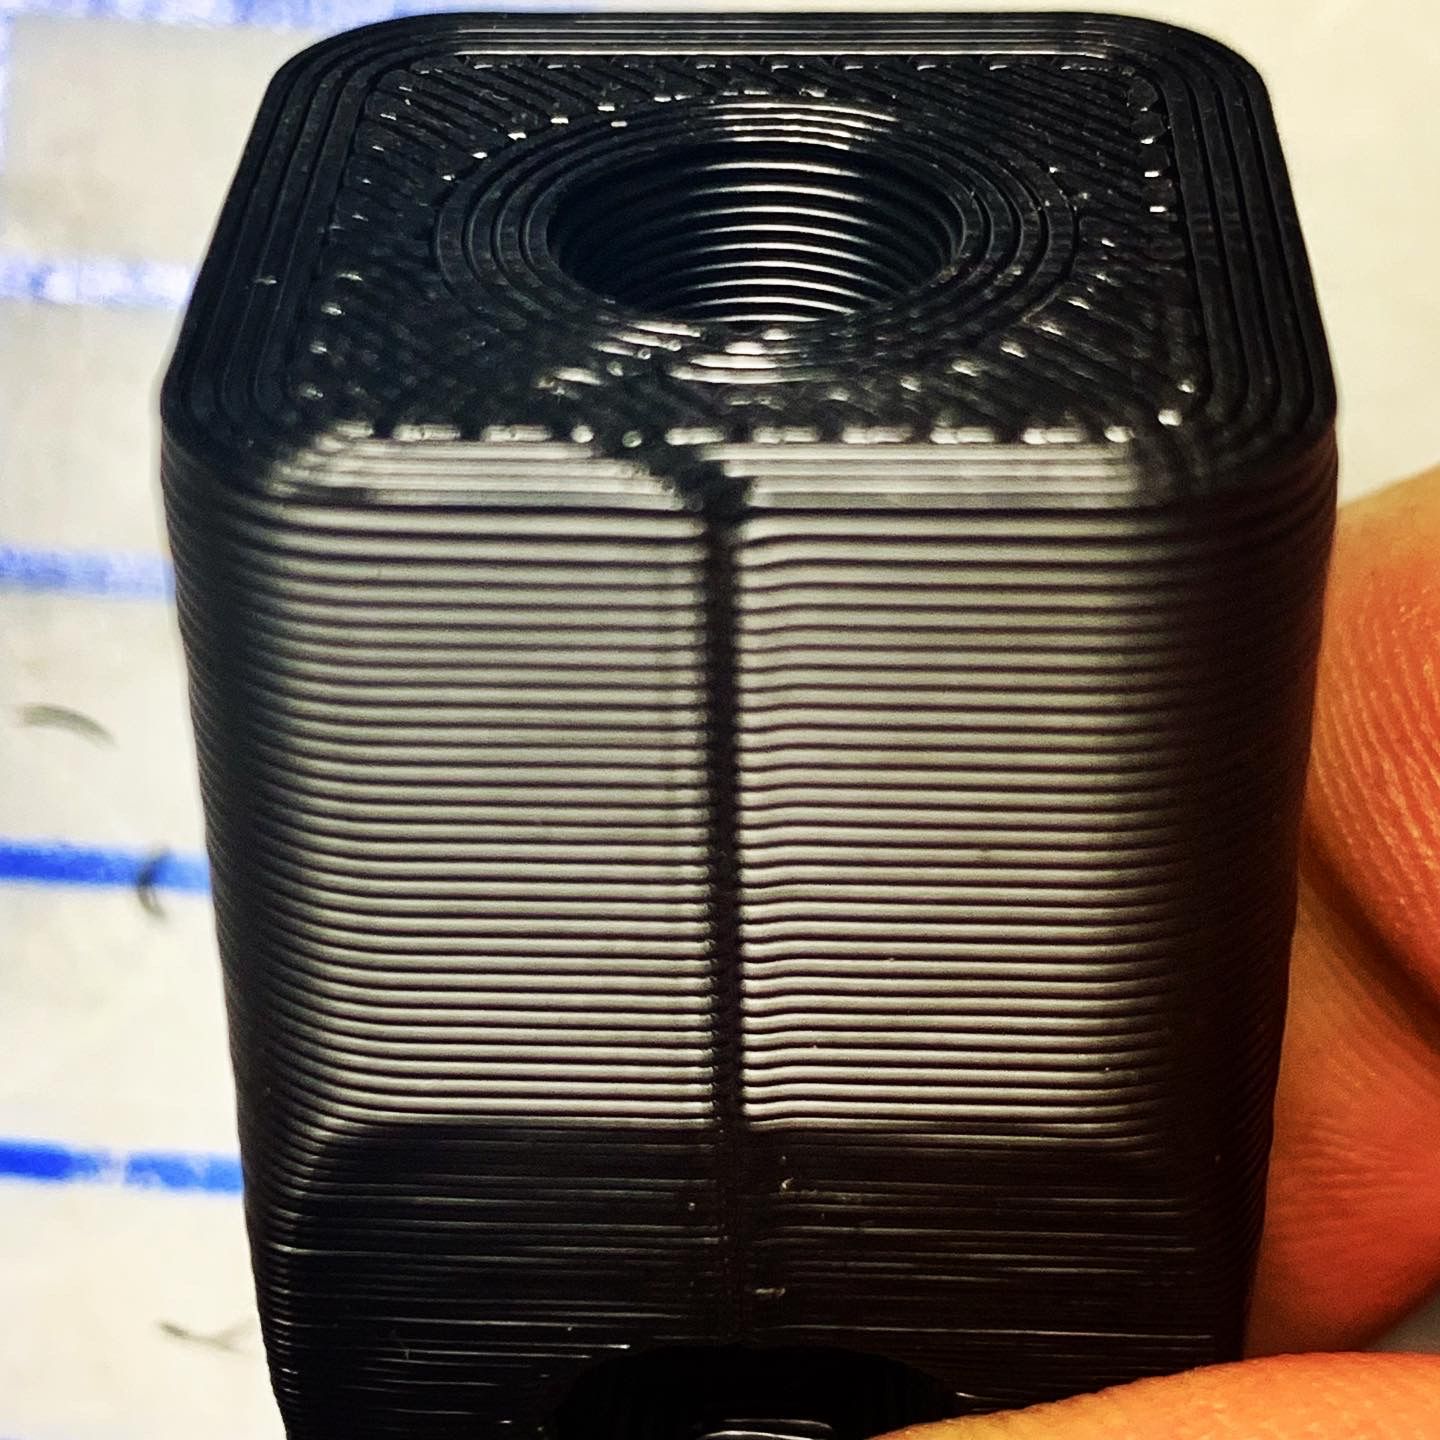
And finally, I spent the previous weekend re-tuning both the machine and our filament profiles. Here is a part printed in ABS with the near-finalized profile:
-
RE: How to automatically cancel job/routine when G29 fails?
Confirmed this works:
G29 S0 if result !=0 abort "Probing Error - canceling job"
-
Enhance Simulated Time with actual print time
Please consider enhancing the Simulated Time with Actual Times after a job is complete. It seems trivial to update the gCode with the actual times like Simulation does and would be great to track the actual progress of the job when reprinting.
Yes, I know adjusting any variables would change the print time, but if it updated itself each time a job was completed, it would remain accurate once any tweaking was finalized.
-
RE: M567 Tool-Mixing issues/quirks
I thought I'd share our final solution for this which is working very well. To recap, we are using a secondary LGX extruder at the spool (10kg / 22lb mega-spools) to push the filament to each printer. It's a bit expensive upfront, but removing the load from the primary extruder has allowed us to increase our max mm3/s throughput by ~25%.
The second photo is of the filament loop which resides at each printer. When the filament advances enough to trigger the switch, the ratio on the secondary extruder is slightly decreased, slowing it down. And when the filament retracts enough to disengage the switch, the ratio on the secondary extruder is slightly increased, speeding it up. Works flawlessly!
-
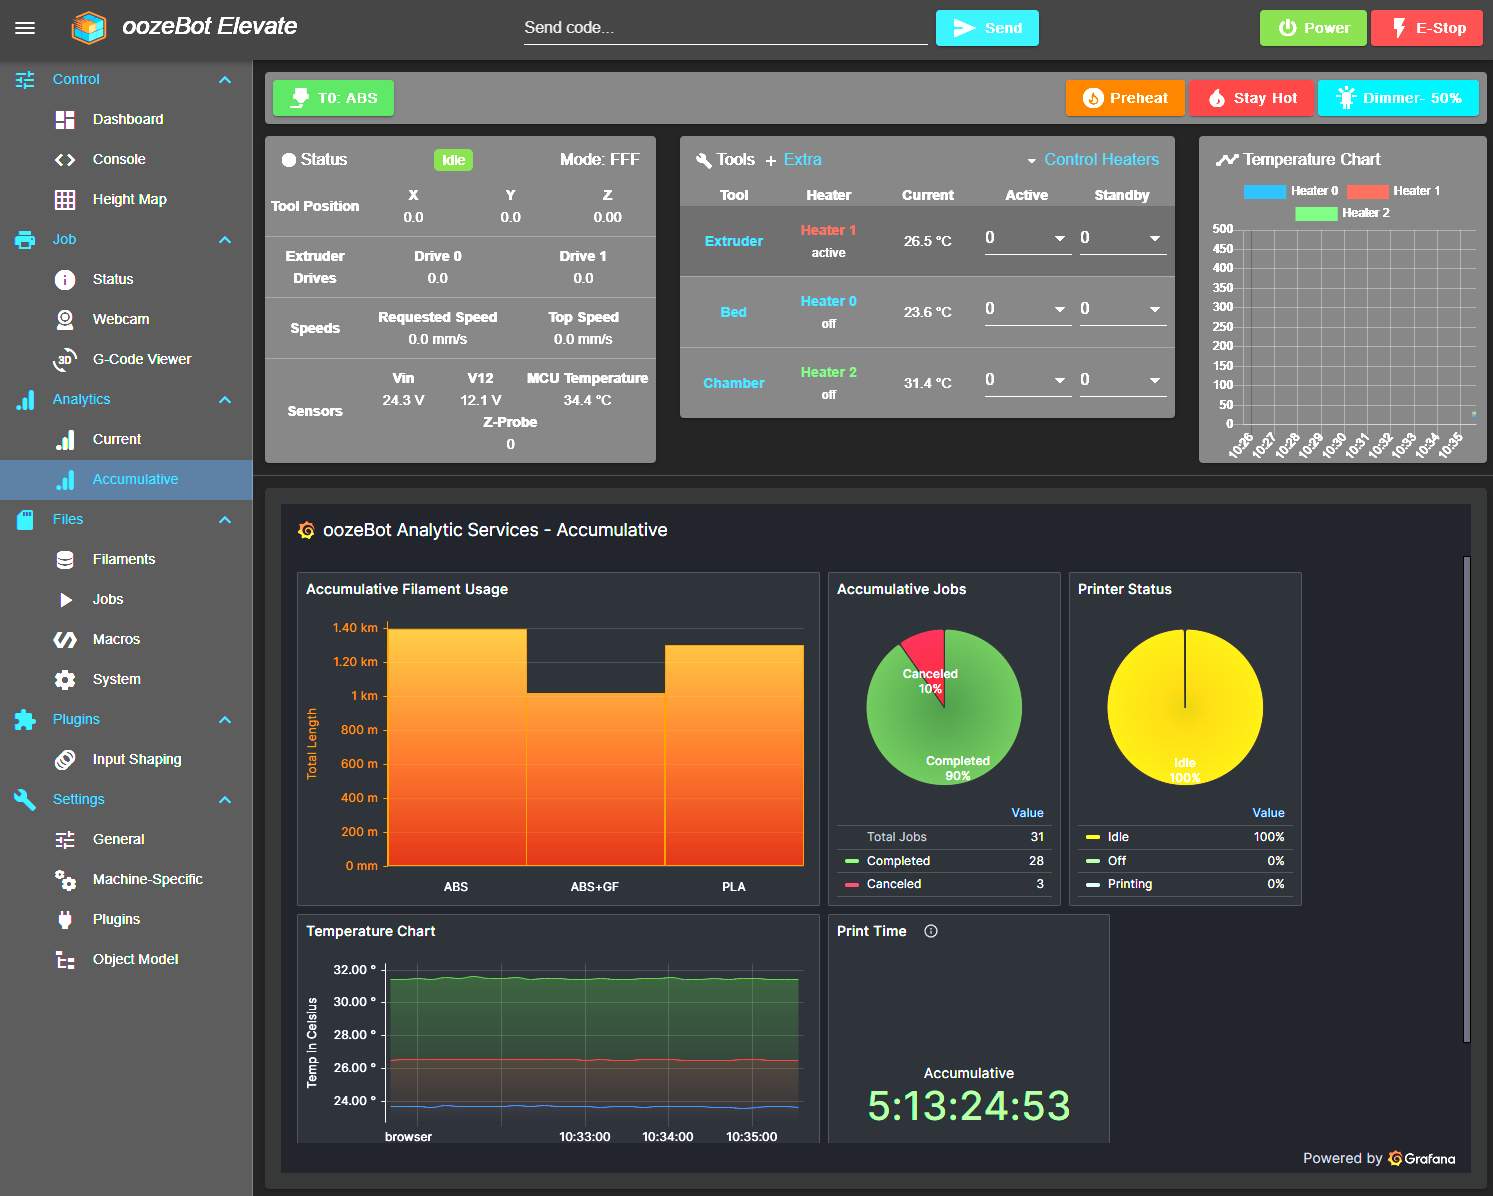
Analytic Services - custom DWC
We thought we'd throw out our latest mod to DWC - Analytics. This is accomplished through DSF-Python scraping the objectModel and dumping data into a mySQL database which runs directly on the Raspberry Pi. Grafana is also installed on the Raspberry Pi, making this a complete stand-alone solution. This is tied very closely to our framework, so its not a drop-in replacement for the stock DWC builds - but the source will be posted to our github once complete for anyone who is interested in seeing how we did it.
We've split this into two dashboards: Current (based on the time window selected in Grafana), and Accumulative. You can see the new menu options on the left.
The dashboard in the screenshot is in very early development, but you'll get the gist. Want to know how many jobs your machine has ever completed? and how long it took? How about the total length/weight/cost of each filament used? etc, etc, etc..
We are tossing it out there for feedback on other metrics that would be valuable to capture. @chrishamm @Falcounet - we'd like to also capture quite a lot of metrics which only appear to be available through M122 such as CANbus values. Is there a clean way to read these values in DSF-Python? And how often is it safe to call M122?
-
RE: New Input Shaping plugin v3.4.1-b1
@chrishamm I'm digging it! Just put it through the paces and it's really coming together. Thanks!
-
M291 solution to handling both OK & Cancel
We've been advocating for an overhaul of M291, but have put together a stopgap that add a lot of life to its current state. This main issue is that when a user clicks Cancel, the script simply stops processing. This is very limiting, but it is also what makes the following work. Note this uses variables, so will only work on the latest firmware. It also takes advantage of the firmware's handling of custom codes (which don't exist) by looking for a file in the sys folder. For this, we've chosen M9291.
A file named M9291.g needs to be created in your system folder to handle the functionality. How it works is pretty simple. The promptResponse variable is initially set to false. If the user clicks "Cancel", the script is stopped and the variable remains false. If the user clicks "OK", the variable is updated to true.
if !{ exists(global.m291Response) } global m291Response=false else set global.m291Response=false M291 R{param.R} P{param.P} S3 set global.m291Response=true
Here is a snippet of code to use the new-and-improved user prompt which now allows you to handle both user selections in code.
M9291 R"Test Prompt Title" P"Test Prompt Message" if global.m291Response M291 P"User Clicked OK" else M291 P"User Clicked Cancel"