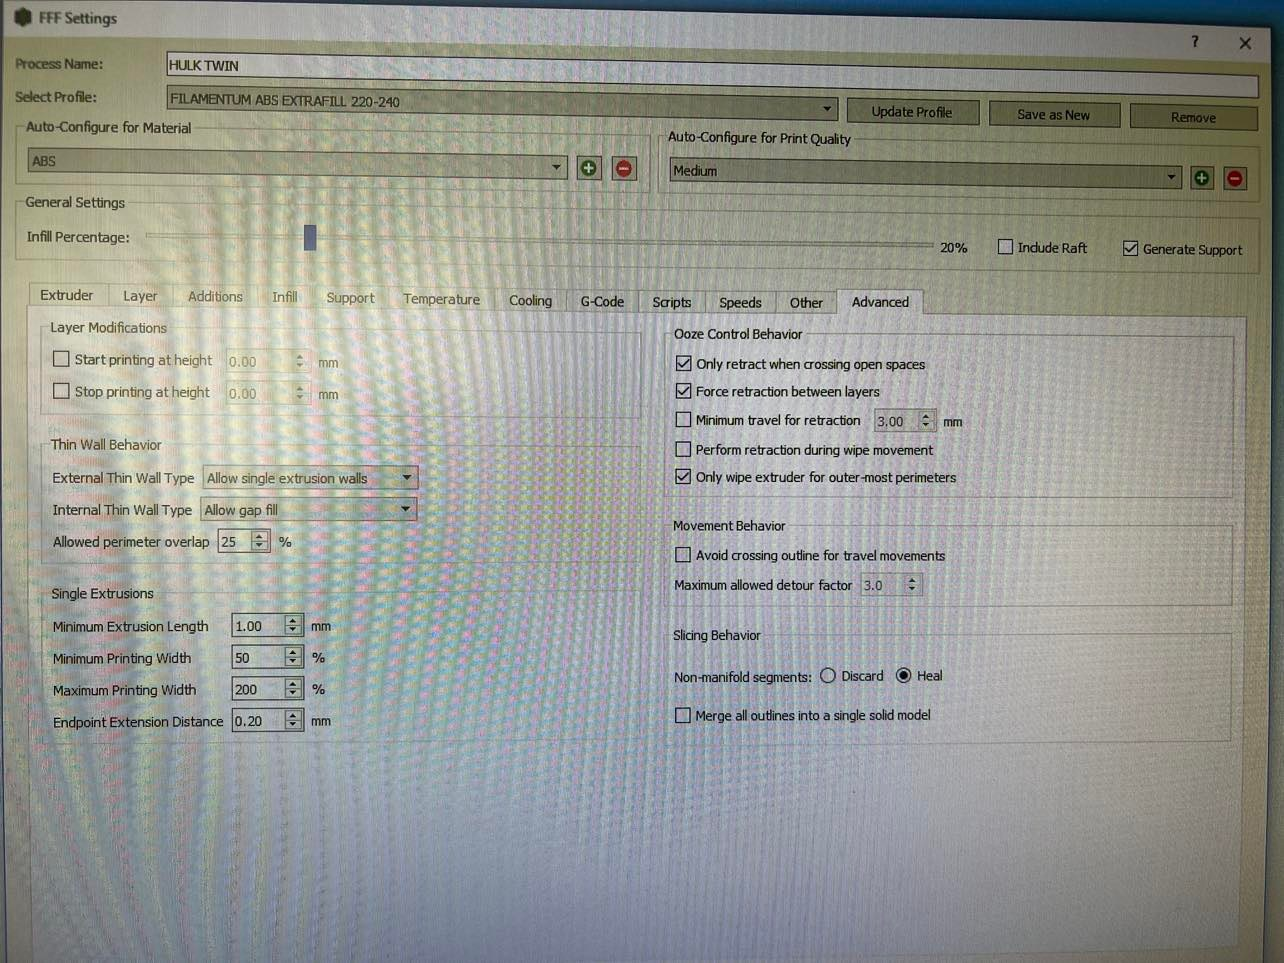
I have a 3d printer which I produced. The X and Y movements are with a 2.5mm pitch x 16mm ball screws.
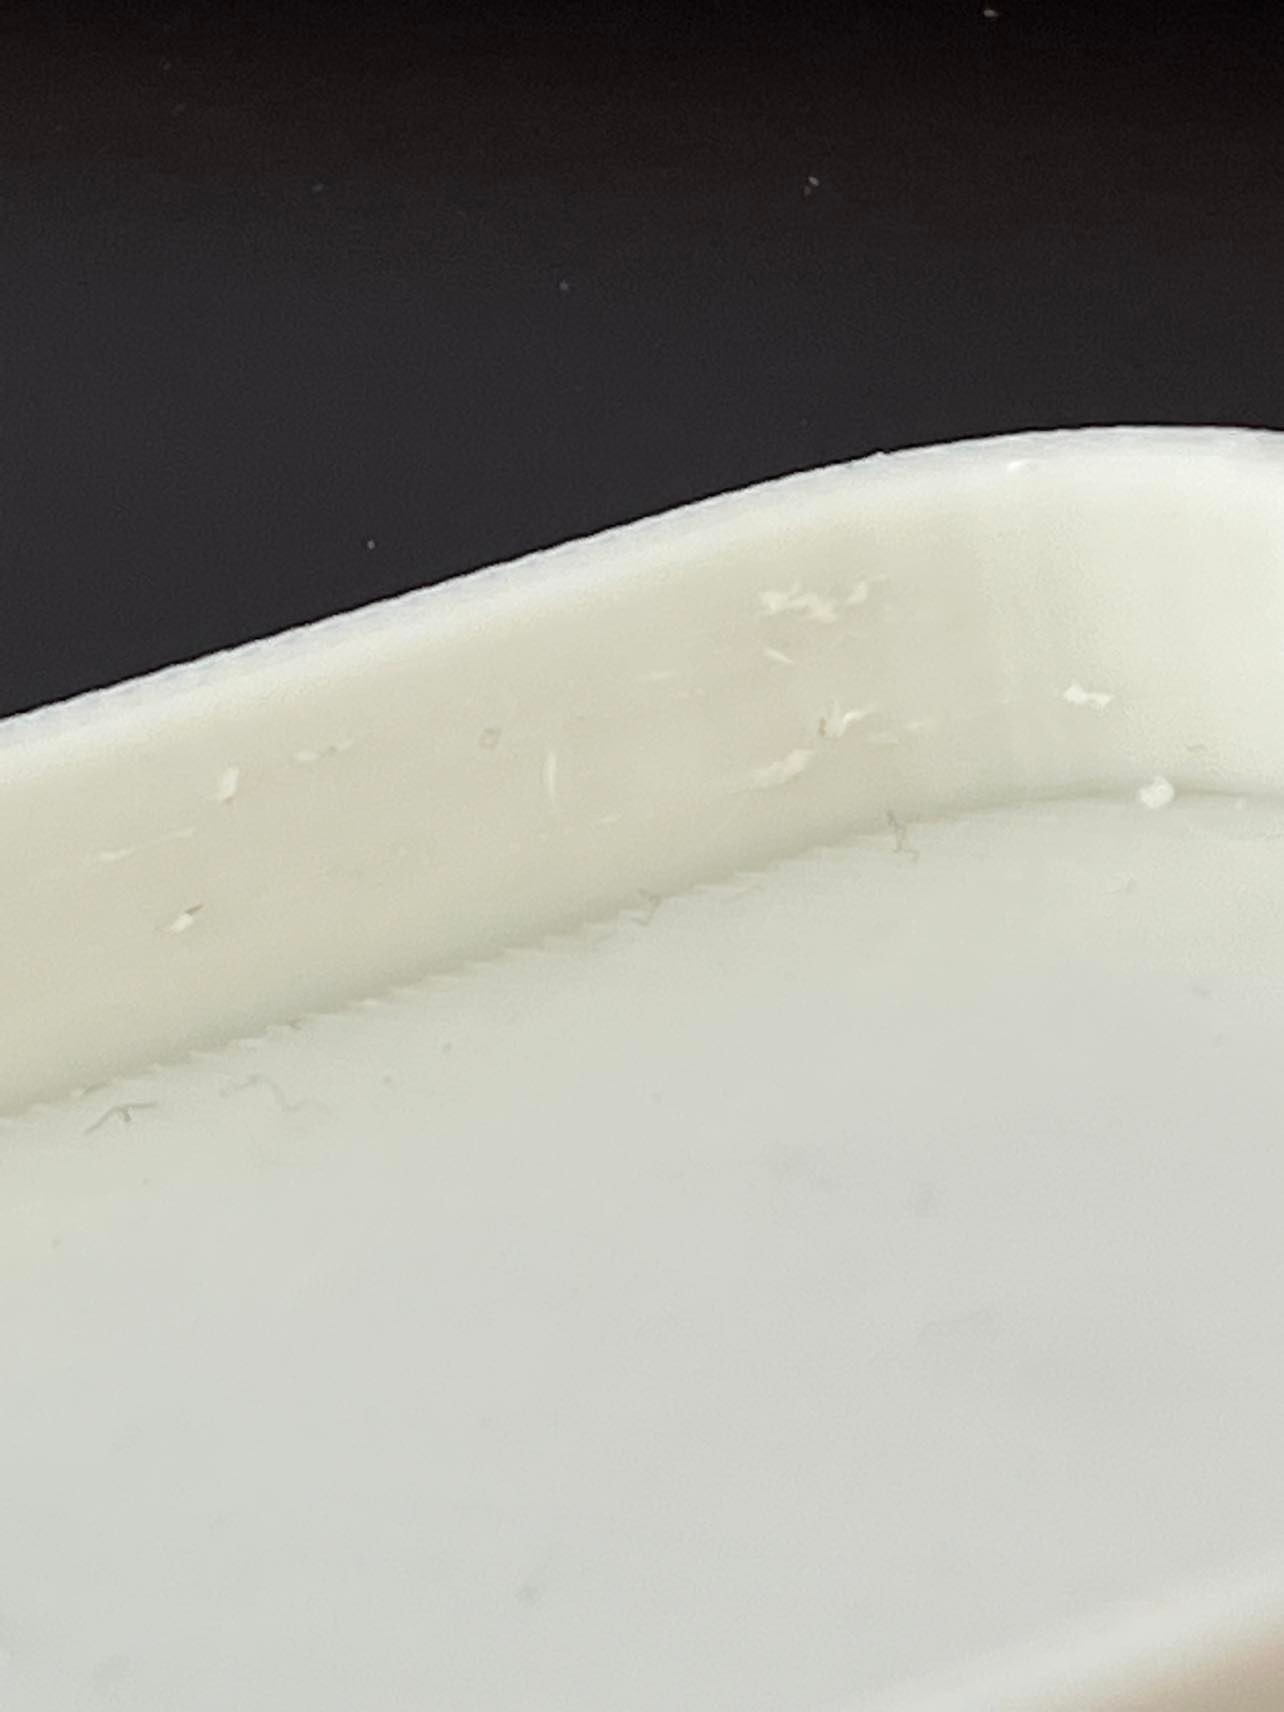
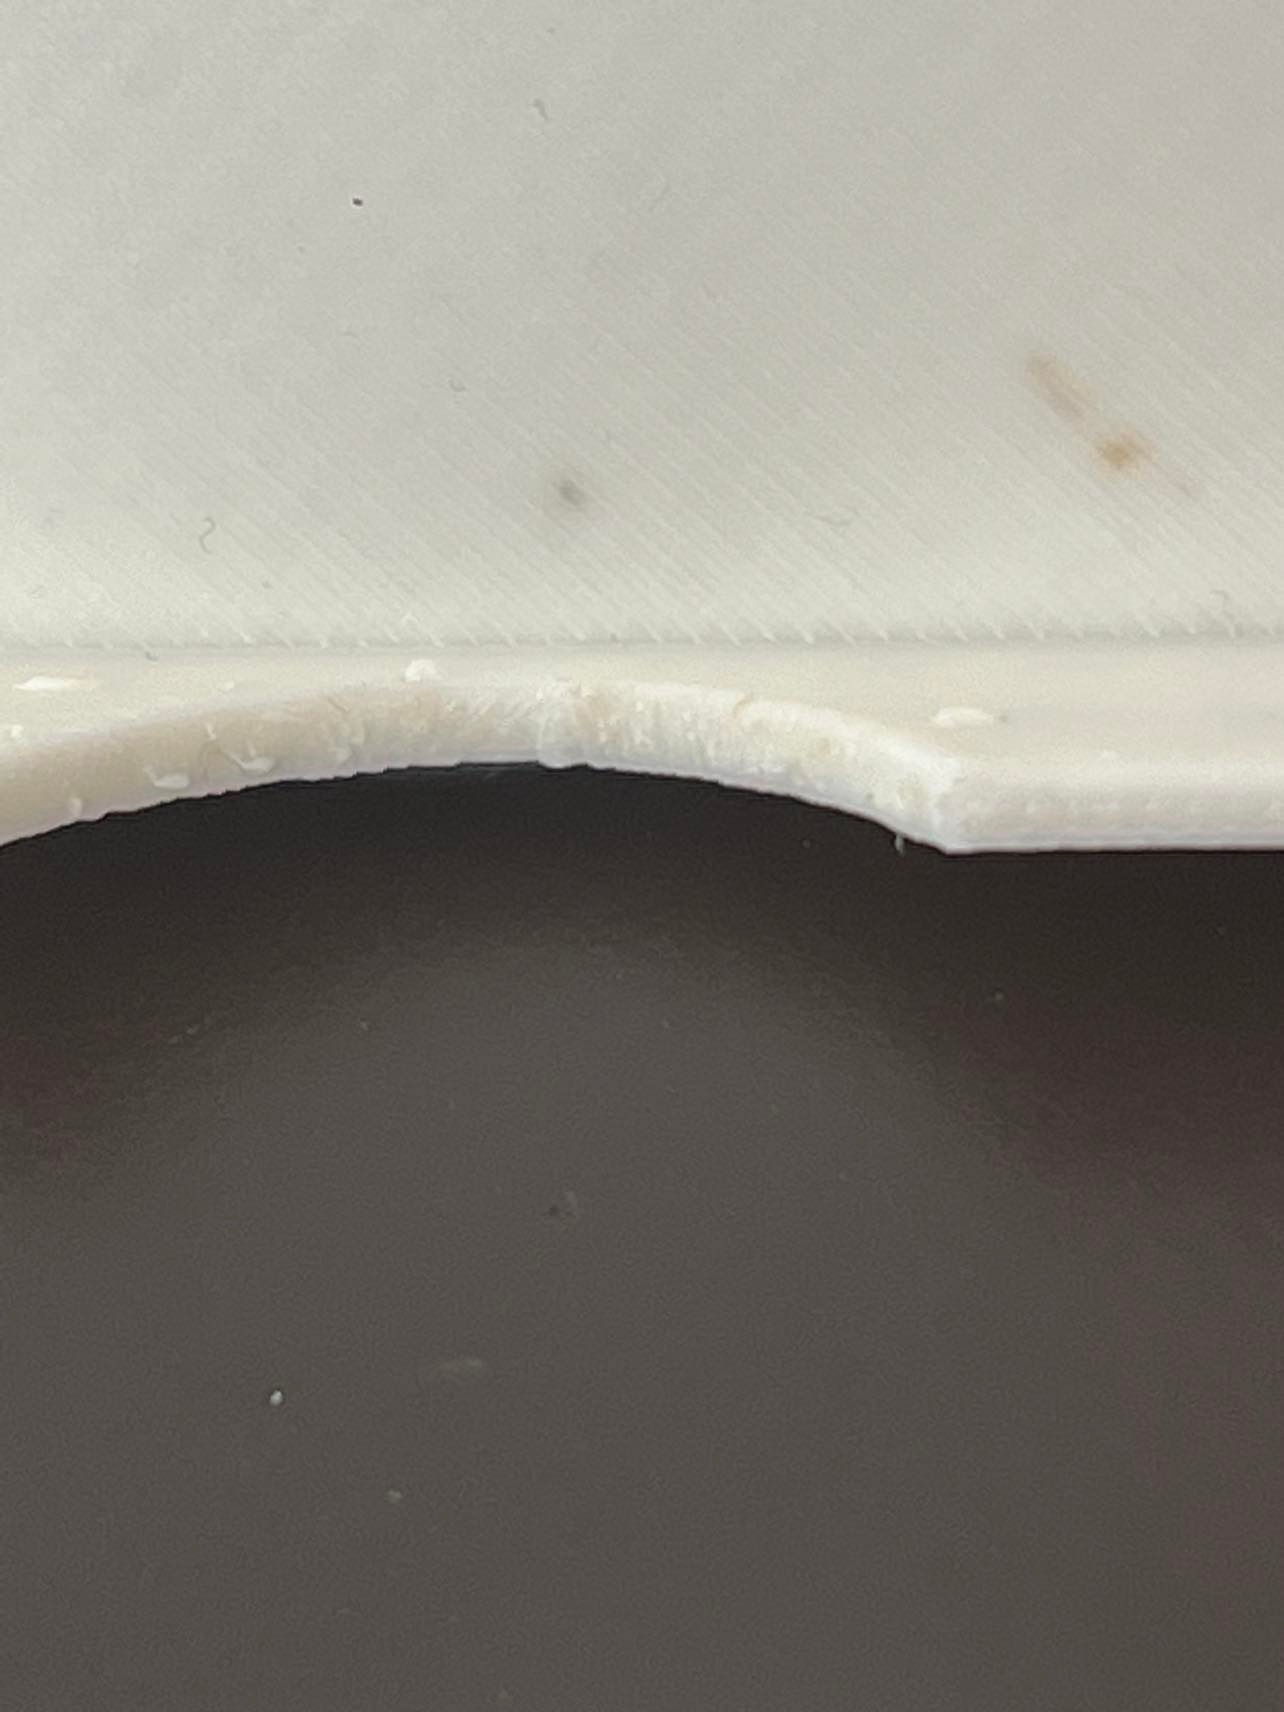
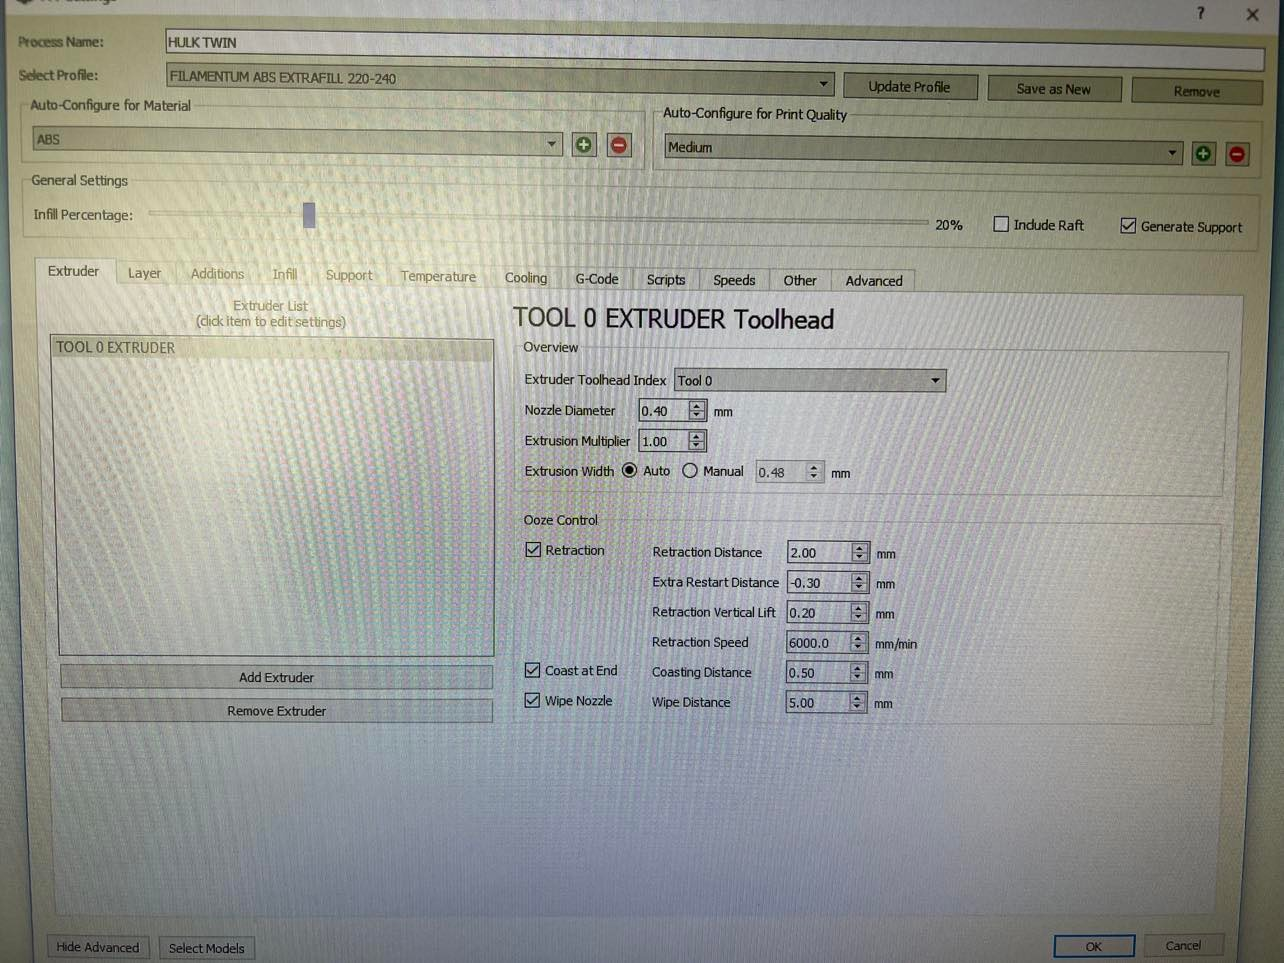
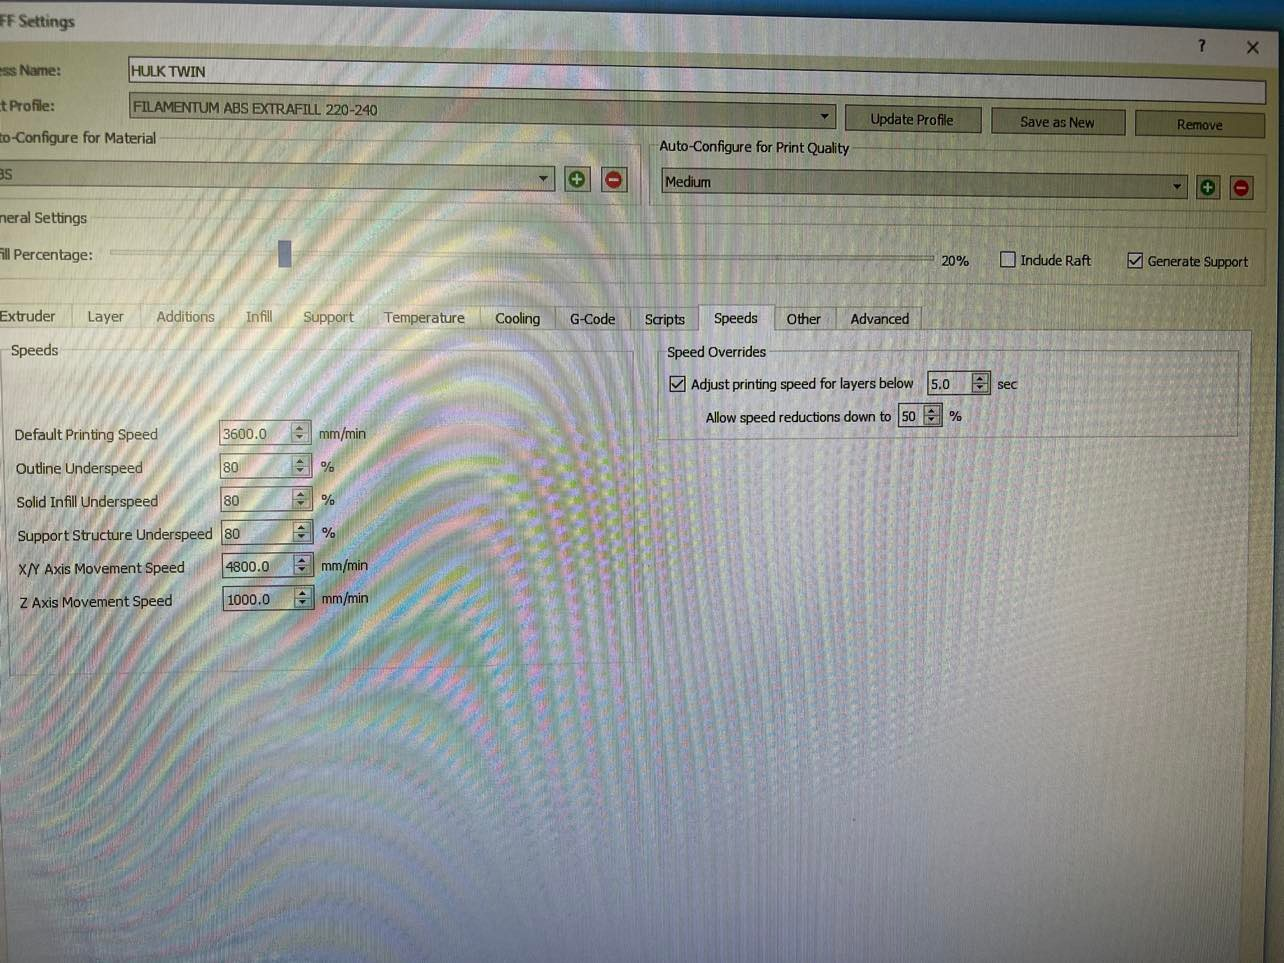
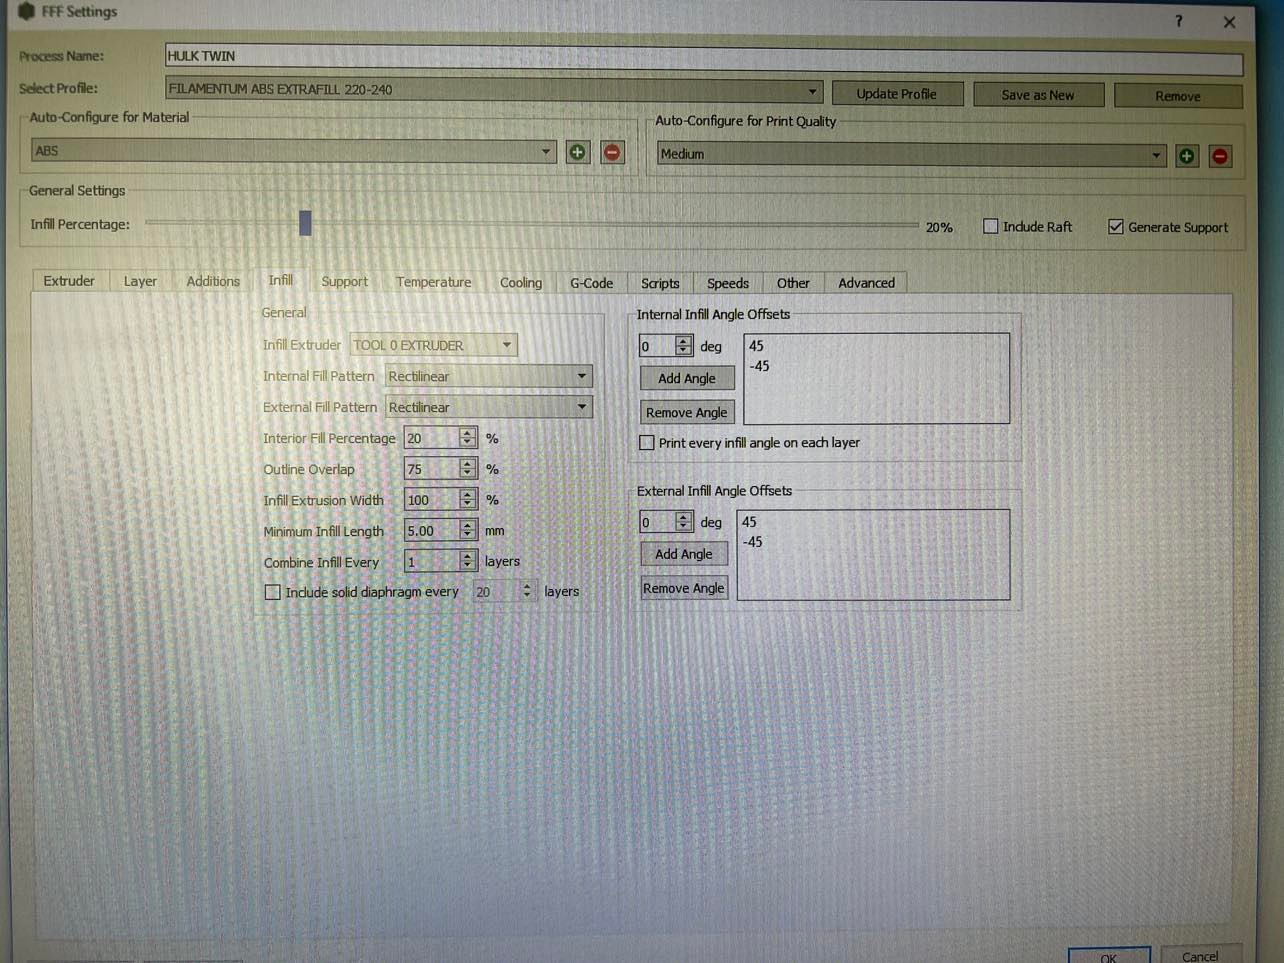
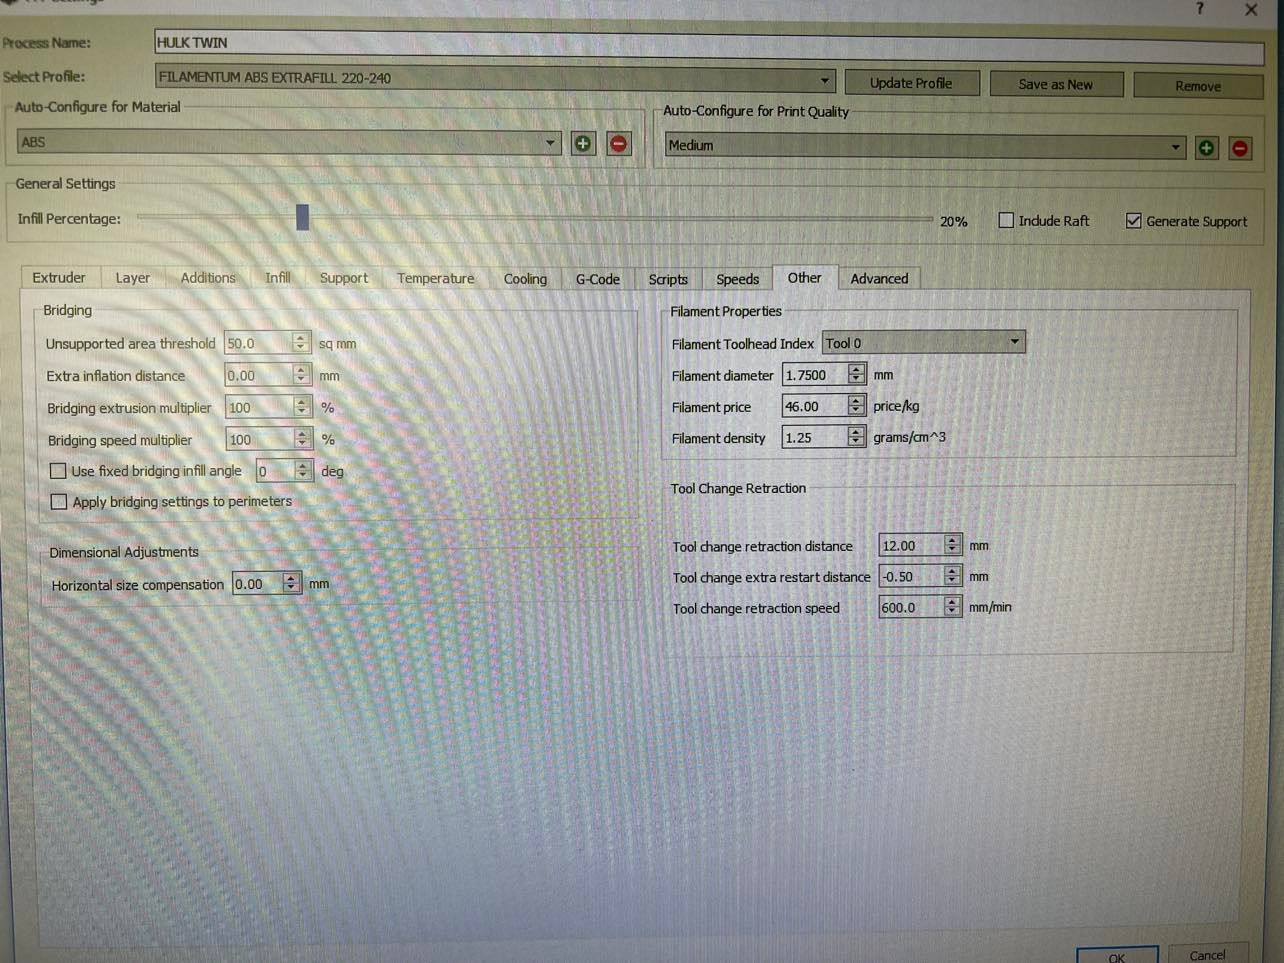
I am not so happy with the print quality and get various blobs... I have looked around and tweaked but still not happy with the print quality. The same printer produced impeccable prints with just a Ramps/Arduino board but I believe it must be some adjustments I need to make in the firmware. Now some commands are placed in the 3d Slicer. I use simplify 3D and I have pasted the startup and end script. Any suggestions by you experts with duet 3D welcome. what I am not happy most is that I get a lot of blobs all over. I have checked the interpolation steps and they are as suggested in the forum. Many thanks in advance.
; Configuration file for Duet WiFi (firmware version 3)
; executed by the firmware on start-up
M81 ; Pin PS ON (State is normally on but just in case it was put off by M code M80)
; PRESSURE ADVANCE
;M572 D0:1 S1.50:1.50
;placed pressure advance command in simplify 3d start script
; GENERAL PREFERENCES
G90 ; send absolute coordinates...
M83 ; ...but relative extruder moves
M550 P"MENDELEVIUM 3D HULK TWIN TOOLS" ; set printer name
; NETWORK SETTINGS
M552 S1 ; enable network
M586 P0 S1 ; enable HTTP
M586 P1 S0 ; disable FTP
M586 P2 S0 ; disable Telnet
; NOTE DRIVES S0 FORWARD S1 REVERSE
;DRIVES ORIENTATION
M569 P0 S1 ; X physical drive 0 goes backwards
M569 P1 S1 ; Y physical drive 1 goes forwards
M569 P2 S1 ; Z physical drive 2 goes backwards
M569 P3 S0 ; E0 physical drive 3 goes backwards
M569 P4 S1 ; E1 physical drive 4 goes backwards
M584 X0 Y1 Z2 E3:4 ; set drive
;MAPPINGS
;M350 X16 Y16 Z16 E16:16 I1 ; configure
;MICROSTEPPING WITH INTERPOLATION SETTINGS
M92 X160 Y160 Z400.00 E297.80:297.80 ; set steps per mm
;SETTING OF INSTANTANEOUS MAXIMUM SPEED CHANGES IN MM/MIN
M566 X1000.00 Y1000.00 Z100.00 E750.00:750.00
;MAXIMUM SPEEDS IN MM/MIN
M203 X4000.00 Y4000.00 Z2000.00 E2400.00:2400.00
;SET ACCELERATION IN MM/SEC SQUARED
M201 X500.00 Y500.00 Z20.00 E250.00:250.00
;MOTORS MAXIMUM CURRENT
; NOTE 60 mm steppeprs max current 2.1A
; NOTE Board max current 2.4A
M906 X2100 Y2100 Z2100 E1200:1200 I30
;SET IDLE TMEOUT
M84 S30
;AXIS LIMITS OF MINIMUM TRAVEL
M208 X0 Y0 Z0 S1
;AXIS LIMITS OF MAXIMUM TRAVEL
M208 X345 Y301 Z261.05 S0
; ENDSTOPS
M574 X2 S1 P"xstop" ; configure active-high endstop for high end on X via pin xstop
M574 Y2 S1 P"ystop" ; configure active-high endstop for low end on Y via pin ystop
M574 Z2 S1 P"zstop" ; configure active-high endstop for high end on Z via pin zstop
M558 P1 I0 C"zprobe.in" H5 R0.2 F1000 X0 Y0 Z100 ; piezo inserted 12/12/22
;DEFINITION OF MESH GRID MOVED TO MACRO BED MAPPING
;M557 X15:215 Y15:195 S20
;CONFIGURATION OF THERMISTORS
;HEATBED
M308 S0 P"bedtemp" Y"thermistor" T100000 B4138 ; configure sensor 0 as thermistor on pin bedtemp
;HOTENDS 0-e0
M308 S1 P"e0temp" Y"thermistor" T100000 B4138 ; configure sensor 1 as thermistor on pin e0temp
;Hotend 1-e1
M308 S2 P"e1temp" Y"thermistor" T100000 B4138 ; configure sensor 2 as thermistor on pin e1temp
;MAPPING OF HEATER OUT PUT TO SPECIFIC SENSORS
;HEATBED
M950 H0 C"bedheat" T0 ; create bed heater output on bedheat and map it to sensor 0
;MACHINE HEATERS
M950 H1 C"e0heat" T1 ; create nozzle heater output on e0heat and map it to sensor 1
M950 H2 C"e1heat" T2 ; create nozzle heater output on e1heat and map it to sensor 2
;AUTOTUNED M307
;HEATBED
M307 H0 R1.058 C224.9 D2.17 S1.0 V24.3 ; autotuned value
;HOTEND 0
M307 H1 R2.407 C189.6:163.8 D4.90 S1.00 V24.3 ; autotuned value
;HOTEND 1
M307 H2 R2.562 C179.0:165.4 D3.60 S1.00 V24.3 ; autotuned value
;MAXIMUM HEATER TEMPERATURES
;S VALUE IS MAX PERMITTED TEMPERATURE
;HEATER 0-BED
M143 H0 S110 ; set temperature limit for heater 0 to 120C
;HOTEND 0
M143 H1 S310
;HOTEND 1
M143 H2 S310
HEATBED MAPPING
M140 H0 ; map heated bed to heater 0
; FANS TO COOL PART ON NOZZLE 1 & NOZZLE 2
M950 F0 C"fan0" Q500 ; create fan 0 on pin fan0 and set its frequency
M106 P0 S0 H-1 ; set fan 0 value. Thermostatic control is turned off
M950 F1 C"fan1" Q500 ; create fan 1 on pin fan1 and set its frequency
M106 P1 S0 H-1 ; set fan 1 value. Thermostatic control is turned off
;WATER COOLER
M950 F2 C"fan2" Q500 ; create fan 1 on pin fan1 and set its frequency
M106 P2 S0 H-1 ; set fan 1 value. Thermostatic control is turned off
; Tools as per forum instruction
M563 P0 S"EXTRUDER 0" D0 H1 F0 ;TOOL 0 USES DRIVE 0 AND HEATER 1
G10 P0 S0 R0 X-16.5 Y0 ; set tool 0 axis offsets
M563 P1 S"EXTRUDER 1" D1 H2 F1 ; define tool 1
G10 P1 S0 R0 X16.5 Y0 ; set tool 1 axis offsets
; FILAMENT MONITOR LASER WITH MICROSWITCH
; R Values may need setup according to different filaments
;TEMPORARY DEACTIVATED FILAMENT MONOTOR
;M591 D0 P6 C"e0stop" R1:600 E30 S1
;M591 D1 P6 C"e1stop" R1:600 E30 S1
; MISCELLANEOUS
M575 P1 S1 B57600 ; enable support for PanelDue
M911 S10 R11 P"M913 X0 Y0 G91 M83 G1 Z3 E-5 F1000" ; set voltage thresholds and actions to run on power loss
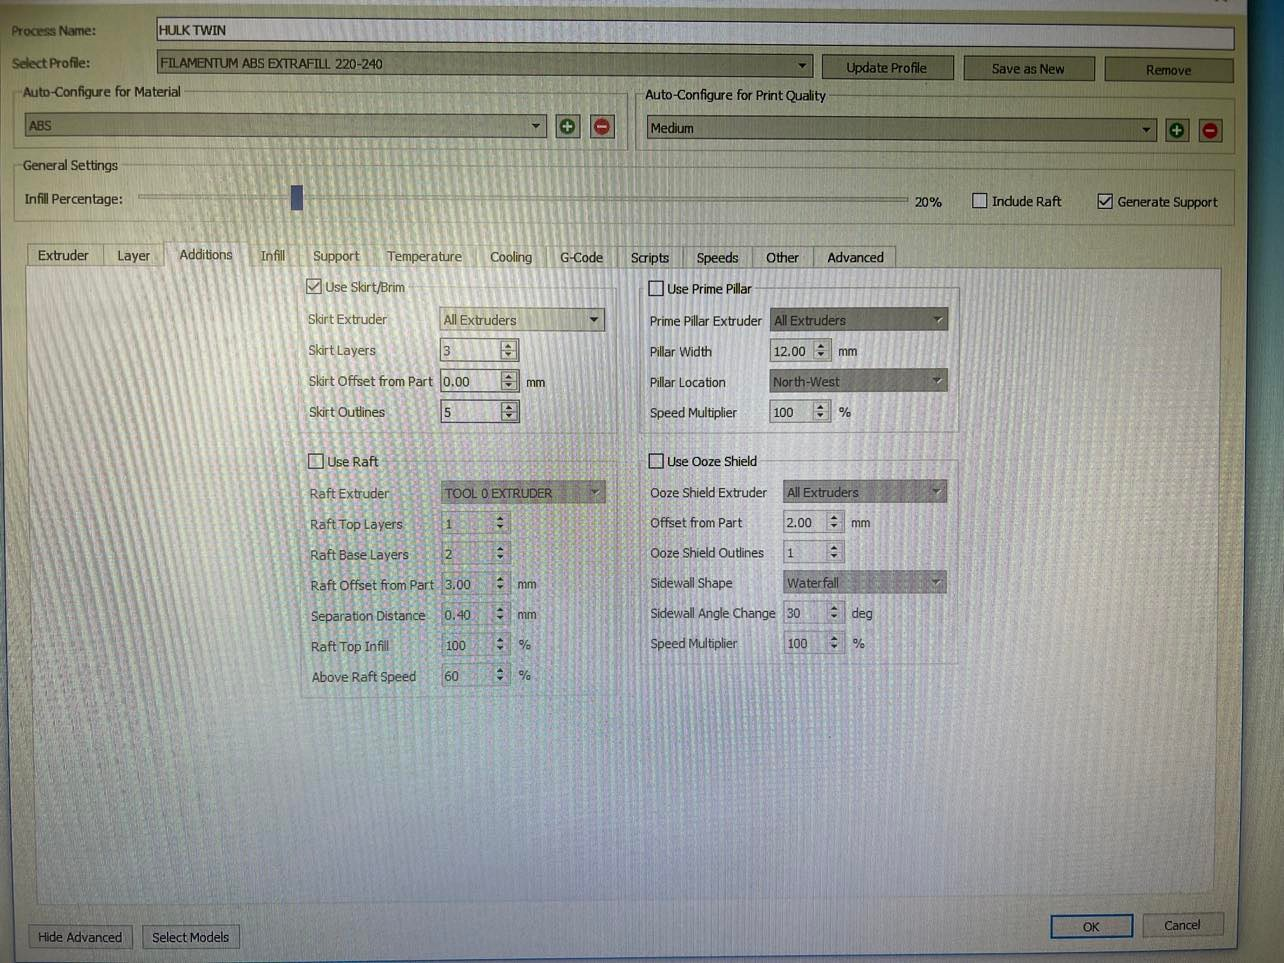
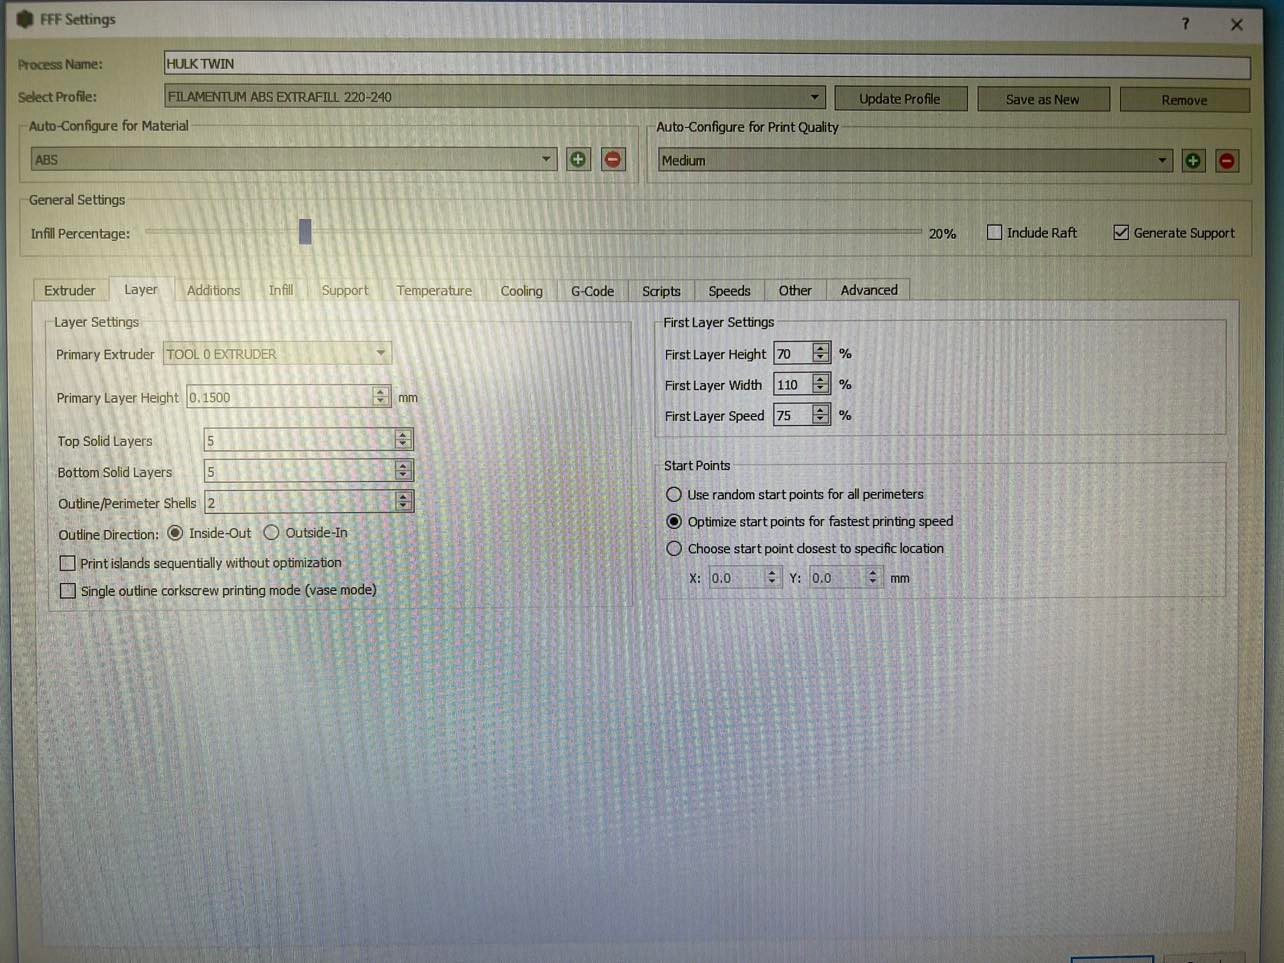
Simplify 3d program startup script;-
M81 ; AUTO OFF FUNCTION IS SWITCHED OFF AND LATCHING RELAY IS ON (NORMALLY CLOSED)
G28 Z0 X0 Y0
M106 P0 S0 H-1
M106 P1 S0 H-1
M115 U3.1.0
M83
M140 S90 T0 ;BED temp set
M104 S220 T0 ; EXTRUDER 0 TEMP HEAT
M109 S220 ; Wait until temperatures stabilize
M105
G21
G90
M83
G0 Z299
G0 Y0 X0 F3000
G29 S1; APPLY BEDMESH MAPPING
G0 Z10 F1000
G1 Z0.15 F1000
G92 E0
G1 Y100.0 E25 F400.0
G1 Y200.0 E20 F800.0
G1 Y270 E15 F400.0
G1 Y290 E2 F600
G1 Z25 F300
M106 P2 S255 H-1
M572 D0 S1.25 ; PRESSURE ADVANCE
G0 Z5
END SCRIPTS
G91 ;relative position set
G1 Z10 F1000
G1 E-20 F150 ; retarct 20mm of filament to avoid burning
M140 S0 ; turn off bed
M104 S0 ; turn off extruder
M109 S50 ; wait for extruder temp to reach cooldown
M106 P0 S0 H-1 ;Cooling FAN 0 Switch off
M106 P1 S0 H-1 ;Cooling FAN 1 Switch off
M106 P2 S255 H-1 ; WATER COOLING HEAD SWITCHED OFF
G90 ; Absolute position set
G28 Z0
G91 ;realtive mode
G1 Z-5 F500 ; Z axis lowered 5mm from max
G90 ; absolute mode returned
M84 ; disable motors
M80 ; Auto Off or work ready alarm activated
