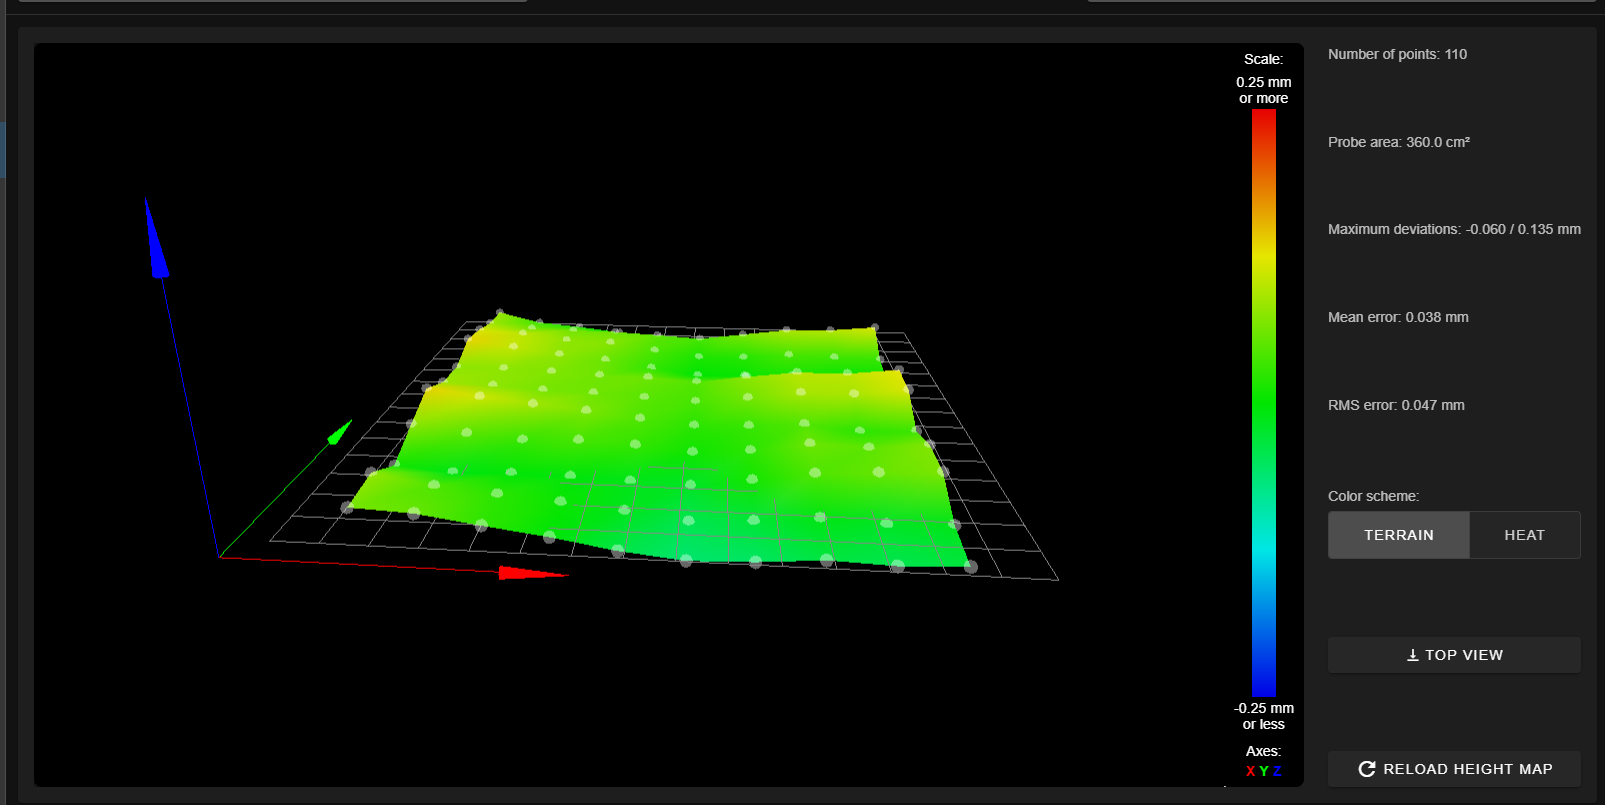
@Phaedrux - thanks for the suggestions. A little background... As far as trying PLA goes, I went through a spool of Overture (red) and Creality (black) and those stuck pretty well to the bed. I was printing smaller stuff and just kind of dealt with the issues I'm mentioning. I then got a spool of Hatchbox (red) because I had read a lot of good things about it. However, for me it has been nothing but a pain to get the Hatchbox to stick to PEI (I did clean the PEI with soap/water and alcohol as you recommended, tried glue and blue tape as well...tried a bunch of stuff), it sticks better to the stock bed that comes with the Ender 3 Pro. I've kind of given up on that spool for now, since I really want to print out some things with PETG. The PETG actually sticks much better to the PEI bed than the Hatchbox PLA. I want to try to print some bigger things with PETG and really want to try to get the first layer dialed in. For some smaller test prints, using PETG, I seem to have things dialed in pretty good and they are pretty dimensionally accurate (I've calibrated the extruder and have some digital calipers I use to measure prints for accuracy). My biggest problem now is the first layer. Sure, I can "squish" it, but then I've got elephant's foot. I've played around with the first layer bed and nozzle temps and haven't had much luck so far. I think I even tried slowing down the speed at one point (it's currently 25mm/s). In short, I've already done a lot of tweaking and research and haven't had much luck, which led me to post this. I recently started 3D printing and thought I had an idea of what I was getting into, but I was wrong!  I've spent a lot of time and frustration trying to figure things out, but I love a good challenge and I'm not about to give up (I'm not complaining either
  ). I'll continue to try tweaking these and making sure the bed is really clean. I'll also try the M558 command you recommended (I did see it mentioned in another post...I think ;-)).
@Phaedrux and @peter247 - I checked my X and Y offsets before I posted, and checked them again just now, just to make sure I'm not missing something, and they are correct. To calculate them I taped a piece of paper to the bed, dropped the nozzle down to zero (wrote down coordinates), pressed up on the bottom of the bed a little to make a mark on the paper, and then moved the Z-probe pin to that location (I'd move the pin up/down to make sure it was pretty exact) and subtracted the original nozzle coordinates from the probe coordinates. I use this mount for the BLTouch and it's mounted on the left side of the nozzle (if you are looking at the front of the printer). I did, a while ago, have the offsets incorrect, and they were positive numbers, not negative numbers, but after fixing that, it seemed to work better, but still now what I was expecting (they are correct for the examples I have above).
Thanks again for the help and suggestions! I'll have to play around some more with these ideas and get back. I feel like I'm so close to getting it dialed in and to the point I can actually have a lot of fun with it, rather than frustration. Oh what a journey this had been! 
 I have PID tuned both, but just pulled the magnetic part off (thought it might be contributing to the warping), so I'll re-do that. I think I've got enough to keep me busy for now, and things are looking better.
 ). I'll continue to try tweaking these and making sure the bed is really clean. I'll also try the M558 command you recommended (I did see it mentioned in another post...I think ;-)).
