How to install the Duet Accelerometer on Voron 2.4 with Revo?
-
@zapta I created a little spacer that can slide between the top of the heater core and the underside of the heatsink, allowing the accelerometer to be installed between the nozzle and the heater core. Seems to work fine
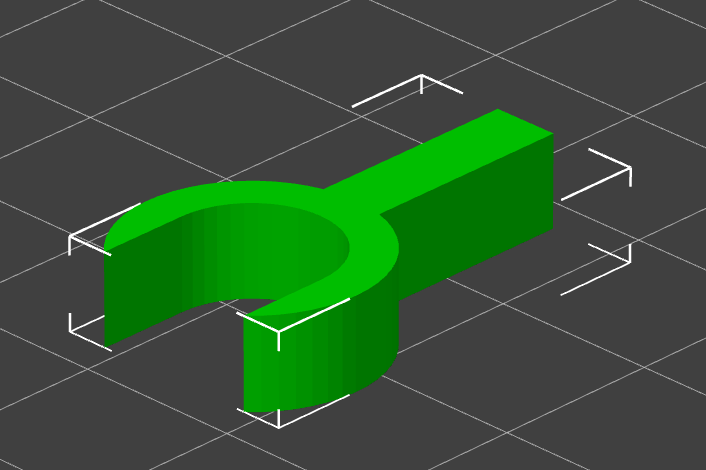
Revo Accelerometer Spacer.STL -
Thanks @jay_s_uk. This is very useful.
-
What is the purpose of the spacer, preventing the spring from compressing?
-
Did you use any washers above or below the board?
-
How did you orient the board?
-
-
- Yep, to make it solid.
- No washers
- I did it on a dragon burner hotend and mounted the board with the connector at the front and the connector facing down
-
Thanks @jay_s_uk, I will give it a try once the accelerometer arrives.
-
For the record, this is the spacer that @jay_s_uk posted.

-
This post is deleted! -
 undefined zapta marked this topic as a question
-
 undefined zapta has marked this topic as solved
-
@dc42, Is it possible to run the x/ input shaping plugin in X/Y directions while homing only in X/Y ?
It will make it easier to install the accelerometer on my 'stock' V2.4 without having the Revo nozzle heating the bed before the Clicky sensor.
-
 undefined zapta has marked this topic as unsolved
-
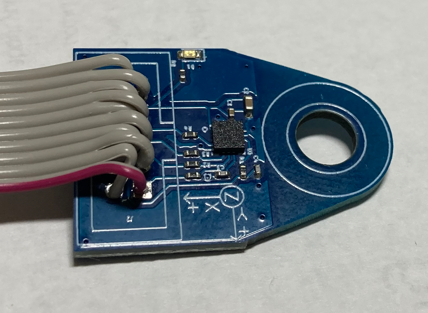
Since I have hard time to fit the accelerometer while still homing in Z, I removed the connector to have stuffiest clearance. That connector is bulky and increase significantly the free volume necessary to fit the accelerometer.

-
@zapta thanks for the feedback. We used that connector to match the other end on the board. Can you show it mounted on you printer?
-
Hi @T3P3Tony,
Thoughts in random order...
-
I presume that the intention behind the Duet3d accelerator is to measure directly the vibrations at the nozzle so I made sure that the board doesn't touch the plastic housing. Is it so?
-
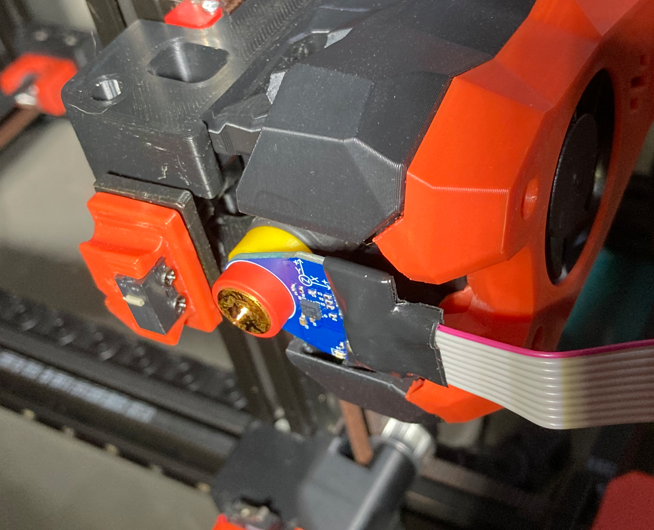
I used a plastic spacer between the heater and the board as you can see in the picture.
-
The input shaping plugin forces Z homing even though it's not really needed for X/Y movements. Without it, I could install the stock accelerometer board, with the large connector facing down, below the line of the Clicky sensor.
-
There are a few input shaping boards for Kliper and Voron 2.4 and they are installed at the front of the printing head with longer screws. If this attachment method provides good enough results, it may be easier than the nozzle method since it doesn't interferer with the Z homing and is just as easy to install. E.g.
https://www.amazon.com/Upgraded-Printer-Accelerometer-Portable-Printer/dp/B0BLNX1SF1
https://www.aliexpress.us/item/3256804788296496.html
Tony, if you have further questions please let me know.
Installation with a plastic spacer between the Revo heater and the board.

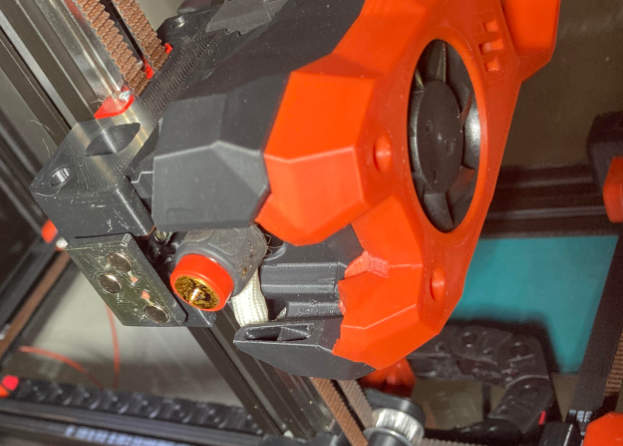
The printing head without the accelerometer.

-
-
@zapta you could get round the Z homing issue by homing X and Y and then sending G92 Z0. But I take your point, the connector is too deep for the accelerometer to fit the right way up on some hot end assemblies.
-
 undefined zapta has marked this topic as solved