Thanks! I updated to release 3.5 and this approach seems to work well.
Is there a reason you used M99 over abort?
Edit:
If I understand correctly M99 works better here as it does not cancel the current print file. Whereas abort would.
Thanks! I updated to release 3.5 and this approach seems to work well.
Is there a reason you used M99 over abort?
Edit:
If I understand correctly M99 works better here as it does not cancel the current print file. Whereas abort would.
tl;dr; The move.extruders[].filament value updates even if the macro fails to complete.
Issue #437 on Github discusses this and it seems the recommended approach is to add a T-1 before any abort command. However, if the user selects "Cancel" after running M291 P"<message>" S3 there does not seem to be away to set the tool to T-1
Would you have to do something like this?
T-1 ; disable tool
M291 P"Feed filament?" S3
T0  ; reset tool
Is setting T-1 still the recommended approach?
Any help on this would be greatly appreciated.
I have been following Ellis' brilliant print tuning guide and have got a bit stuck on how to determine what is a good Extrusion Multiplier. The guide says a good Extrusion Multiplier will be noticeably smoother on the top surface and provides some examples.
I have printed examples with an Extrusion Multiplier of 92, 96, 98, 99 and 100 (see below images) but to my untrained eyes and hands they are all pretty much the same (It doesn't help that the filament is white).
Could someone please help point me in the right direction?


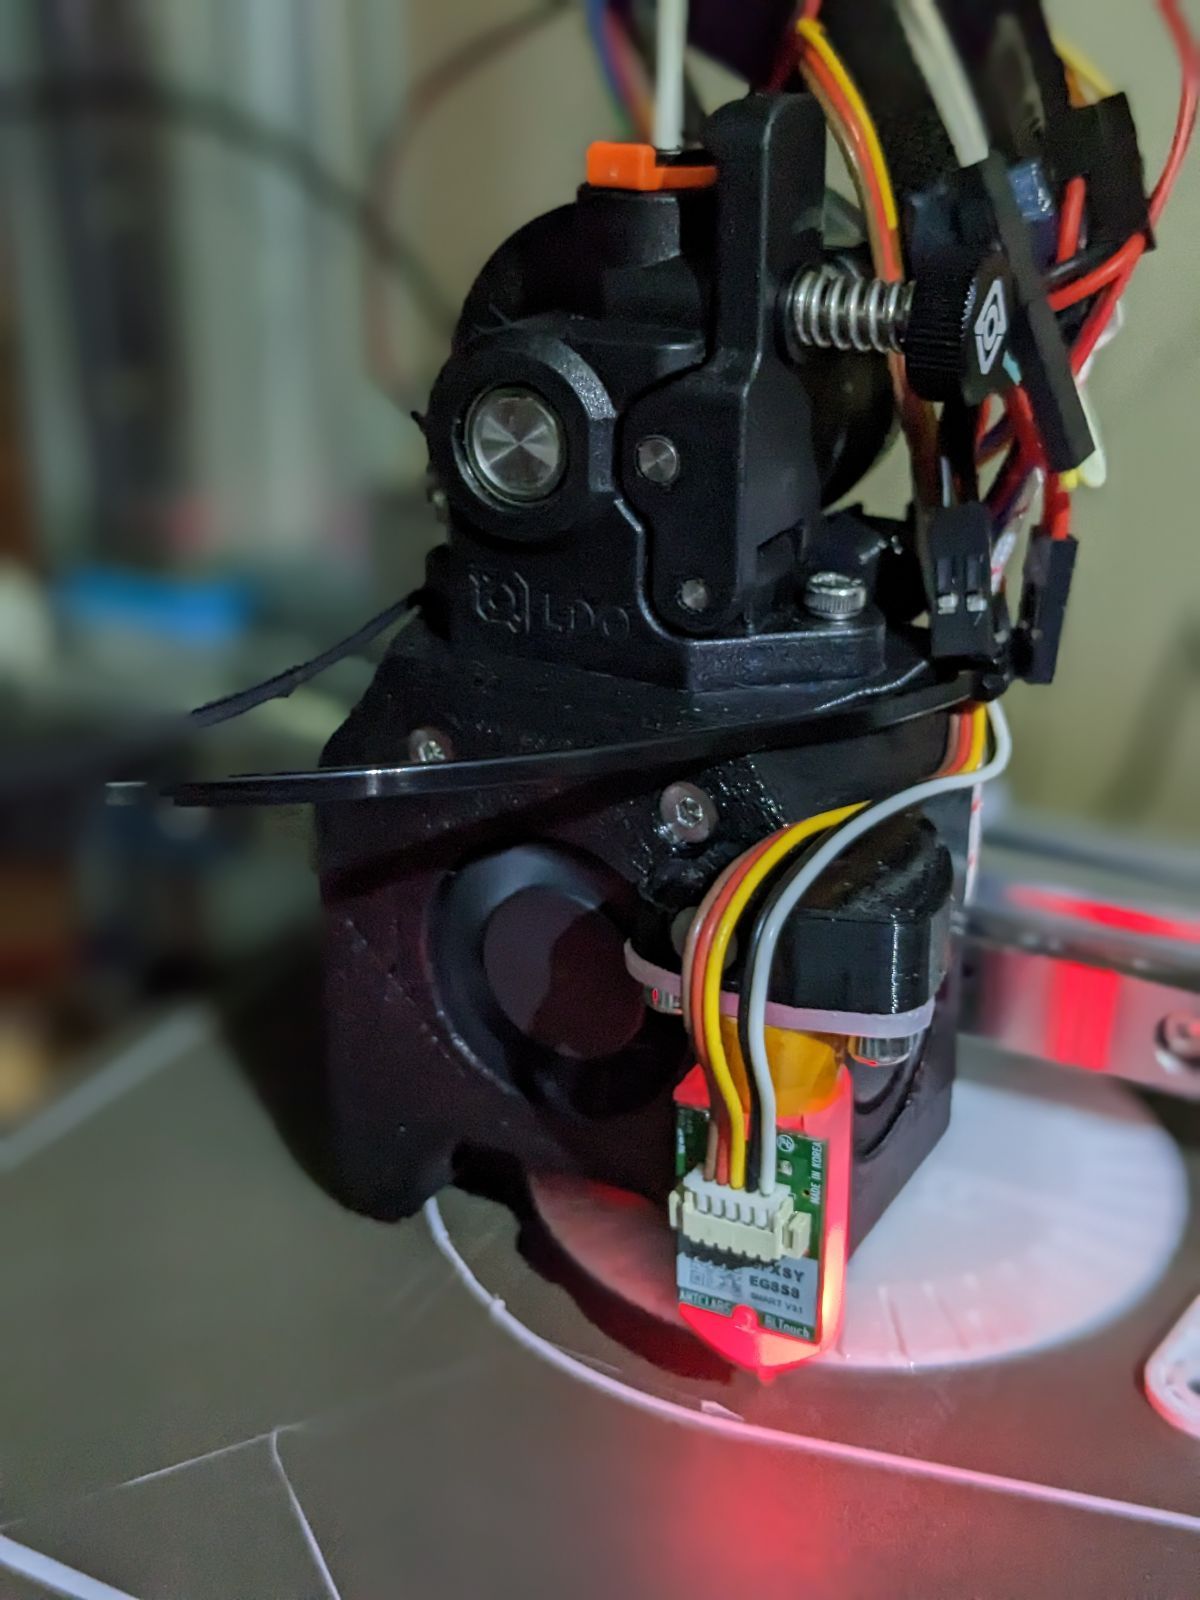
Just wanted to close off this thread. Thanks for all the help and suggestions. I ended up using a Revo Voron + Orbiter v2 and modified Mini-AfterSherpa toolhead. In its current setup it has reduced my print volume slightly but will modify more if I find i need more print area.
It is still a bit of mess re:wires but seems to print well.
@droftarts Thanks for the information! This is very helpful, I will see if I can reuse my current mount.
I have been running a Cetus 3D MK2 on a Duet Maestro for several years now and it has been working great. Its come time to replace the extruder and hot-end. This is what it looks like (image take from the internet):
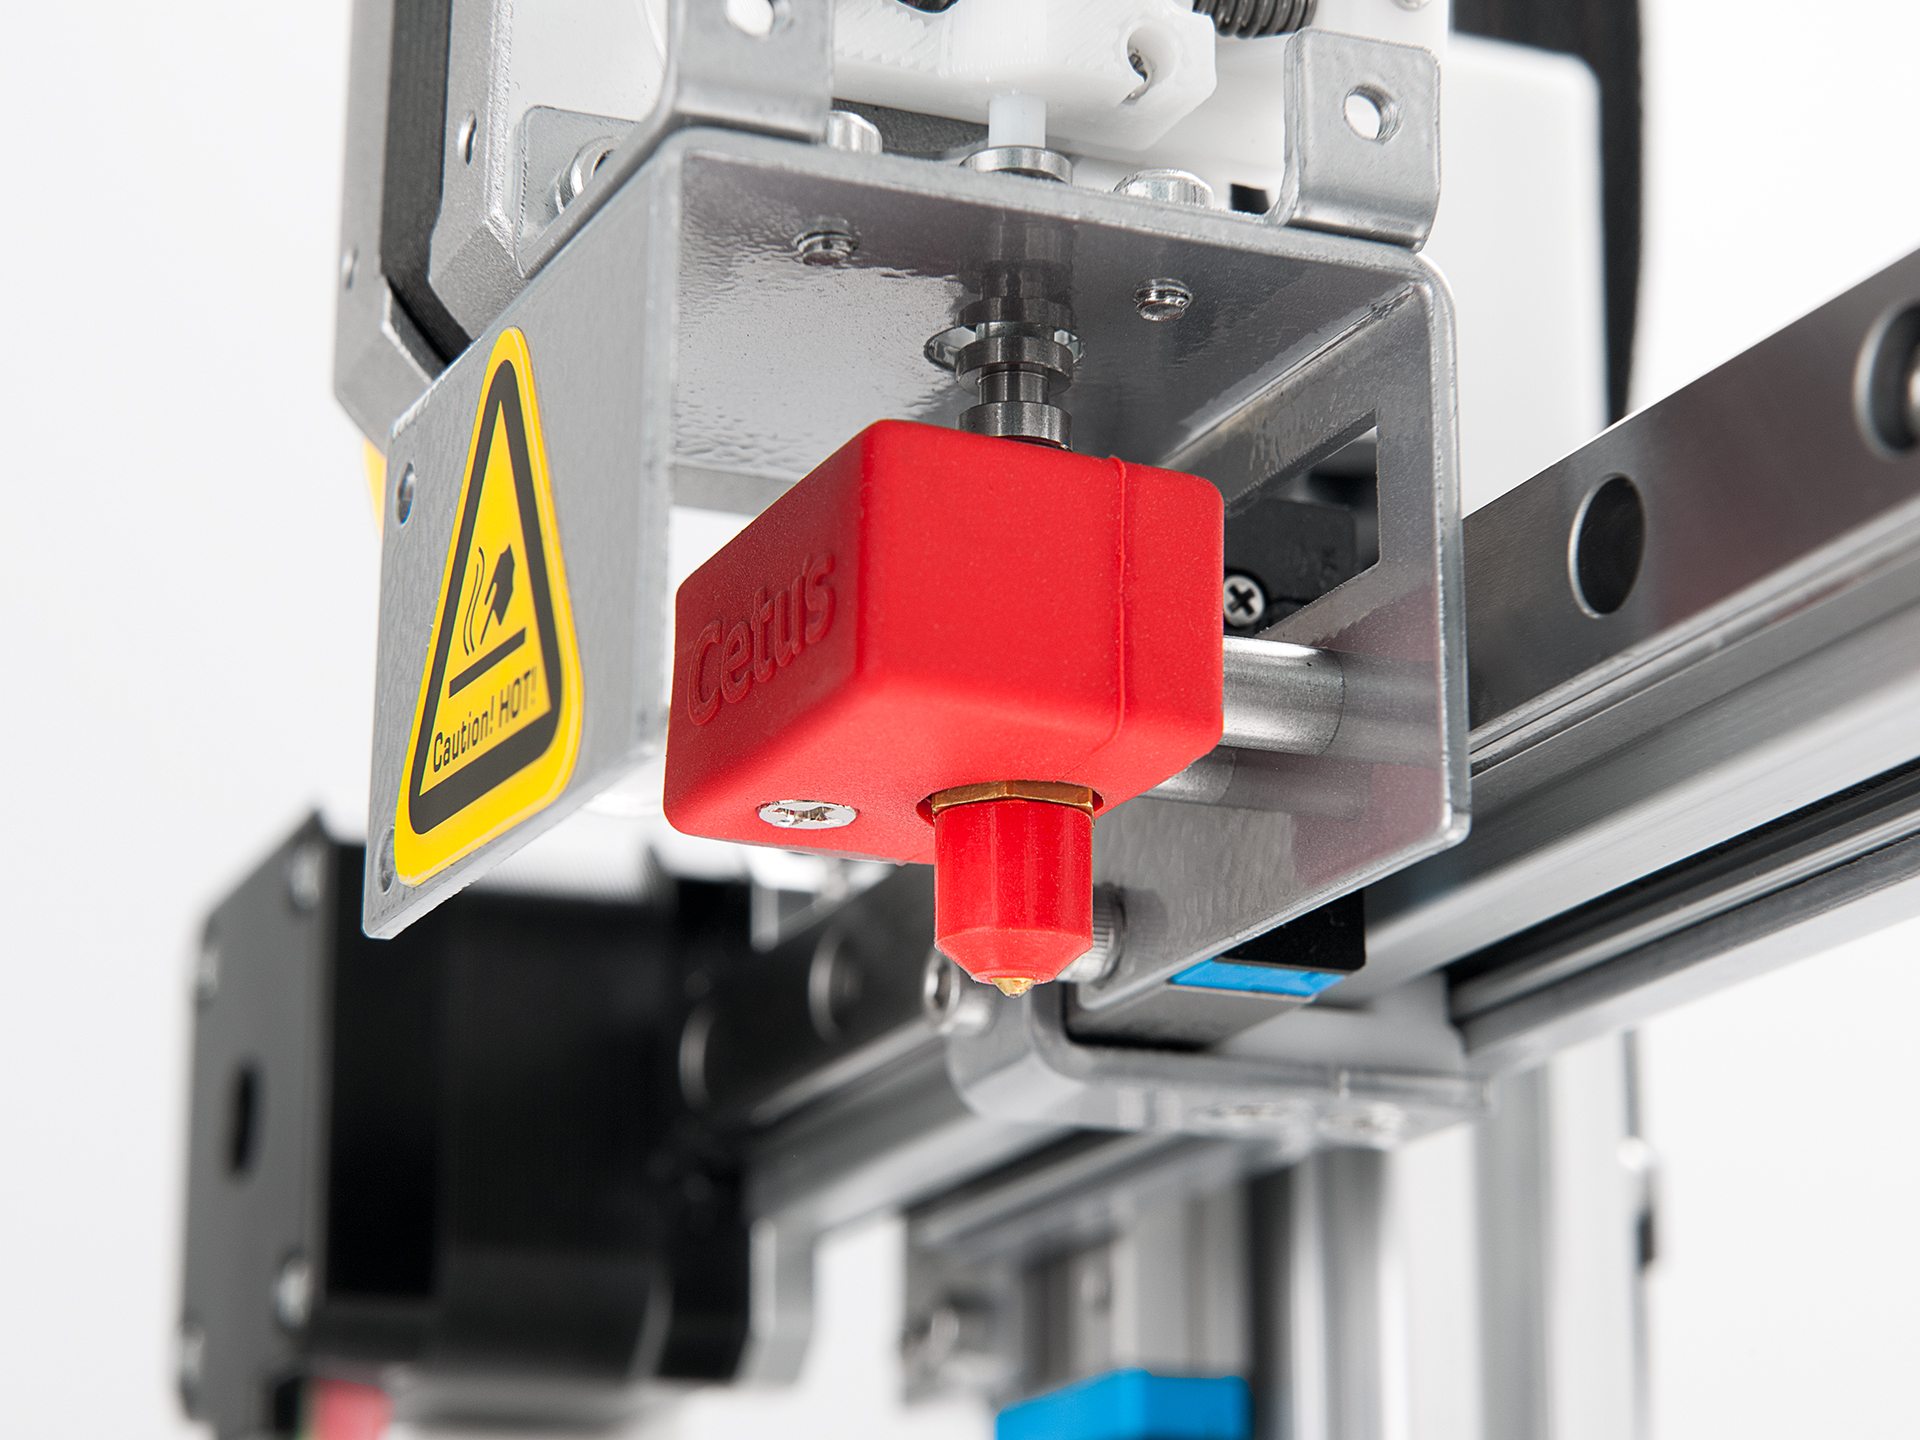
I plan to replace the extruder with an Orbiter 2.0 and the hot-end with a Revo Micro. The part I am trying to figure out is the mounting.
Are they any existing toolheads or mounts that I can use, modify or get inspired from to help with this replacement?
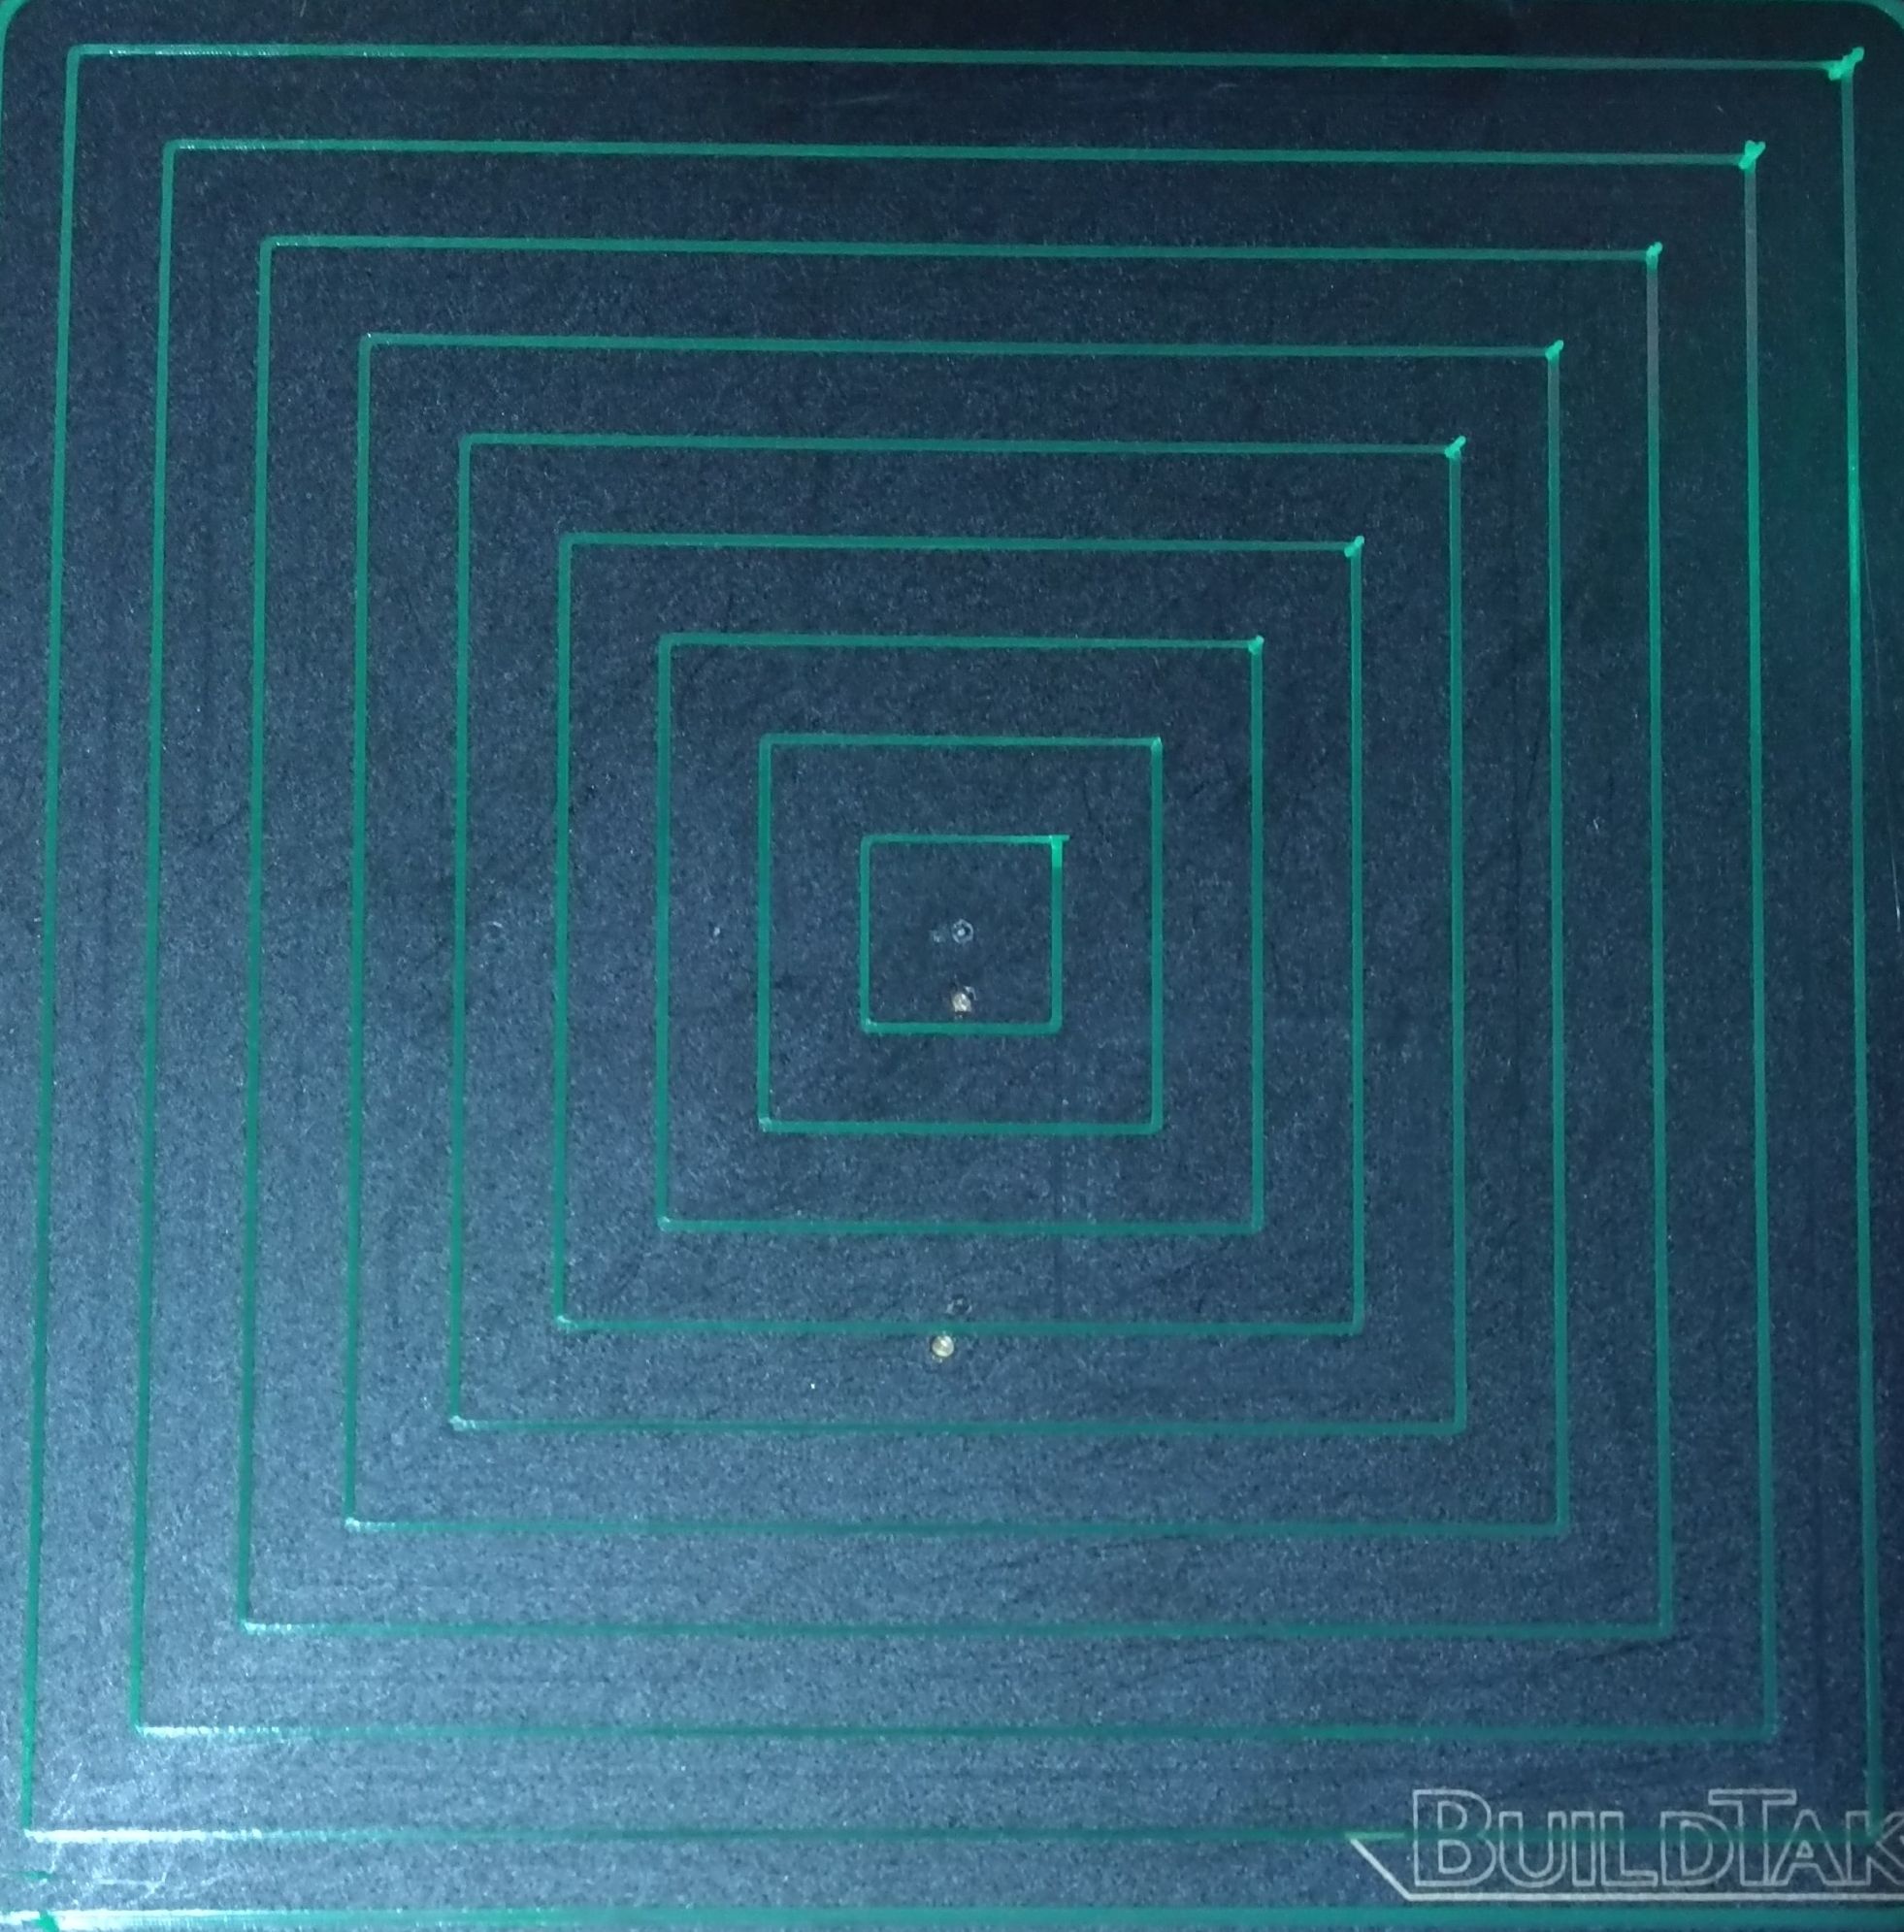
I was able to get the first layer test to print full squares by reducing retraction speed (15mm/sec), retraction distance (0.5mm), layer-height (0.2mm), extrusion width (0.48mm) and increasing travel moves (260mm/sec) and pressure advance (0.7). This also helped with printing the single parameter geometries.
I think I still have a while to go to dialing this in but I will take it as progress. Thanks for all the help.
@CCS86 did you manage to find a solution for this? I experience the same thing with my maestro. For now I have disabled stealthchop2 but would love to use it as it makes my printer very quite.
Thanks @Phaedrux
I have been using the macros you created to try tune the retraction (Thanks for creating them, they have helped a lot).
My setup is using a direct drive and slicer is configured to retract on travel and layer changes. Travel speed is 130mm/sec. I turned off PA and focused on retraction tuning. So far the results are pretty poor. The only time I can get enough filament down at the start of new layer is when I re-prime at set it something greater than 0.68.
I am going to run some more test this evening.
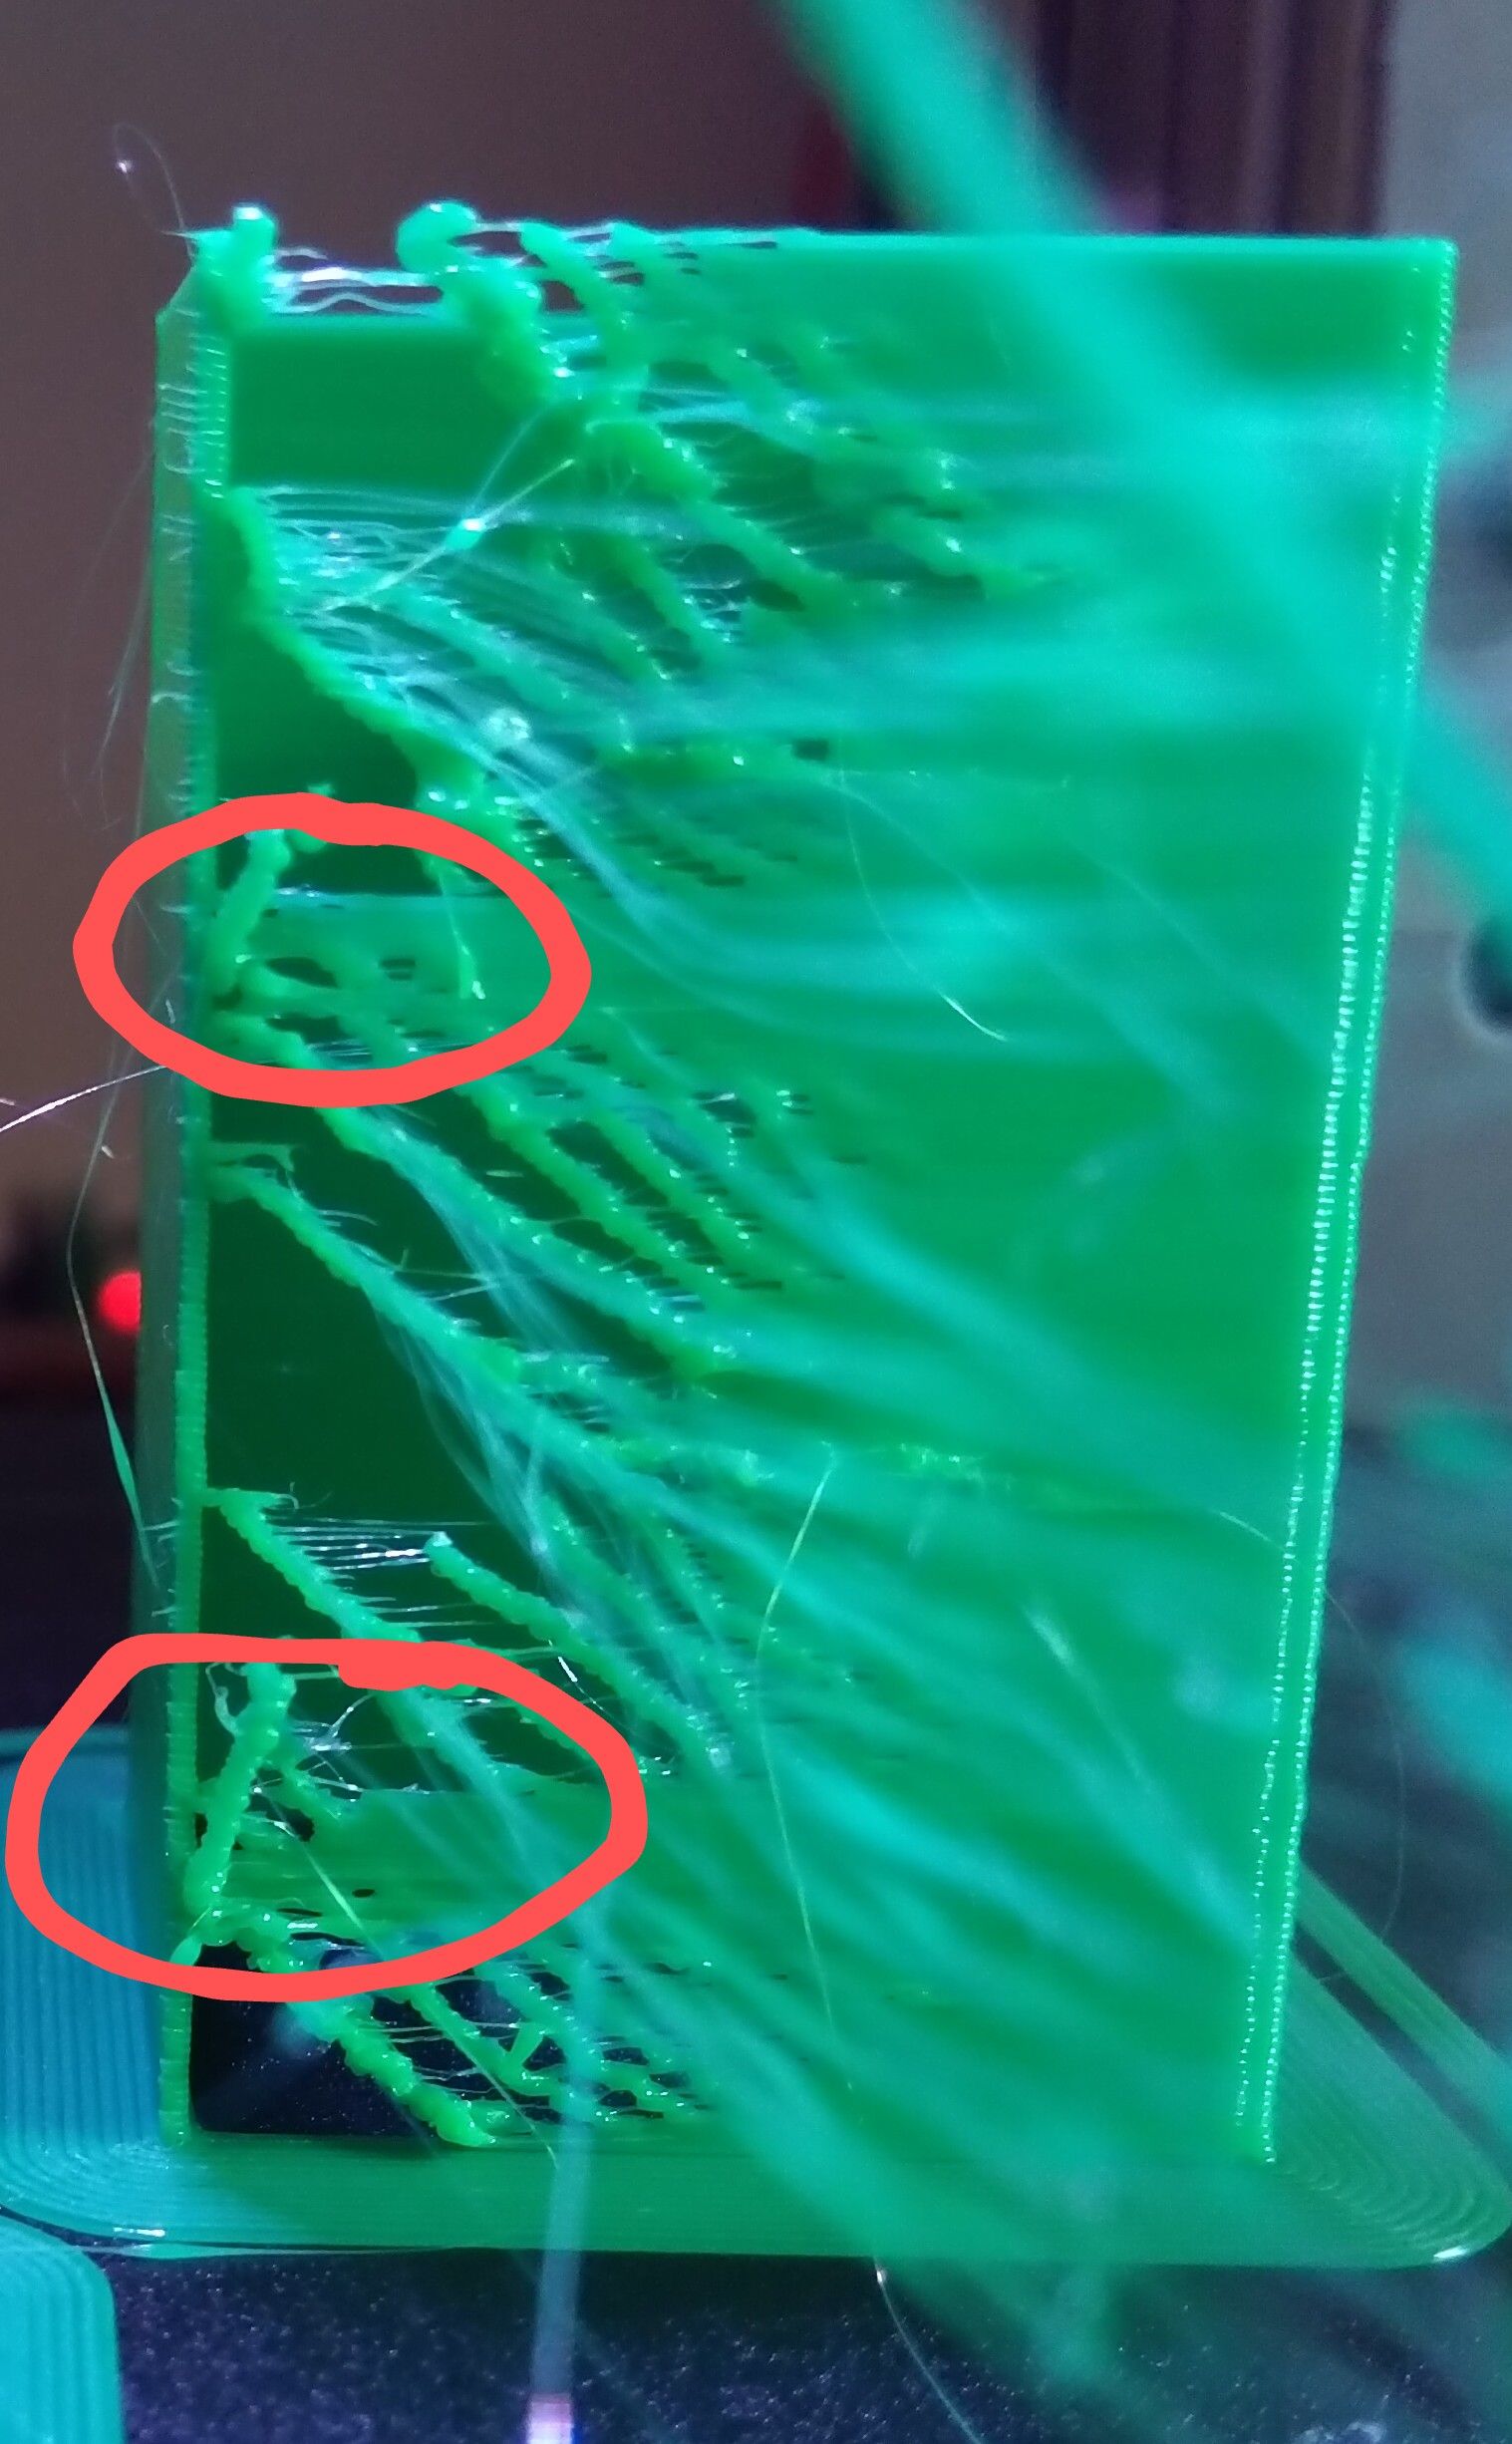
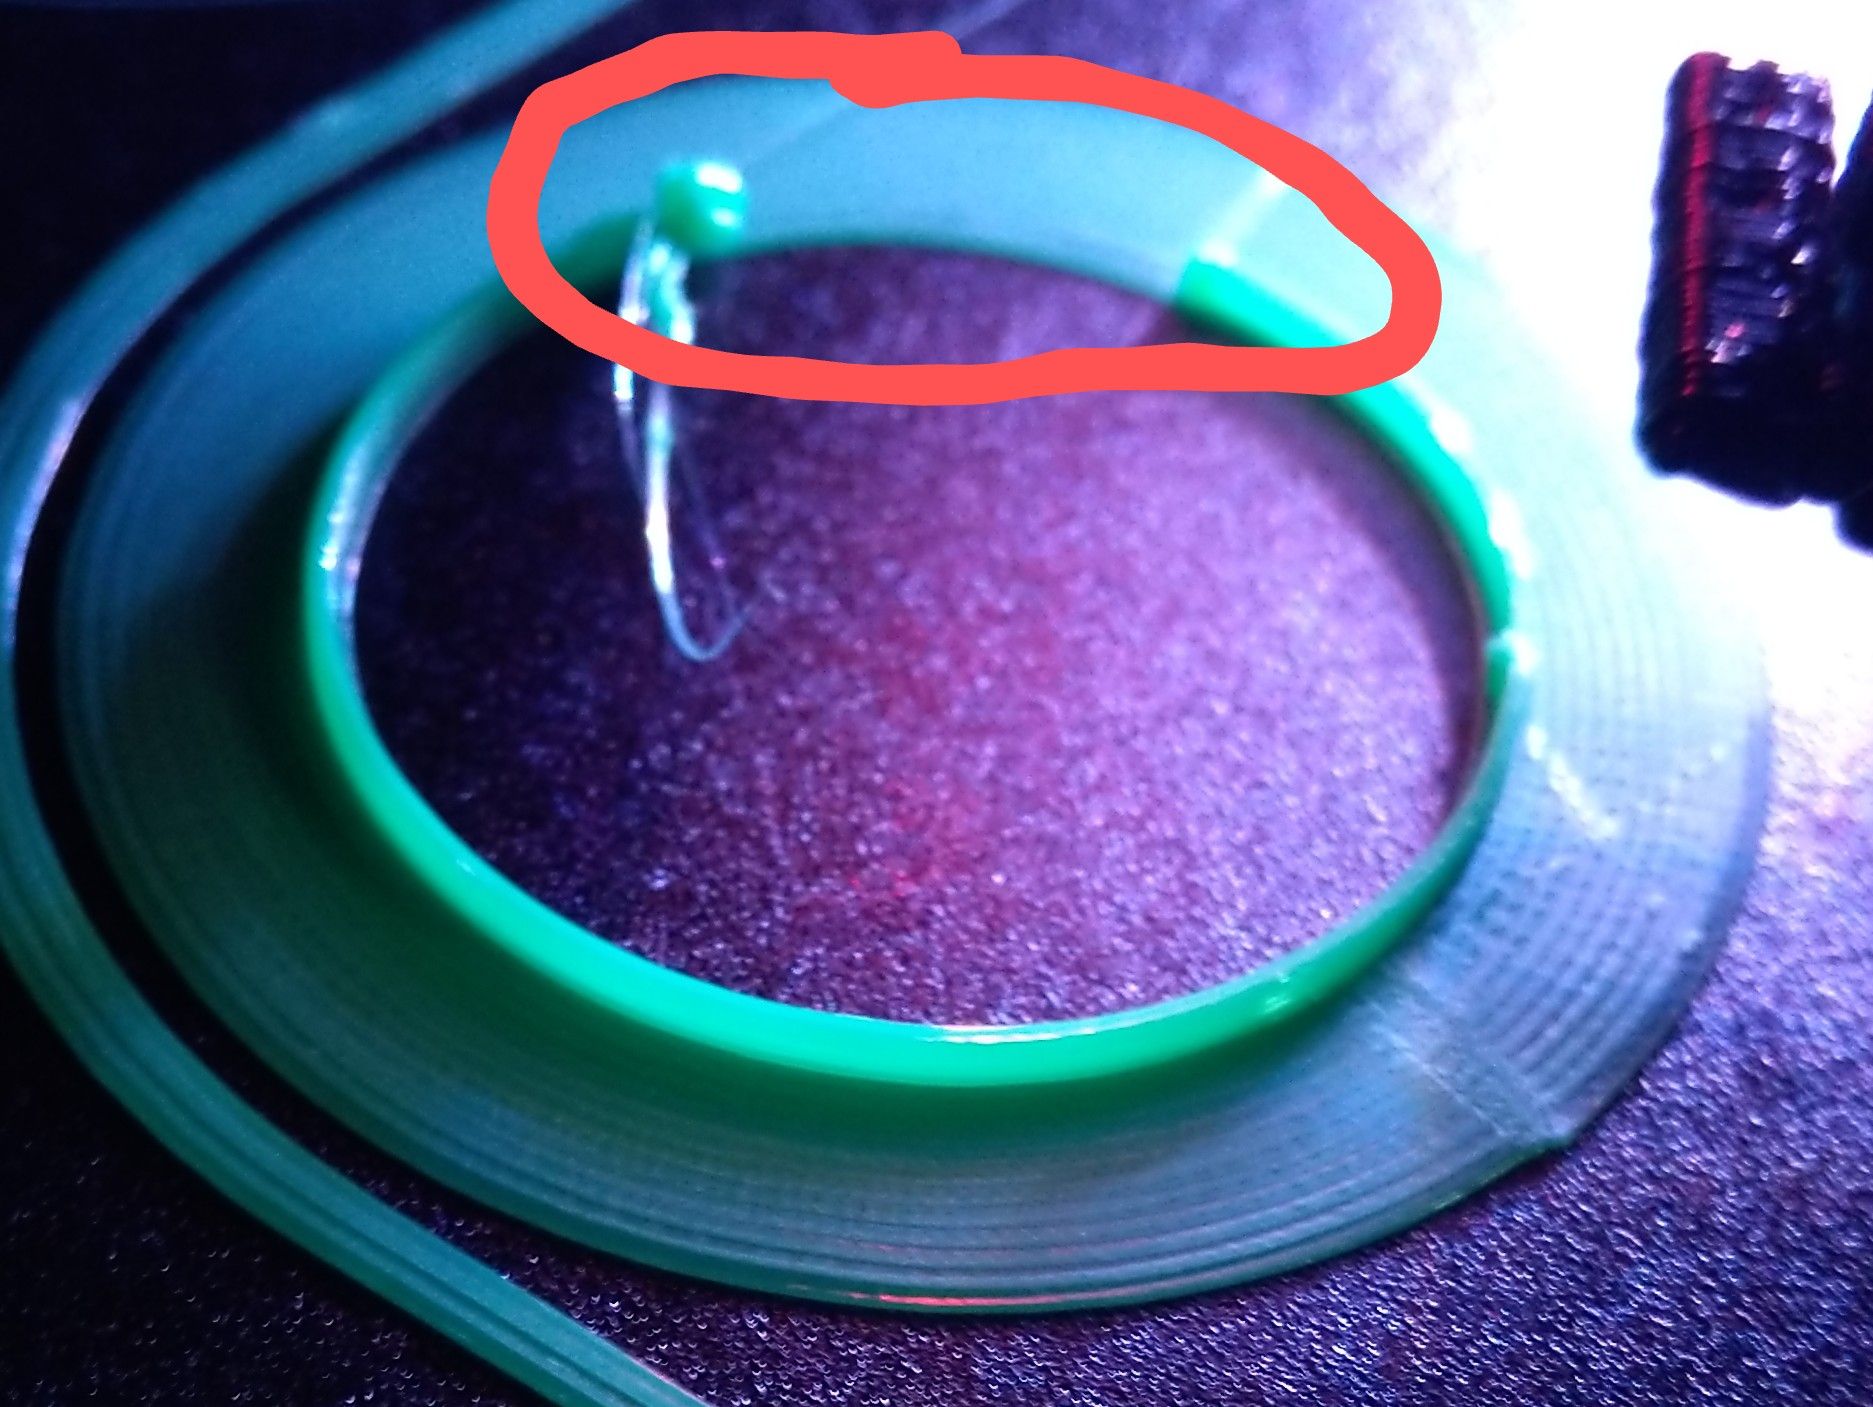

I tried slowing everything down and the results were near identical to the above picture. You can see as the extruder retracts and moves to the next geometry and then de-retracts it just pushes out small blobs with spaces between them. It then seems to sort it self out after a little bit. I am not sure how else I can debug this.
M566 X56.25 Y56.25 Z56.25 E7.50
M203 X7800.00 Y7800.00 Z7800.00 E7800.00
M201 X93.75 Y93.75 Z93.75 E62.5

M207 S1.0 R0.2 F1800 T1800 Z0.0
@dc42 Thanks.
To get all squares connected it required M207 R0.68 (see below image).

I then tried running a few more test on a more realistic print scenario and found that all the geometries beside the square in the center were missing the start parts of the print. I tried increasing and decreasing the e-acceleration, e-jerk and PA. I also did the same with retraction. Increasing and decreasing speeds, distance, un-retraction etc. All test prints generated similar results as the picture below.

Awesome, thanks for this information. I have managed to interface with the 4 free pins on the maestro.
@T3P3Tony thanks!
Are the other 4 free pins (exp.pa21, exp.pa22, exp.pa3, and exp pa4) on the Expansion Header 5v?
What is the max current output on the 5v and and 3v expansion pins on the Duet Maestro?
I was checking here but cannot find the details:
https://duet3d.dozuki.com/Wiki/Duet_2_Maestro_Wiring_Diagram
https://duet3d.dozuki.com/Wiki/Using_external_stepper_motor_drivers
Thanks. I removed wipe and the extrusion is now E0.00854. The issue is slightly better but the smaller inner squares still have a gap. The pattern of the gap getting bigger as the squares get smaller is still present.
Using slicer for retractions:
G1 E-1.00000 F2400.00000
G1 X-79.579 Y-79.579 F7800.000
G1 E1.00000 F2400.00000
G1 F1800.000
G1 X-79.483 Y-79.599 E0.00854
Using Firmware for retractions:
G10 ; retract
G1 X-79.579 Y-79.579 F7800.000
G11 ; unretract
G1 F1800.000
G1 X-79.483 Y-79.599 E0.00854
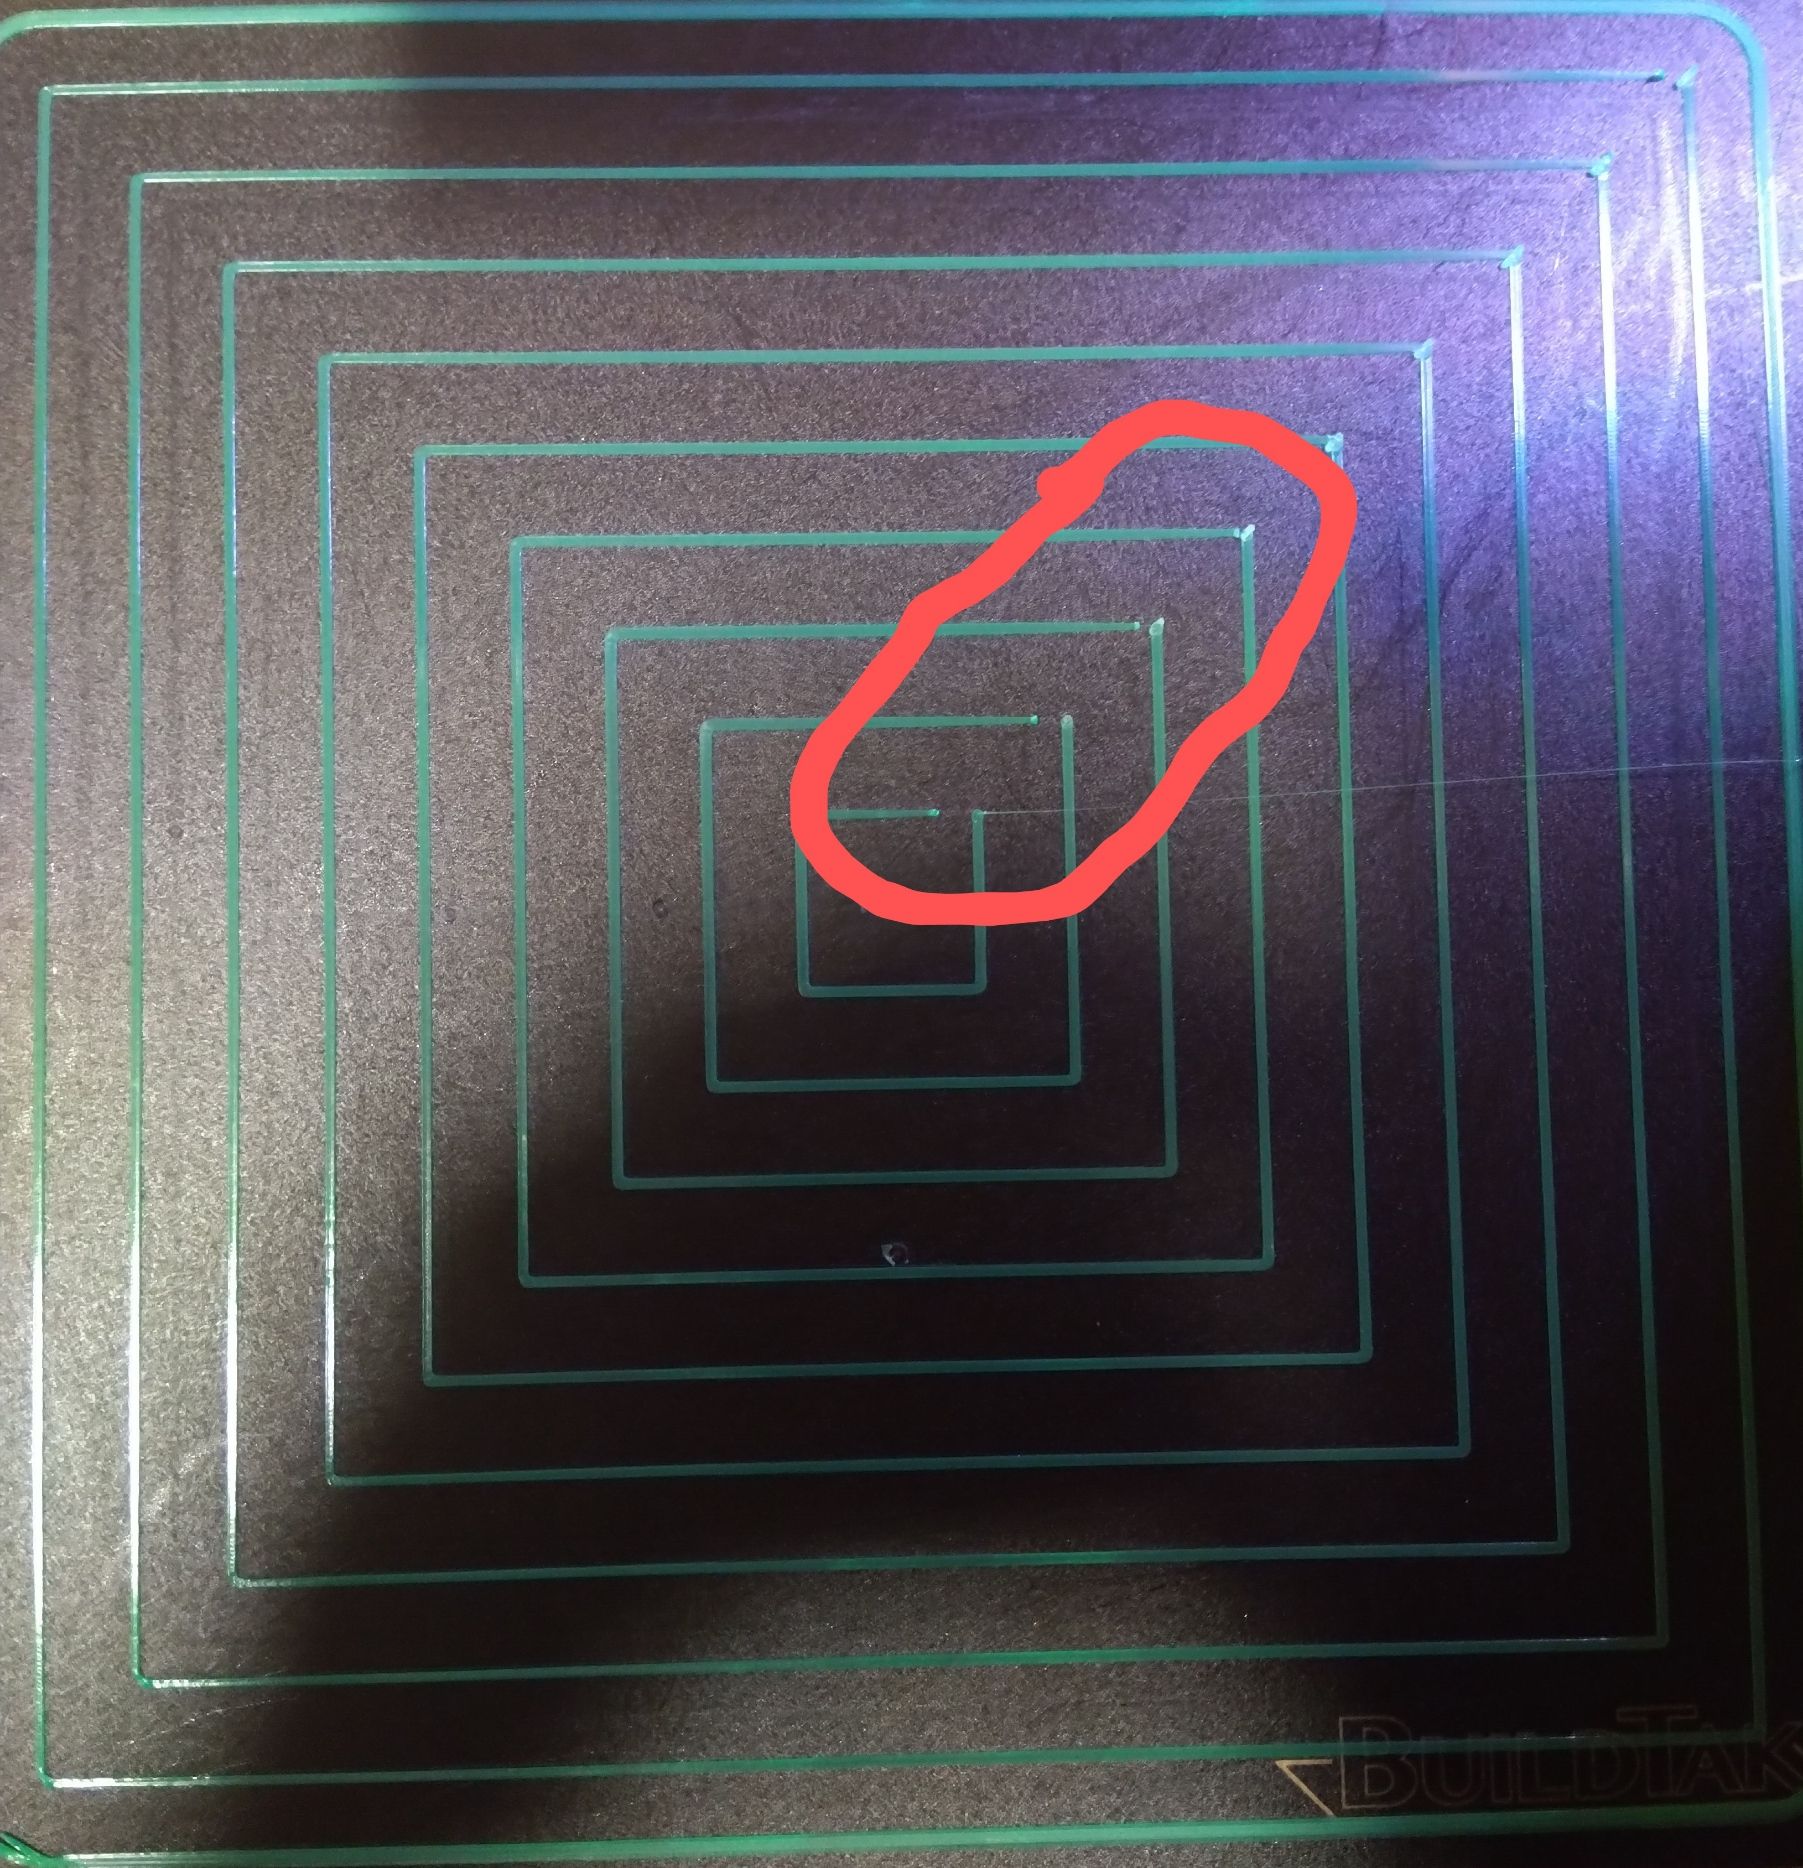
I also tried increasing the detraction speed to 60 mm/sec. This improved things but the issue was still present on the smallest square. It feels tempting to just keep upping the speed but I do not think this fix would scale well (please correct me if wrong). It would most likely be amplified when there are lots of retractions on a real print. (I pushed the detraction up to 80 mm /sec but this produced similar results to 60mm/sec)
Updated gcode with increased detraction speed: Leveling_test_v1.gcode
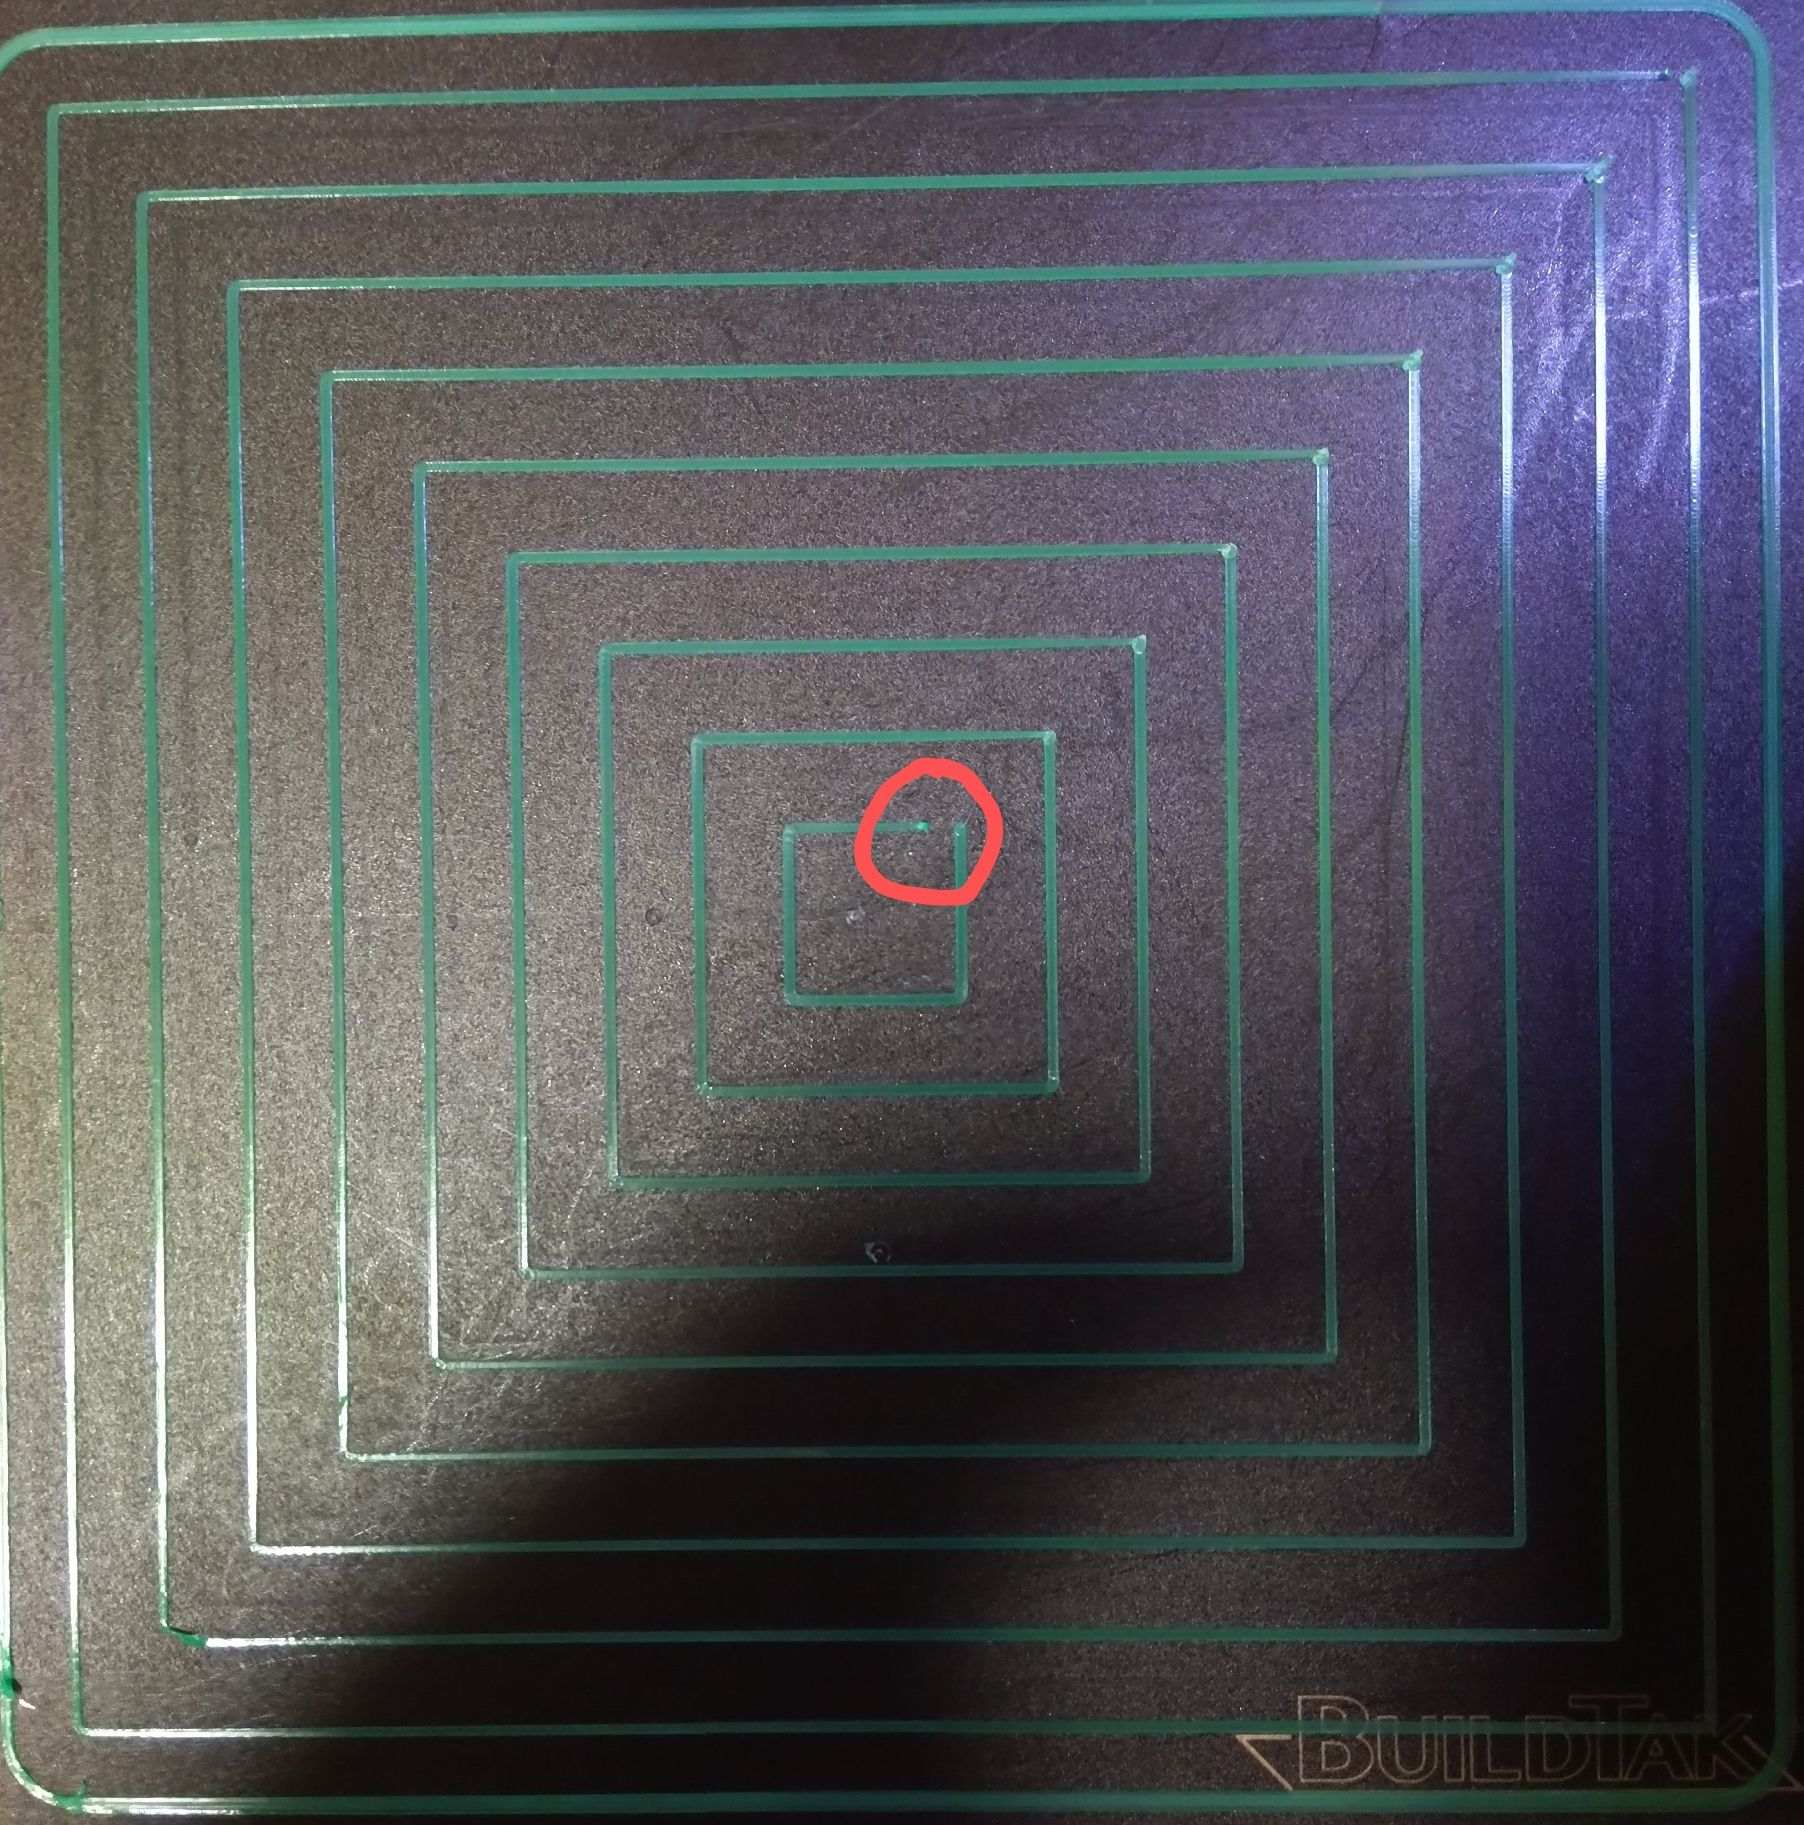
Thanks I have tried doing that. I currently have use firmware retractions checked in prusaslicer as I thought this would then hand off all retractions to the firmware. That way I can test retractions while it prints, correct? Using firmware or slicer retractions seems to have the same effect.
Regardless I am going to re-slice with everything turned down and try again.
Thanks for all the help and suggestions. I really appreciate it.
@Kolbi Thanks. I have tried changing the PA from 0.005 all the way to the extreme 0.7 (increasing by 0.005) but the gaps remain in the the same location and at roughly the same spacing.
What I find interesting is the gap of the first square being printed is smaller than the next one (it printers from outside to inside). As the squares get smaller the gap gets bigger. What could be causing that?
@jens55 Thanks, I will run through more test with PA to see if it helps.
Thanks. I am using a direct drive extruder (single gear). I have tried using pressure advance, setting it from 0.005 to 0.030 but it did not help with gap. Do you think I should increase the value? If so what value would you recommend?