@dc42 said in I think I would like a variation on M208:
@fcwilt https://docs.duet3d.com/User_manual/Reference/Gcodes#m599-define-keepout-zone.
Thank you.
Frederick
@dc42 said in I think I would like a variation on M208:
@fcwilt can you use the keepout zone function to avoid the Z hardware?
I don't know if I can use it because I have never heard of it.
Where can I read about it?
Thank you.
Frederick
@micaheli said in Dual Z endstops and G30:
@fcwilt OG is "original gangster". Means old school.
I guess I just have hope that there would be a fancy new way that works better. Guess not. Boo.
I have tried many and they often sound great but end up disappointing.
The BLTouch may be old school but it just works.
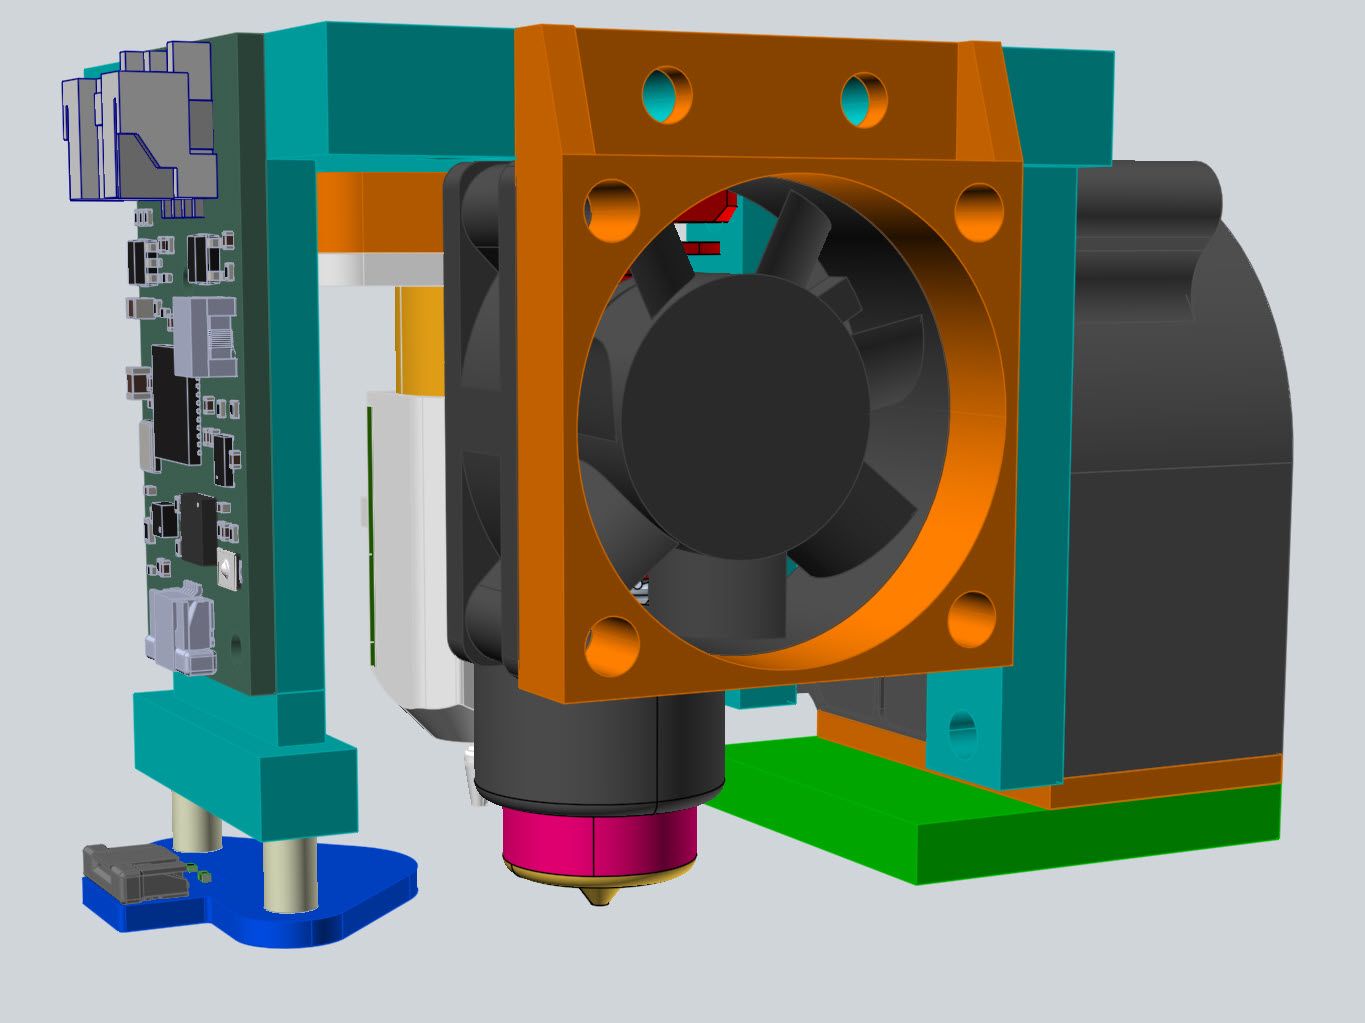
Here is how the coil will be mounted (more or less)
@micaheli said in Dual Z endstops and G30:
@fcwilt I just can't do it. I have BL touches on my other printers... But it's just such an OG.method. I wanted something fancier.... I guess nothing exists... Klicky? Lol
OG? What does that mean.
I have tried my every type of Z probe I was able to get and I have returned to the BLTouch.
Inductive are quiet but not very accurate.
The Euclid involved mounting it and dismounting it.
A BLTouch type from another company simply didn't work and I tried six of them.
IR types are fussy about bed surfaces and I use a magnetic system with different surfaces, and that got the IR kicked to the curb.
Now with the SZP the BLTouch is only clicking when setting the Z=0 datum (one click) or probing for bed leveling (three clicks) so the annoying noise is not an issue.
Frederick
@micaheli said in Dual Z endstops and G30:
@fcwilt Are you just referring to the Duet3D Scanning Z Probe/SZP/Coil? That's what I'm using too. I just don't consider it a viable touch probe. Yet.
Yes, which is why you see a BLTouch there as well.
Frederick
@micaheli said in Dual Z endstops and G30:
@fcwilt what makes that an E3D scanning probe?
The design is not complete yet.
The SZP board is there.
I'm working on mounting the coil.
Give me 5 minutes and I can show you the first attempt.
Frederick
@micaheli said in Dual Z endstops and G30:
@fcwilt unfortunately my z probe is the scanning probe, and consistent it is not for single "touch" probes.
Which is why all of my printers now have, or will shortly have, both regular Z probes (BLTouch types) and the E3D Scanning Z probe.
I was working on the design for the last printer just before I saw your reply.
Frederick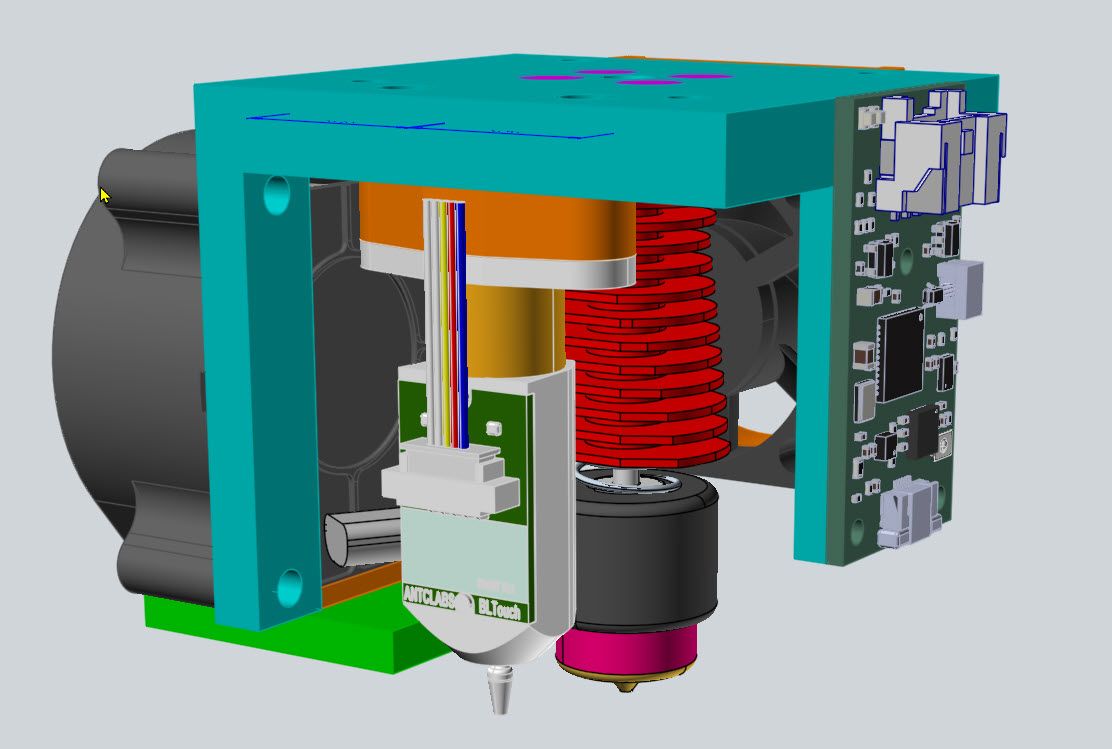
@micaheli said in Dual Z endstops and G30:
@fcwilt So you recommend having a hard min stop adjusted to nozzle height for the actual bed itself, rather than a nozzle style? I liked the concept of having a nozzle tip = zero every time probing method. Regardless of nozzle. The way you describe would need offset tweaking every time I swapped nozzles and such.
I do like the simplicity of your method and I even started designing mounts around that, but veered off into the method I have now.
Either way, that document needs to be updated.
I also have a Z probe and use that, when needed, to establish the Z=0 Datum.
So with the two Z end-stops you get the benefit of fast and simple homing along with the leveling of the bed, even if it is not perfect it can be very close, and with the Z probe you get the accuracy you desire.
Another minor benefit of homing Z first is you don't have to do any fussing about with moving Z "out of the way" before homing X and Y, you just end Z homing by moving to, say, Z=5.
You can then use the Z probe to do auto bed leveling (see G32) where it will tweak the individual Z steppers as needed to get the bed as close to perfect as the Z probe allows.
And then anytime you can use the Z probe to set the Z=0 Datum. The auto bed leveling will do a great job but it can throw off the Z=0 position a smidge so it is advised to always follow auto bed level with setting the Z=0 datum.
I had a printer with three Z steppers and it was fast and quite amazing at get the bed level.
Just as a reminder you should set the Z=0 datum:
Frederick
@micaheli said in Dual Z endstops and G30:
@fcwilt They are sexbolt style endstops. So the nozzle touches each of them, then moves to the other and back, etc.. To level the bed. Each endstop has it's own input io3.in and io7.in. Each ties to it's own stepper for the corresponding side.
They are not end-stops then.
Z end-stops require not XY motion, they are triggered by the Z axis reaching a certain position.
If you have two Z steppers you need one end-stop for each.
Then in the config file you specify the configuration something like this:
M574 Z1 S1 P"pin-name-for-endstop-1 + pin-name-for-endstop-2"
When done this way each Z stepper is run until its associated end-stop is triggered.
If the end-stops are carefully positioned the bed ends up level.
I highly recommend using two actual Z end-stops.
It makes homing the machine simpler by removing any interaction between axes.
Frederick
I agree that adjusting M208 is the most practical solution given the number of customers that would benefit from you spending time doing something in the firmware.
I have one routine that I can pass a tool number, a probe number or put/get flag and it adjusts M208 for each situation.
The code is not complicated, relies on axis and offset values from the object model to do most of the work.
The only hardcode values are those that "expand" M208 to allow safe access to the tool docks.
The only thing I haven't solved is a way to create a "barrier" around the Z axis hardware, which can be struck when doing put/get moves if the put/get code has a flaw.
I quite pleased with the result.
Frederick
@dc42 said in Object Model value never seems to change:
@fcwilt object model field heat.heaters[N].state should change when you cycle the heaters in that way.
Yes I did locate that.
I was thinking (wrongly so) that if the tool heater was on standby the tool itself would have to be on standby.
It appears that the state of the tool being active/standby in my mind is more like selected/not selected
Thanks for the help in understanding things.
Frederick
If you go to the General section of the DWC there are a number of options/values that can be set/changed.
So I was thinking that would be a place to have an "on/off" option that would change the behavior.
As to M568 - I am using that.
Here is a the relevant code from one of the filament config files:
set global.print_beg_tool_temp_a [var.index] = 190
set global.print_beg_tool_temp_s [var.index] = 100

set global.print_beg_tool_ext_adj[var.index] = 100
set global.print_beg_tool_spd_adj[var.index] = 100
set global.print_beg_tool_bby_stp[var.index] = 0

set global.print_beg_tool_prime  [var.index] = 10
set global.print_beg_tool_retract[var.index] = 0.5
set global.print_end_tool_retract[var.index] = 0.5

set global.print_beg_bed_temp_a  [var.index] = 60
set global.print_beg_bed_temp_s  [var.index] = 30
Later on there is this code in another routine that applies these values:
; this part is just to make the use of these values down below a bit easier to read by using shorter names

var bed_temp_a  = global.print_beg_bed_temp_a  [var.tool]
var bed_temp_s  = global.print_beg_bed_temp_s  [var.tool]
var tool_temp_a = global.print_beg_tool_temp_a [var.tool]
var tool_temp_s = global.print_beg_tool_temp_s [var.tool]
var ext_adj     = global.print_beg_tool_ext_adj[var.tool]
var spd_adj     = global.print_beg_tool_spd_adj[var.tool]
var bby_stp     = global.print_beg_tool_bby_stp[var.tool]

M568 P{var.tool} S{var.tool_temp_a} R{var.tool_temp_s} ; set extruder heater temps (active and standby)
M221 D{var.tool} S{var.ext_adj}                        ; set extruder extrusion percentage adjust
M140 S{var.bed_temp_a} R{var.bed_temp_s}               ; set bed heater temps (active and standby)
M220 S{var.spd_adj}                                    ; set print speed adjust
M290 R0 S{var.bby_stp}                                 ; set initial baby steps
@dc42 said in Object Model value never seems to change:
@fcwilt it's conceivable that it's a bug in 3.5.x that was fixed in 3.6 but it's not listed at https://github.com/Duet3D/RepRapFirmware/wiki/Changelog-RRF-3.x-RC#bug-fixes-since-354. When the states are shown incorrectly in the DWC Object Model Browser, if you then click the Refresh button or (if running in standalone mode) reload the browser tab, do they change to the correct values?
OK I've figured it out.
I was cycling the heaters from off > active > standby BUT I was looking at the tool settings in the object model.
When I changed which tool was active then the value in the object model was correct.
I've learned something new.
Thanks.
Frederick
@dc42 said in Object Model value never seems to change:
@fcwilt it's conceivable that it's a bug in 3.5.x that was fixed in 3.6 but it's not listed at https://github.com/Duet3D/RepRapFirmware/wiki/Changelog-RRF-3.x-RC#bug-fixes-since-354. When the states are shown incorrectly in the DWC Object Model Browser, if you then click the Refresh button or (if running in standalone mode) reload the browser tab, do they change to the correct values?
Give me a few minutes and I will take a break to test it again.
Frederick
@dc42 said in Object Model value never seems to change:
@fcwilt it's working for me using 3.6.0-rc.1 on a 6HC in standalone mode. All tool states are initially "off". If I select a tool its state goes to "active", if I select another tool then that one goes "active" and the one that was selected before goes "standby". Reselecting the first tool swaps their active/standby states.
On my 3.5.4 machine I see that happening in the DWC but I haven't seen the value in the object model change.
I will keep testing.
Thanks.
Frederick
@T3P3Tony said in Object Model value never seems to change:
@fcwilt see the documentation here:
https://github.com/Duet3D/RepRapFirmware/wiki/Object-Model-Documentation-Beta-&-RC#toolsstateShould change when a tool cycles between active adrandby and off.
Thanks I will check the documentation.
But so far I have not be able to do anything that makes that value change.
Frederick
@T3P3Tony said in My filament control system just ran aground.:
@fcwilt if you want to load and unload filament then, AFAIK, you need that tool to be active. It sounds like what you want if for the filament handling system to run the Tn command, but use P0 (e.g. T1 P0) so that the tool change macros are not run. Is that correct?
Using T# P0 might well solve my problem.
Yes, if you use the filament feature of the DWC to actually load and unload filament you need the tools active and at temperature.
But I am using (was using it) just to set a number of filament related settings, such as hotend temperature.
On my single tool printers, since I pre-selected T0 in config.g and only tool 0 appeared in the DWC, thus the DWC never issued the T0 and I never knew that it could/would. It only invoked the load/config/unload code on a per filament basis and that was exactly what I needed.
When I modified my code to handle multiple tools I was quite surprised to see the T command and all of the related "side effects".
Right now the T command code seems to be responsible for turning heaters on and off - and that messes things up for me - and I have found no simple way to work around it.
I know that most slicers have a "filament system" but I found them cumbersome and never took to it, greatly preferring the system I implemented using the DWC filament feature.
IF it were possible to have an option setting in the DWC to have it send T0 P0 that might very well solve all my problems, IF it is the invoking of the pre/post/free code that is also responsible for controlling the heaters.
Thanks for the reply.
Sorry to be such a pain.
Frederick
Hi,
Using firmware 3.5.4 on a 6HC.
There are values in the object model like this:
tools[0].state
tools[1].state
tools[2].state
tools[3].state
On my printer they all show "standby" as the value and I have never seen them change.
What does this value mean and when should it change?
Thanks.
Frederick
Hi,
I've been using the DWC filament handling feature for ages but only with single tool printers.
Being single tool printers there was a T0 in the config.g file and there were no tpre#.g or tpost#.g or tfree#.g files.
I'm now working on configuring my first tool changing printer.
And I just discovered that selecting a filament for a tool from the DWC first does a T# command as appropriate for the tool chosen.
This ruins my whole scheme.
The T command triggers the tpre#.g and tpost#.g files - which is where I was executing the code that did the actual physical tool changing.
I don't want that to happen just as result of selecting the desired filament for any given tool.
I want to only activate a tool either from the DWC (the icon just above the "load filament" icon) or from within my print code. And of course from the DWC command line.
So my first thought was an option to disable the generation of the T command when loading/unloading filament from the DWC.
The problem I see there is that the T command being issued appears to being setting the *state.currentTool and state.nextTool values in the object model, no T command, no update-to-date values.
But to make my filament handling code work I need to know which tool I am selecting for filament loading/unloading.
I should mention that while I am using the terms from the DWC regards filament loading/unloading all I was doing was setting a number of filament related values for the selected tool.
Actual filament loading/unloading is being done manually.
So I need two things:
I now need to find a workaround so I can proceed with getting the printer up and printing.
Thanks.
Frederick
")