Raise3D Pro2 setup
-
Does anyone out there have a Raise3D Pro2 setup using a Duet 3 6HC? What other duet components are you using to get the build done? I would like to eventually turn it into a tool changing machine.
If anyone would like to share their setups and difficulties, it would be much appreciated.
-
@rchotdogpilot not much help to you but I am in the process of doing this.

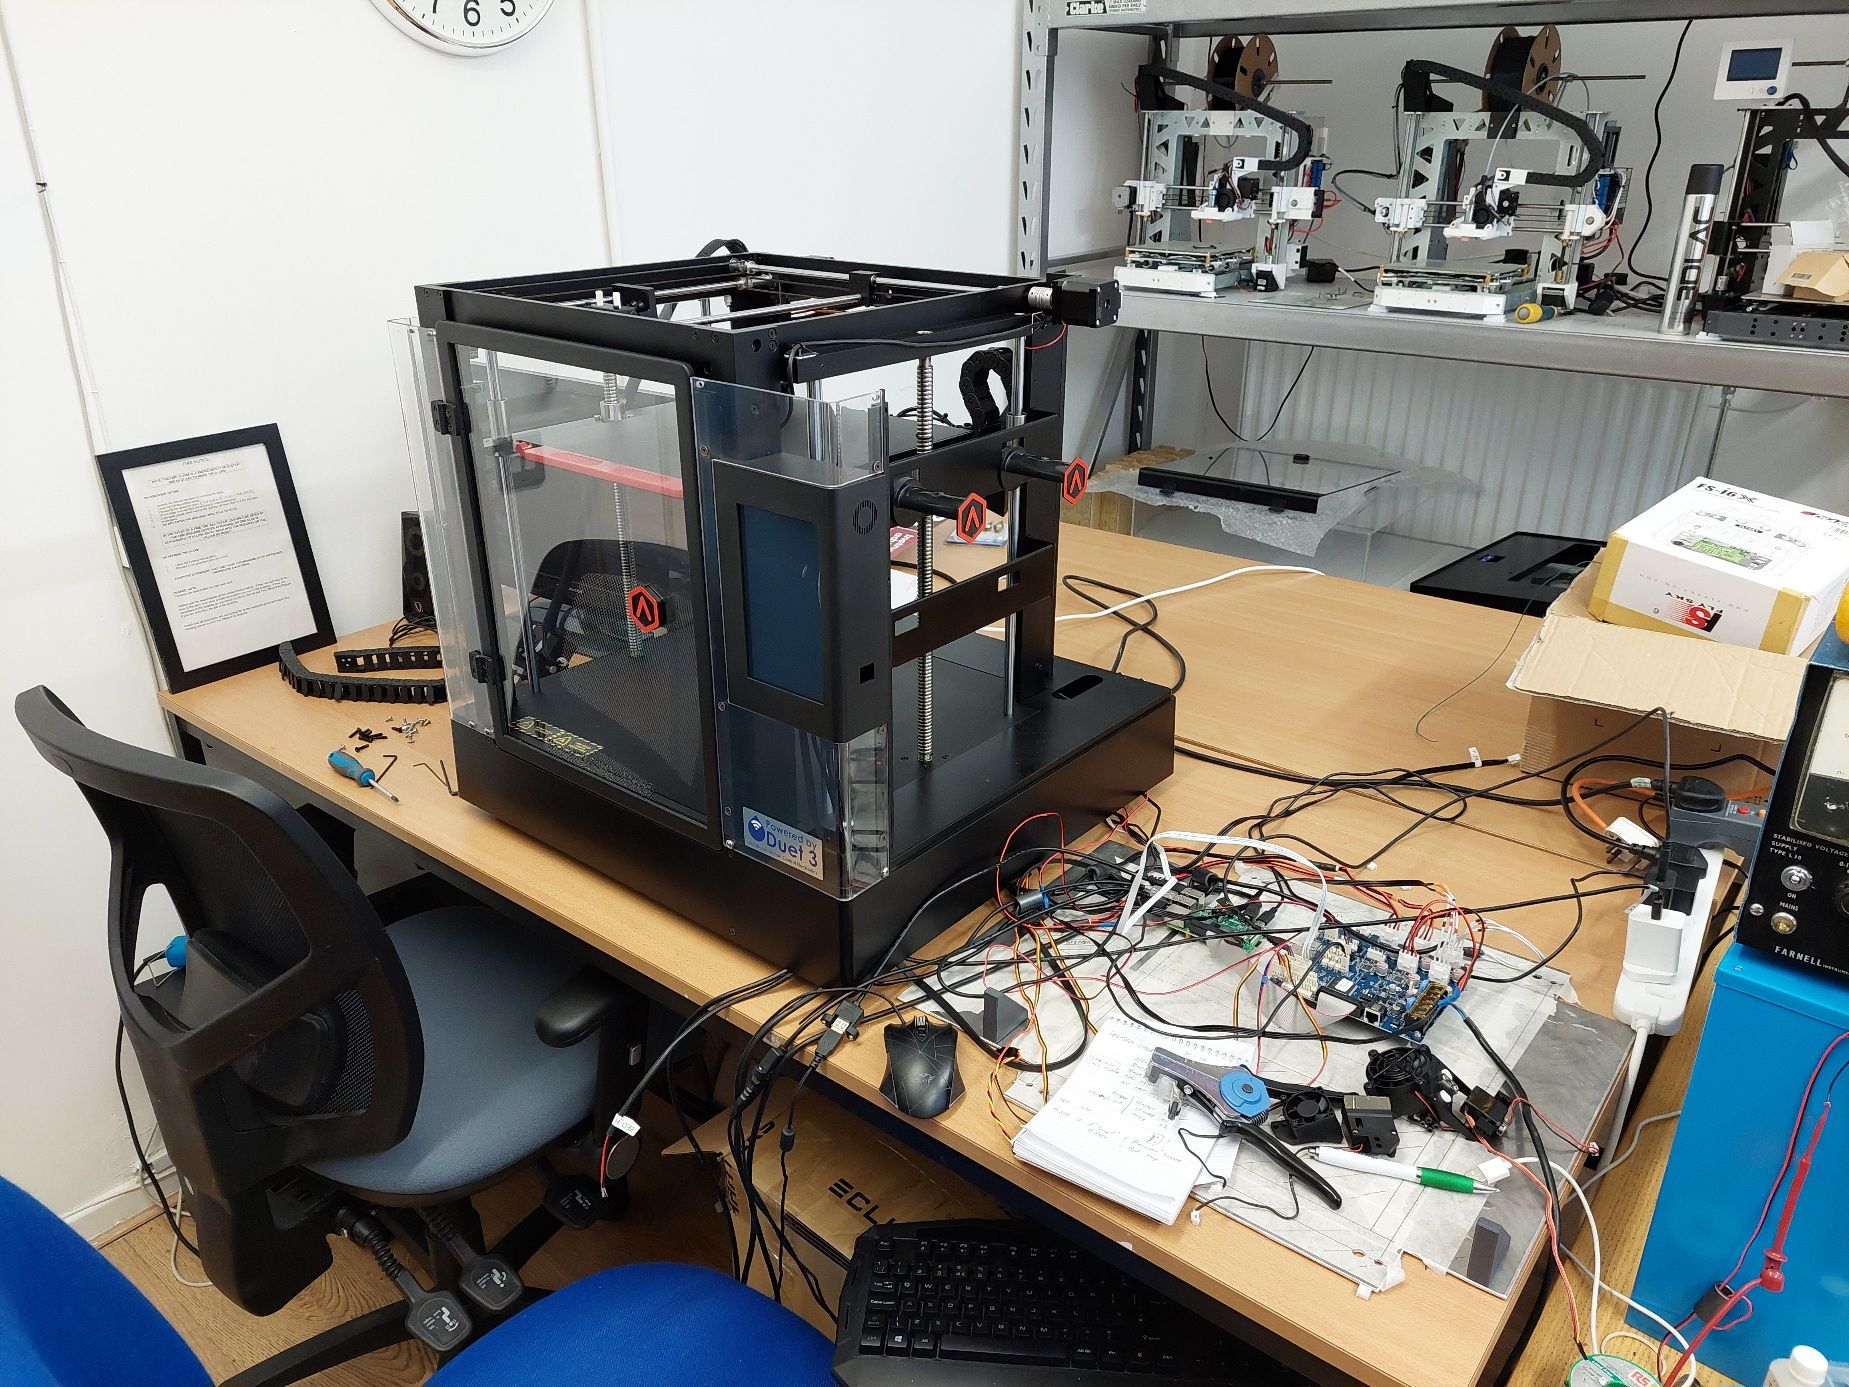
So far I have stripped out the electronics, buzzed a few wires out, and tested fitting a generic 7" HDMI display in the existing housing.
One thing I would say is you don't necessarily need the top notch Duet3 board for this system as it stands. The current limit as it stsnds is only something in the order of 1A. That said I plan to fit meatier motors at a later date!
-
@DocTrucker
Wondering if you ever finished this project? I've got a Pro2 Plus that I'd like to make useable.Thanks,
Mike
-
@mikekeers morning! Struggling to understand that it is two months since I updated this post.
I've just ordered a hot end upgrade kit from Bondtech (Slice Engineering Copperhead based), so I don't have any guessing on the thermistor set up and don't have a future fight on my hand with regards to heat creep causing jams. They have a sale on that ends today, and while it depends on what you are charged for currency conversion it appears to be cheapest (~£24 range) to pick to pay them in Swedish Krona.
https://www.bondtech.se/product/raise3d-pro2-upgrade-bundle/
https://www.bondtech.se/product/copperhead-silicone-boot/The screen I bought was:
https://www.aliexpress.com/item/1005006052929024.html
...although I do cut the bolt hole bits of the PCB off to allow it to fit in to the original housing better.
Aside from that I'm afraid it will be a few weeks before I can make much more progress.
-
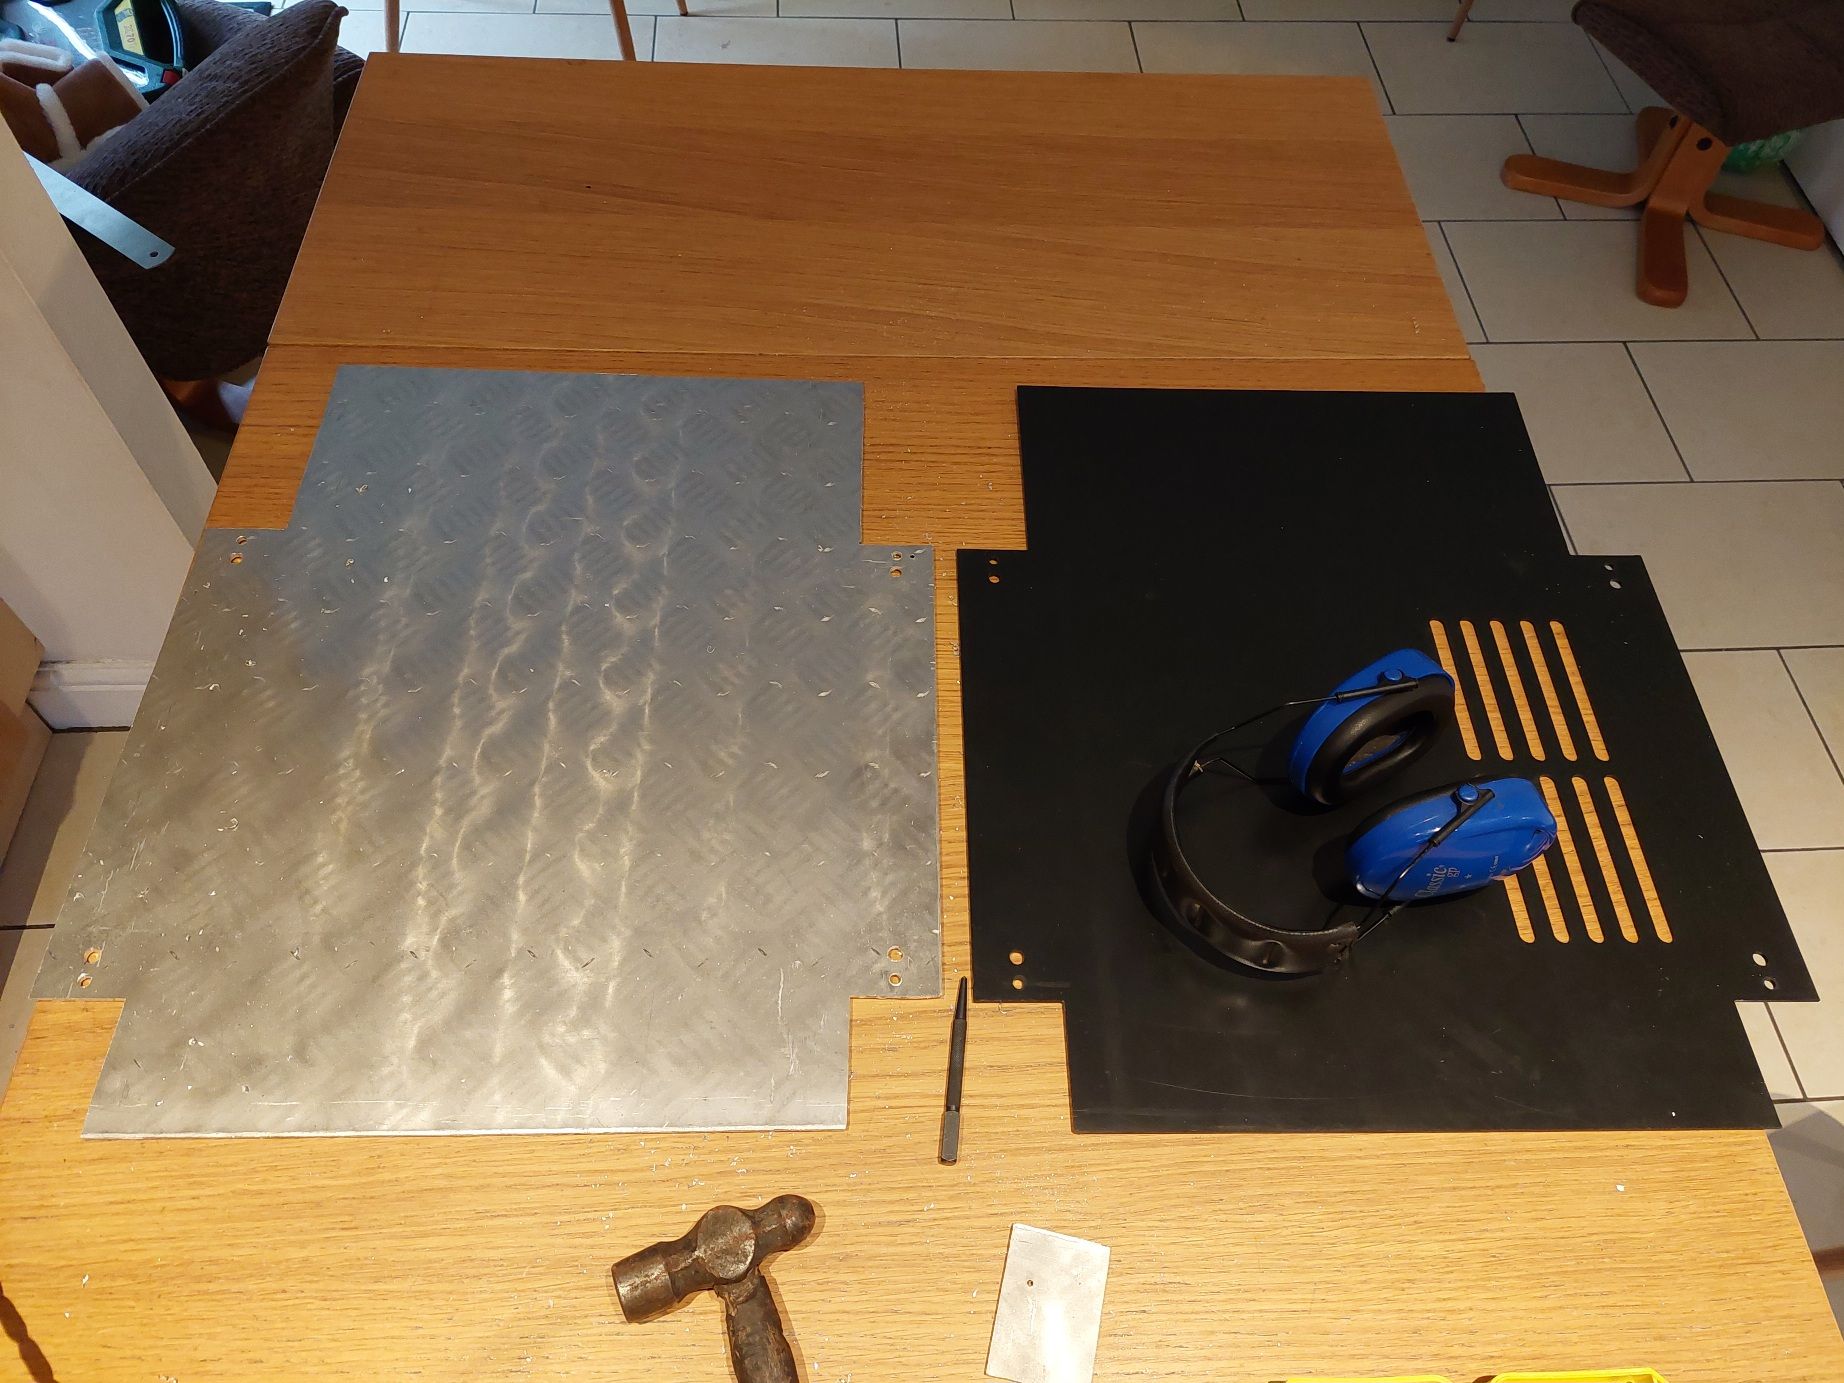
Making progress at long last! I am foing to mount the Duet3 & Raspberry Pi4 on the underside of the machine. I'll likely need some forced air cooling but first step was to replace the under cover with something more rigid. If doing this on a strict budget screing some angle ally to the original sheet would likely suffice. The checker plate is certainly over kill, but I have had it in my garage since the place I was at the time working at closed and made me redundant way back in 2018. The plate was being scrapped so I got it cheap.
-
All motors sorted, all endstops are 3.3V, LED strip is 12V, and the camera is a USB camera, you just need to solder on a type A plug. Reusing the ethernet socket to the PI and will add exterior USB sockets for keyboard and mouse.
Looked into reusing the boards on the hotend but it is a mess of components including a soldered on Arduino Beetle! Will run extensions for the fans. I have ordered PT1000 sensors from E3D to replace the thermocouples in the hotend.
Will tidy wiring once everything is proven on the bench!