EXTRUSION PROBLEM WITH 1LC TOOLBOARD
-
@deckingman
Yes, good idea.
Unfortunately on the 6HC card I have all the drivers busy, but I temporarily assign one of the 4 Z axes to do a static extrusion test.
Update after test...
Thanks! -
@deckingman said in EXTRUSION PROBLEM WITH 1LC TOOLBOARD:
@Gianluca Are you able to temporarily extend the extruder motor wiring such that you can connect it to one of the spare 6HC drivers? That would be one to check if it's a driver problem.
I did the test using the 6HC card driver and it extrudes continuously at 31.6mm3/sec, I couldn't make a print because I used a Z axis motor driver as the E0 extruder.
I went back to the original configuration with 1LC toolboard, I updated the step/mm which was wrong and I did an extrusion test, the system always reaches 31.6mm3/sec (13.5mm/sec)
I tried to print a leveling test, but after a few minutes it stopped extruding.I don't know what to do anymore, I spent almost 2000€ buying the best components available and I still have to make a decent print...
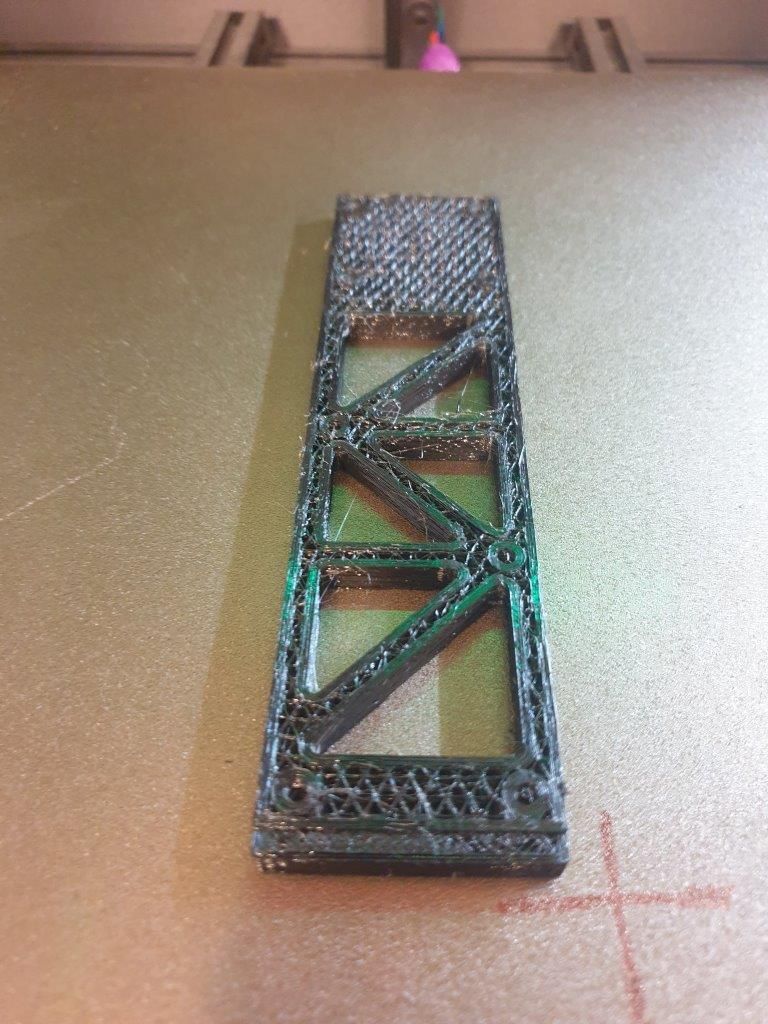
I am attaching some photos of the result. (there is clearly an under extrusion)


-
@Gianluca OK, so it will extrude at 13.5 mm/sec when the print head is clear of the bed yes? But when you attempt a print, it under extrudes yes? In which case, the answer must be that the nozzle is too close to the bed when you start printing. i.e. the build surface itself is blocking the nozzle because the first layer height is too small. You don't say what sort of probe you use for homing Z but it seems likely that you need to increase the Z offset.
As a quick test, run your test print again but this time, use baby stepping to move the bed away from the nozzle by 0.2 to 0.3 mm.
-
@deckingman said in EXTRUSION PROBLEM WITH 1LC TOOLBOARD:
@Gianluca OK, so it will extrude at 13.5 mm/sec when the print head is clear of the bed yes? But when you attempt a print, it under extrudes yes? In which case, the answer must be that the nozzle is too close to the bed when you start printing. i.e. the build surface itself is blocking the nozzle because the first layer height is too small. You don't say what sort of probe you use for homing Z but it seems likely that you need to increase the Z offset.
As a quick test, run your test print again but this time, use baby stepping to move the bed away from the nozzle by 0.2 to 0.3 mm.
Thanks for your suggestions and sorry for my English...
I'm not a professional printer but this is the fourth printer I've built. I know the basic knowledge well.
The bed is perfectly leveled both with the G29 mesh and also on the 4 Z axes.
Before the test print the Z offset was correct, the first layers printed before not extruding anymore, are 0.25mm thick.
I can confirm also that the print nozzle was not clogged.
After it no longer extruded I tried to extrude from a standstill and it extruded nothing, as if the stepper had little power or the driver did not provide the right power.
So far I have replaced 4 stepper motors but none have solved the problem.
I have a strong suspicion that the toolboard driver just gets hot and loses all power... -
@Gianluca I'm confused. I thought you said that you tried extruding using a driver on the 6HC which was fine, then you tried extruding using the tool board driver and that was also fine. Is that not the case?
You also just said that the first layer prints fine but the pictures you posted clearly show that is not the case. So I'm confused.... -
There is no doubt in my mind that you are trying to print WAY too close to the bed. I wouldn't be surprised if the 'no longer extrudes' is because the nozzle got clogged because it was too close to the bed or the extruder wore a nice little hollow in the filament from not being able to extrude and now it can't get past that divot in the filament. As was suggested, lift the nozzle by 0.2 to 0.3 mm.
BTW, just looking at the skirt I can see that you are too close .... you should see a nice smooth line with no artifacts on the outside edges. If your line does not have smooth outside edges then you were squishing the molten filament past the land on the nozzle. -
@jens55 and @deckingman
Unfortunately I have problems with English, and I can't explain myself well.
I can assure you that the Z offset is correct (I'm very careful about this).
When I stopped printing in the photo, after it no longer extruded, I lifted my head and tried extruding in free air (PETG at 240°) and the motor had no strength to extrude! this excludes the print height.
unfortunately my voron 2.4 has seven stepper driver and I can't make a print only with the main board...
Again I suspect that as the driver gets hot it loses power.
I feed the nema 14 at 1.0A and it doesn't heat up (I can touch it safely).
I think I'll buy a Duet 3 3HC and take off the little toolboar, which has never trusted me. -
@Gianluca Why not try the test that people have suggested? Use babystepping to raise your nozzle a little and see if it makes any difference. Testing for extrusion working after your print has failed could fail because of a nozzle jam or because the extruder has ground down the filament.
-
@gloomyandy
Yes, I will do other tests, but I assure you that with the test in the air, helping the extrusion by pushing the wire by hand, it extrudes easily. When you don't help the filament, it starts to lose steps (0mm of extrusion)...
I immediately tried to pass the nozzle with a Ø0.4mm tip and it was already free.
I use a Phaetus Rapido Plus and have never had a jam... -
@Gianluca You said earlier that if you ran the toolboard with it printing in air there was no problem? Now I'm as confused as Deckingman.
-
@gloomyandy
I try to explain myself better.
Yes, when the printer is cold and I test it in the air, it extrudes normally, when I start a real print, it stops extruding after a few minutes/seconds. It looks like a loss of power due to heat, but the engine is not.
As soon as the print is done, I immediately redo the extrusion tests in the air, it does not extrude... -
@Gianluca I'd suggest that you run two tests....
- Babystep up 5mm or so upwards, then run the test print so that the extrusion is into air. If it is still extruding at then end of the print then I would say that you do not have a driver/heating problem.
- Babystep back down until you are 0.2 or 0.3mm above zero (as suggested above) and try the print again.
-
@gloomyandy said in EXTRUSION PROBLEM WITH 1LC TOOLBOARD:
@Gianluca I'd suggest that you run two tests....
- Babystep up 5mm or so upwards, then run the test print so that the extrusion is into air. If it is still extruding at then end of the print then I would say that you do not have a driver/heating problem.
- Babystep back down until you are 0.2 or 0.3mm above zero (as suggested above) and try the print again.
Yes, I like point 1, I try it right away, then I move on to the second test...
-
@Gianluca This sounds very similar to the issue I am having. At times, at the beginning of the print, it acts as if the extruder motor is being under driven by the 1LC. If I turn off the printer, and restart, it extrudes normally again. I've had no luck troubleshooting it. It only occurs about 5-10% of the times I start a print.
-
While this is probably not relevant in this case, I recently ran into a situation where I had an extruder with low power in one direction and normal power in the reverse direction. It took me way too long (and a replacement 1LC board) to figure out that, while executing a particular macro, I set the speed way too high in one direction which caused all kinds of mayhem.
Just thought I would mention it since it took forever to find the extra '0' in the macro file <sigh>
-
@jens55 said in EXTRUSION PROBLEM WITH 1LC TOOLBOARD:
While this is probably not relevant in this case, I recently ran into a situation where I had an extruder with low power in one direction and normal power in the reverse direction. It took me way too long (and a replacement 1LC board) to figure out that, while executing a particular macro, I set the speed way too high in one direction which caused all kinds of mayhem.
Just thought I would mention it since it took forever to find the extra '0' in the macro file <sigh>
Yes, thank you, I had read your post and in fact it allowed me to correct some too high step/mm errors (not macro errors) which distorted the extrusion tests.
Even with the correct parameters the problem remained. -
@Gianluca said in EXTRUSION PROBLEM WITH 1LC TOOLBOARD:
@gloomyandy said in EXTRUSION PROBLEM WITH 1LC TOOLBOARD:
@Gianluca I'd suggest that you run two tests....
- Babystep up 5mm or so upwards, then run the test print so that the extrusion is into air. If it is still extruding at then end of the print then I would say that you do not have a driver/heating problem.
- Babystep back down until you are 0.2 or 0.3mm above zero (as suggested above) and try the print again.
Yes, I like point 1, I try it right away, then I move on to the second test...
I did some tests and it seems to be better.
- the first photo shows the aborted print due to filament flow interruption. After a restart of the printer, an extrusion test in air was still performed without problems...
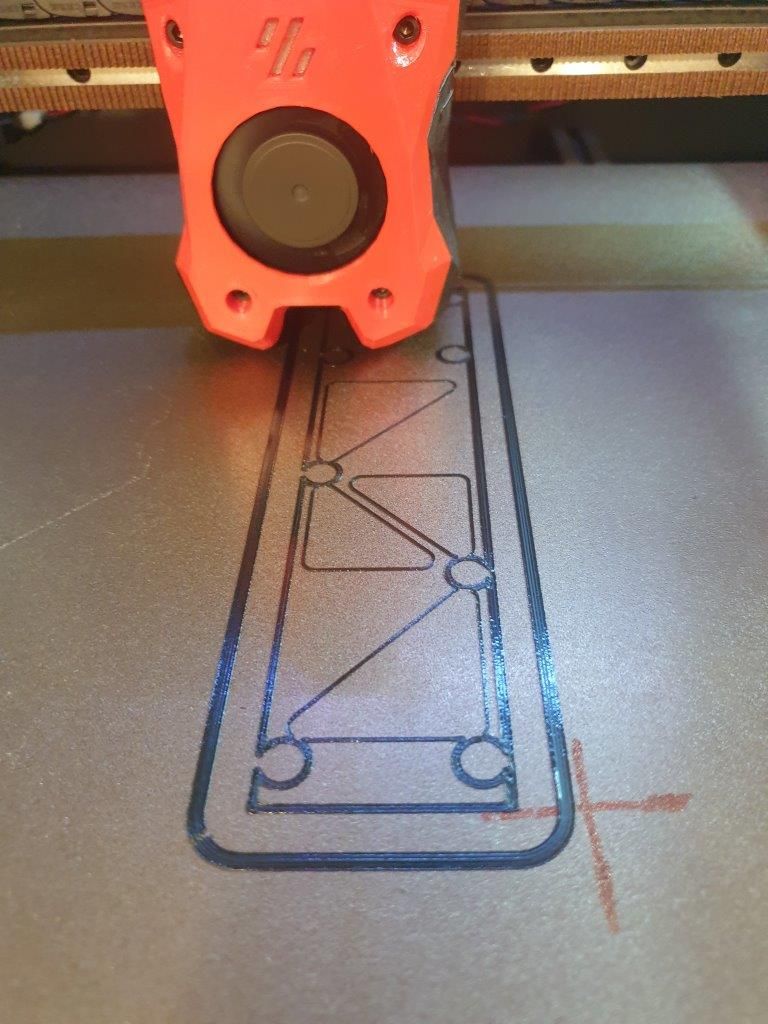
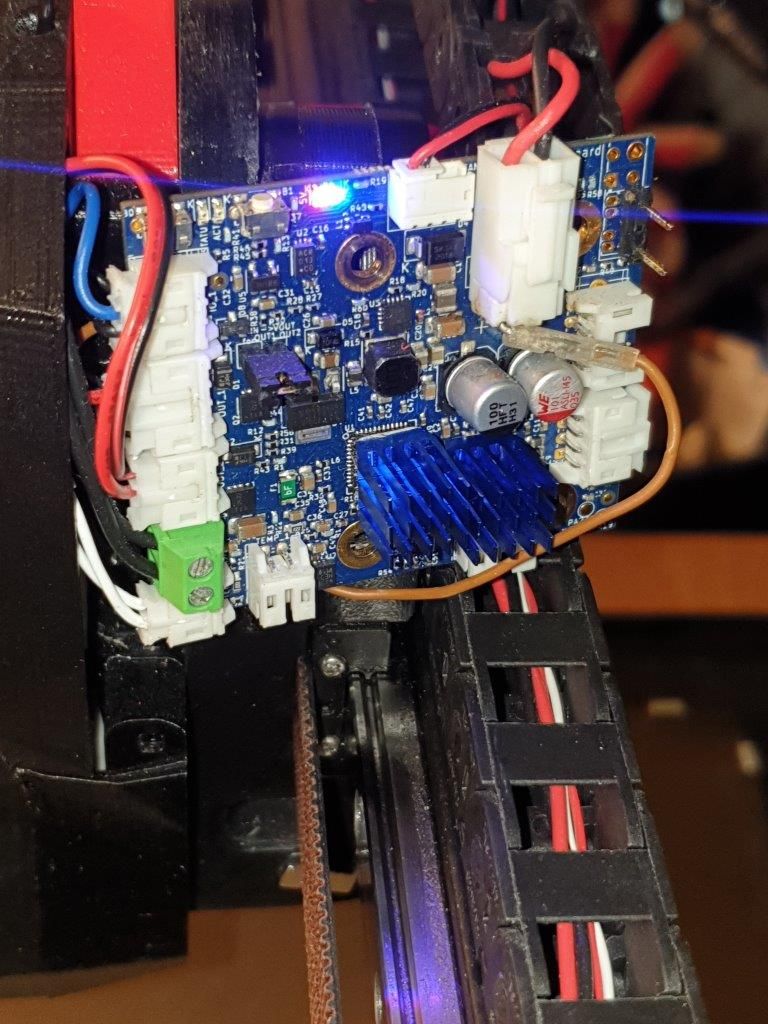
- the second and third photo shows the next print where I reduced the power of the extruder cooling fan from 100% to 70% and I put two heatsinks on the MCU and on the driver.
- the Z offset was already perfect. It can be seen that the first layer is extruded correctly without smudges and the engine now heats up well (about 65-70°C) before putting the heatsink on, the engine didn't heat up!
I've done other small prints as well and everything seems to be going much better.
Note: the stepper is a nema 14 it is a 1.0A Fysetc and I make it work at 1.0A because if I bring it (as it would be correct) to about 80% of the rated current, the problem reappears...
I remain of the idea that there is a heating problem of the 1LC, and I will also put a small 30mm cooling fan on the toolboard...
-
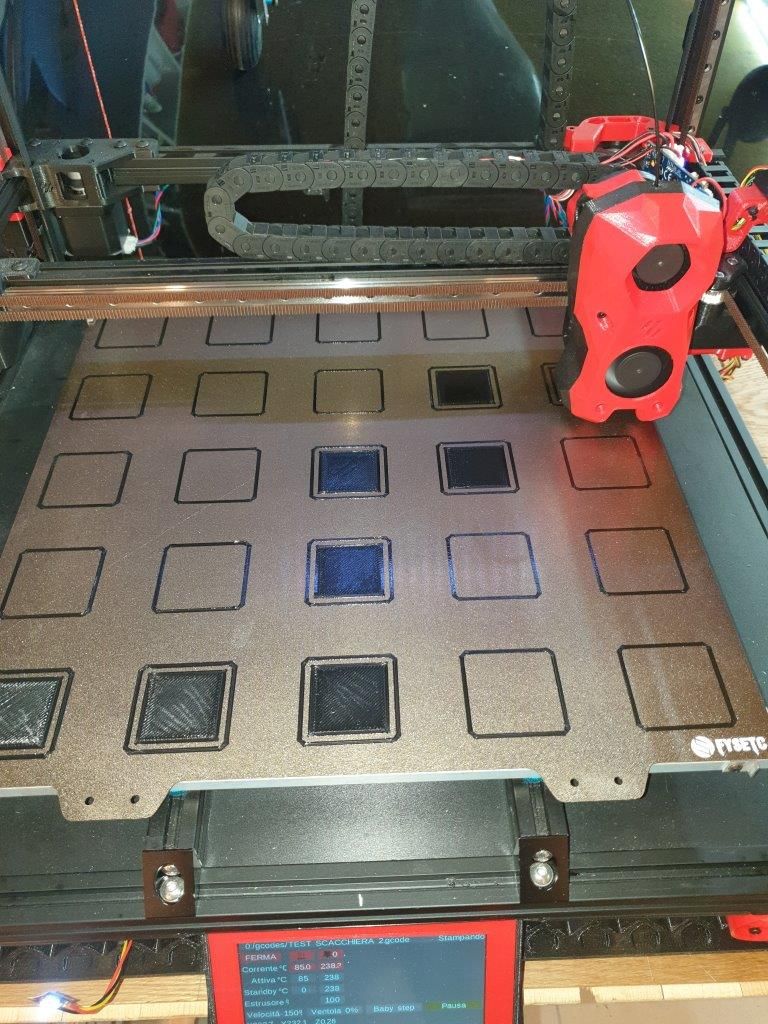
In pinting now... definitely much better...
-
I believe and hope I have solved the problem.
It was a set of factors that led to a progressive underextrusion caused by wrong parameters in the slicer.
However, I put heatsinks on the MCU and Driver, with the addition of a 30x30mm fan.
It was also crucial to have made the PEI surface rough, this allowed the material to stick perfectly to the surface and allow excellent prints.
Now everything seems to work...
You can mark it as solved, thanks.!
-
 undefined jay_s_uk marked this topic as a question
-
 undefined jay_s_uk has marked this topic as solved