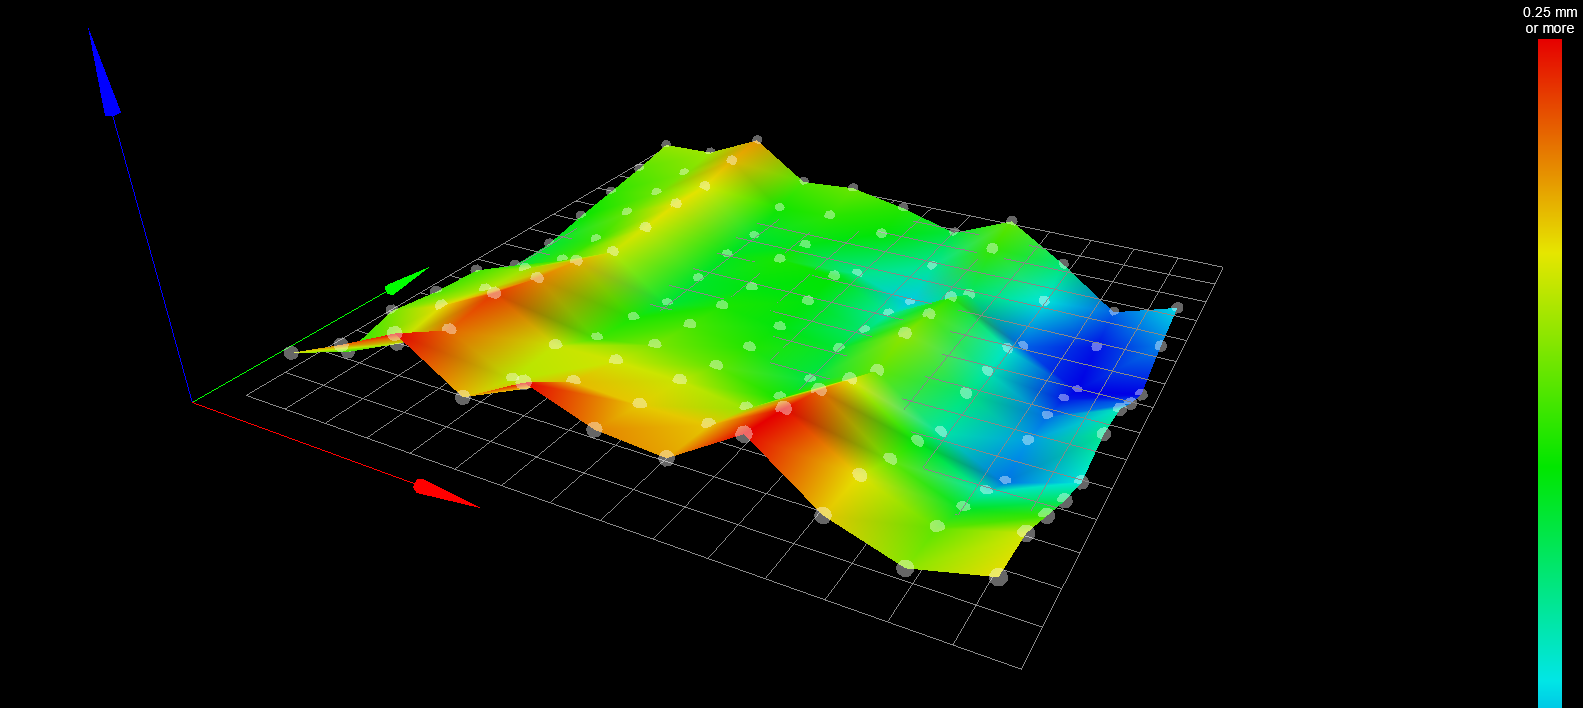
Ender 3 mesh grid offset
-
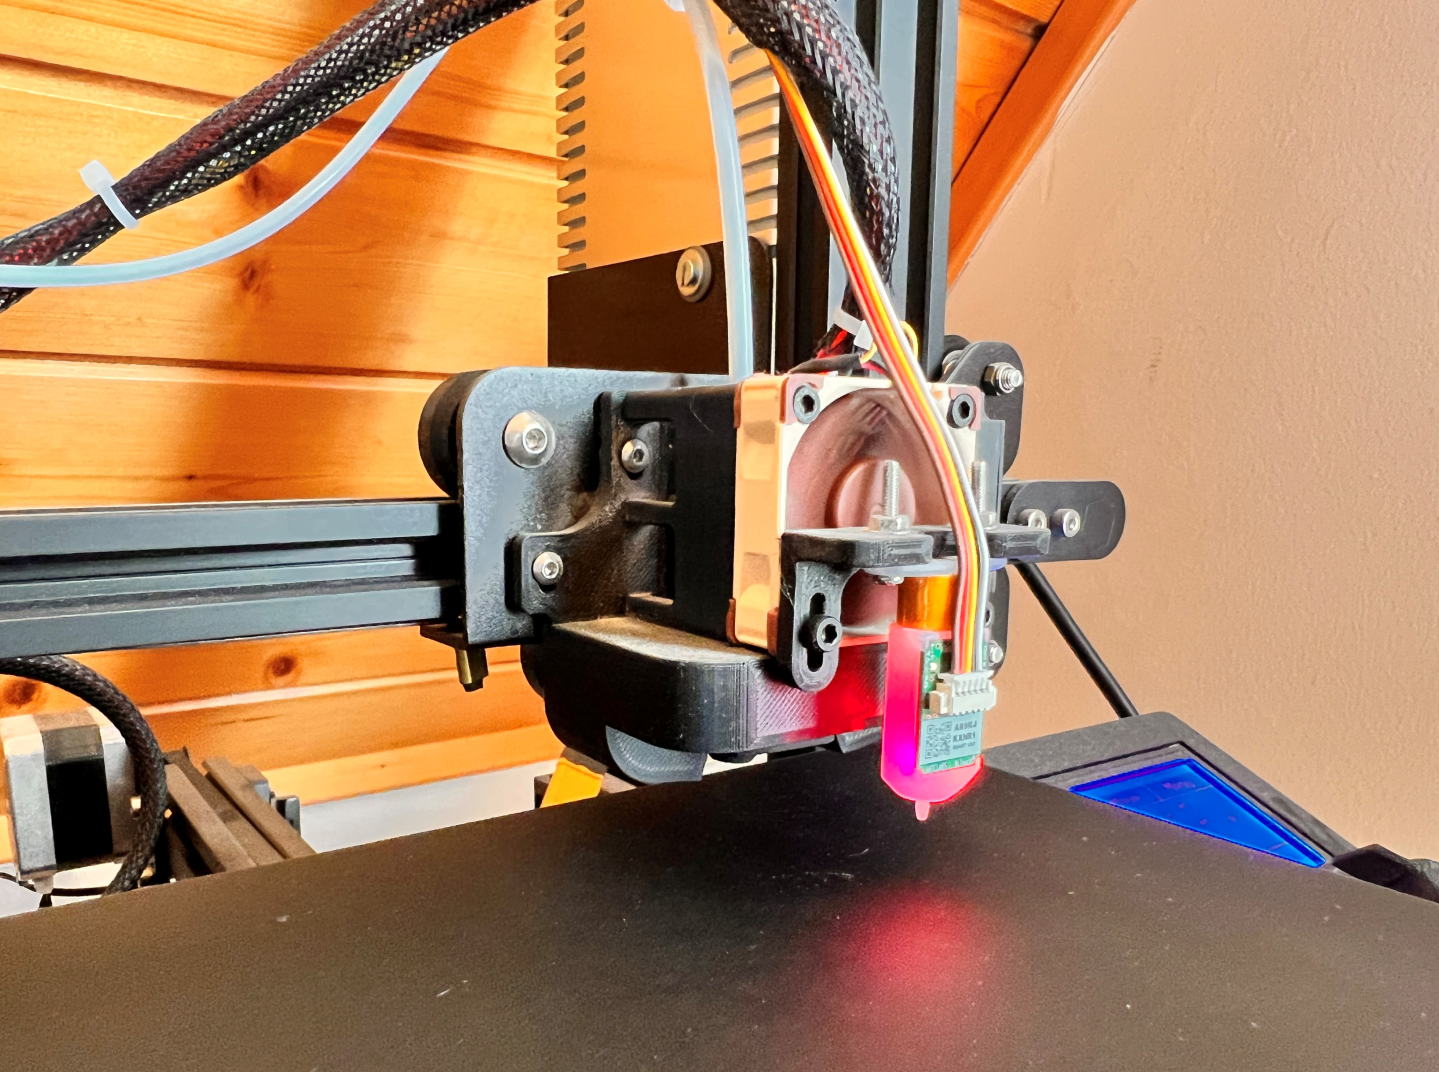
@re_tour looks like you may have some movement in your toolhead which may be tilting your probe slightly beween points
-
@jay_s_uk Interesting, how could I test that? I tried moving my tool head but its rock solid, bltouch also has no movement at all, not even bending.
-
@re_tour thats only a guess though so it may be something else. maybe post a photo of your setup?
-
-
@re_tour do the peaks tie in with the diameter of the rollers?
-
@jay_s_uk Sorry, but what do you mean by that?
-
@re_tour whats the distance between the measuring points in X?
-
@jay_s_uk 15mm
-
@jay_s_uk I did one more probing and now I have the same pattern with a bit different values

-
@jay_s_uk The rollers are 44,5mm if you think of the ones that move the tool head on X
-
@re_tour the rollers are 24mm. it may be linked to the quality of those. first off i would look at removing them and checking for crunchiness etc in their motion. You may be able to do that with the carriage mounted too.
these are good if you need to replace any https://www.aliexpress.com/item/1005003495562376.html
-
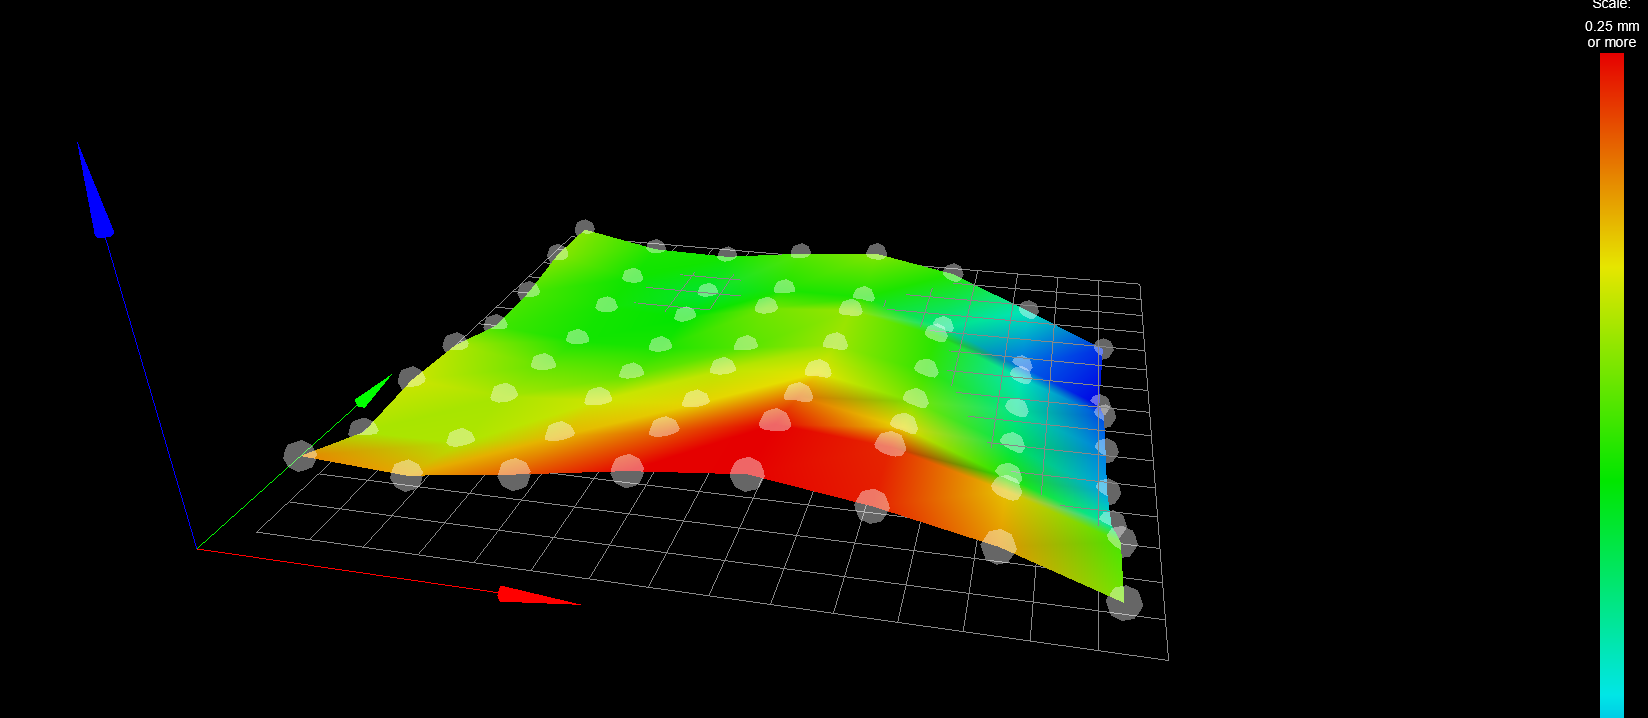
@jay_s_uk well sh#t I guess I never even tought about the fact that debris can build up at the rollers...I did a mesh again, now it looks much better, however, there still is a bump which I dont really know how to correct?

-
@re_tour thats looking better.
It could be a sagging or bent extrusion on X, although sagging seems unlikely -
@jay_s_uk I have a magnetic pad on the bed, but I can't see any depressions or bumps...not visible ones at least, I just cleaned above and below the pads
-
@jay_s_uk Okay so, I cleaned the rollers, the mesh map looks better. I think the bumps should be compensated by the printer. However, now I cant for the love of god make the filament stay on the bed. I have it heated to 65C since the magnetic pad needs a bit higher temperature, but still the filament won't stick. I tried setting the Z offset to a smaller value, the problem is the same. I think the g-code my Cura puts out is also well configured:
; Ender 3 Custom Start G-code
G92 E0 ; Reset Extruder
G28 ; Home all axes
G29 ; Does mesh probing
G29 S1 ; Calls the mesh
G1 Z2.0 F3000 ; Move Z Axis up little to prevent scratching of Heat Bed
G1 X0.1 Y20 Z0.3 F5000.0 ; Move to start position
G1 X0.1 Y200.0 Z0.3 F1500.0 E15 ; Draw the first line
G1 X0.4 Y200.0 Z0.3 F5000.0 ; Move to side a little
G1 X0.4 Y20 Z0.3 F1500.0 E30 ; Draw the second line
G92 E0 ; Reset Extruder
G1 Z2.0 F3000 ; Move Z Axis up little to prevent scratching of Heat Bed
G1 X5 Y20 Z0.3 F5000.0 ; Move over to prevent blob squish
This is the start code. Am I doing something wrong or its a trial end error thing where I have to find the sweet spot?
-
I think the bumps should be compensated by the printer.
It is a common misconception to think of a height map as an image of the print bed’s surface - in fact, it represents the Z-sum of the deviations from the ideal in all mechanical parts. Looking at your latest map, the two bumps (in red and blue) possibly don’t represent deformations of your print bed.
You should be able to verify these "bumps" with a ruler. If these are true deformations, use a mirror tile to flatten the surface. However, I think you should have a second look at your V-slot rollers (all axes). Especially the Y axis of the Ender (and the CR-10) is a common source of "joy" (and quite difficult to fix).
Talking from experience, I know that the Creality printers are well able to lay down a first layer (0.2 mm) without using mesh compensation, just by fixing mechanical issues carefully. If you get that right, put the mesh on top to counter irregularities of the bed’s surface.
-
@infiniteloop So first I have to be able to calibrate everything to have everything in "green" and be able to lay down the first 1-2 layers perfectly without having issues and only THEN should I use the mesh to start compensating?
-
So first I have to be able to calibrate everything
Exactly. You can use mesh levelling to compensate for a slightly uneven bed, but it won’t cure a tilting bed (which tends to be quite common due to the central guidance of the Y axis). Same is true for all other V rollers if not carefully adjusted.
Please note that I don’t talk of a perfect first layer - I just know that the printer’s mechanics are good enough to get a first layer to stick on the bed. Then, if the printer is well adjusted, mesh levelling ensures good quality prints.
-
@infiniteloop @jay_s_uk Thank you both for the help! After some troubleshooting I found out that the top two rollers in fact DO have some dimples on them, so I ordered new ones from aliexpress. Also I made sure to balance the bed as well as I can. I hear a bit strange sound sometimes during printing, like someone was pounding on the table very slightly, but I couldn't identify the source.
Anyways, now the printer works well enough, of course because of the rollers there are imperfections, but I hope those will go away as soon as I install the new ones.
Thank you once again!
-
@re_tour Thanks for looking twice: It is almost impossible to diagnose a specific component from a distance, so I’m glad you found the culprits.
I hear a bit strange sound sometimes during printing, like someone was pounding on the table very slightly …
Hm, sounds familiar

