Issues with print quality, wall surface rough.
-
@mwolter Here are the step files, thanks again!!!
Front Cover.STEP
Main Carriage TITAN.STEP
BLTouch mount for V2.STEP
fan mount 2.STEP

-
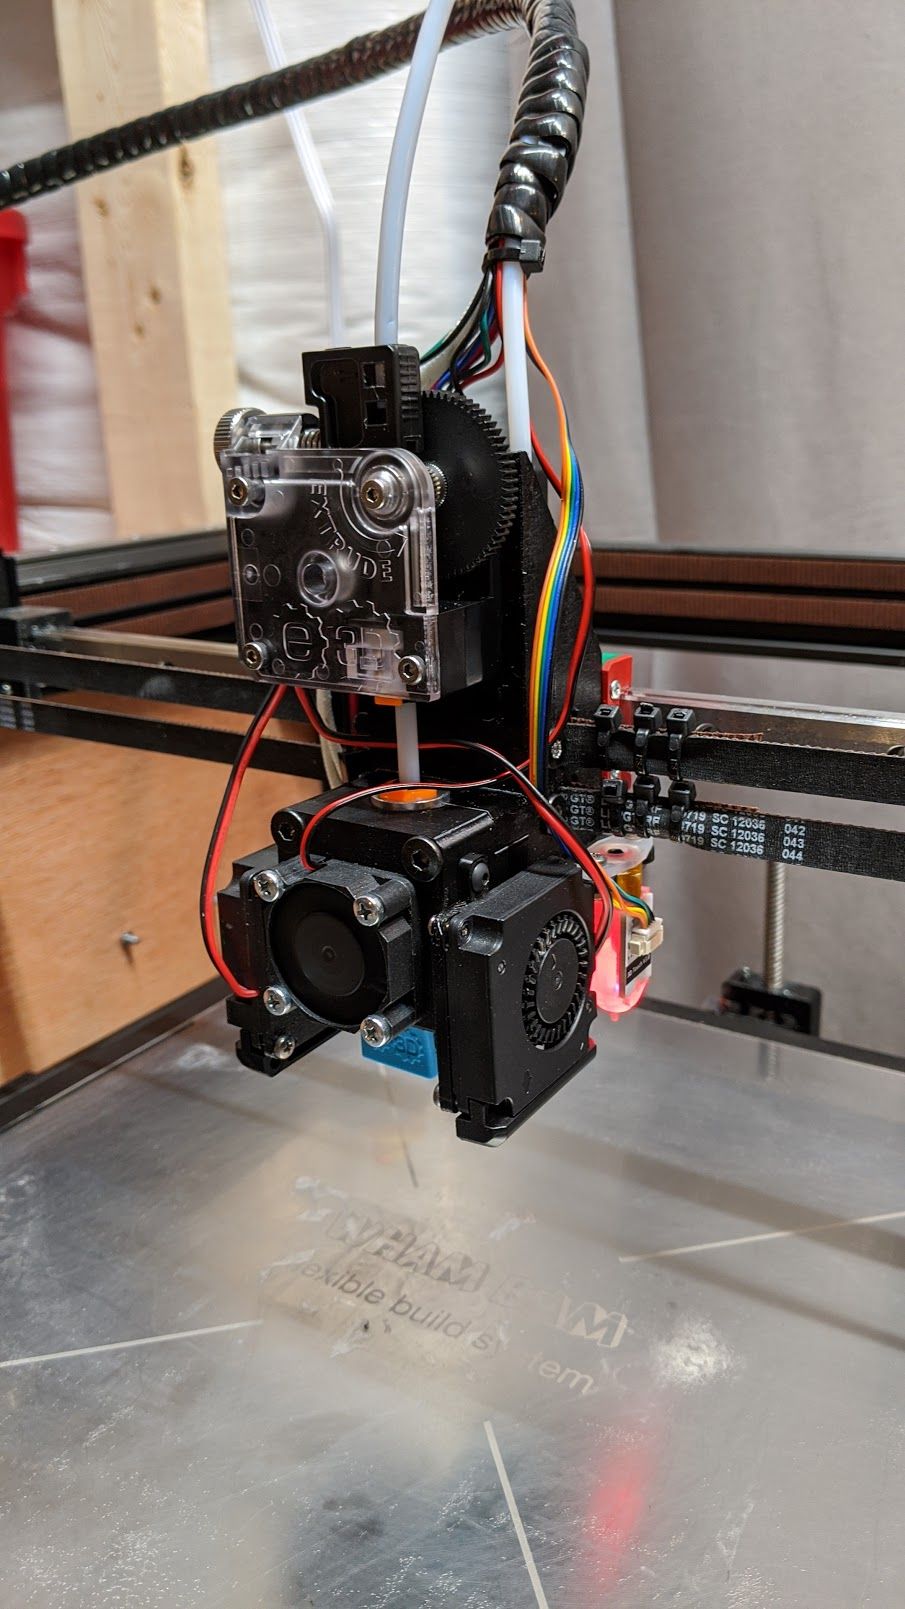
From this pic it doesn't seem that the fan is blatantly blowing on the heat block, and you've got a silicone cover on it as well. Sure you could certainly have a better fan shroud, but I don't think it's a major cause of any problems. I'd stick with the 40x10 blowers myself, but I tend to use as little fan as possible in my prints. I generally go with 10-20% fan on materials like PLA/PETG, and with the exception of bridging never go over 60%.
It would be nice to print some sort of U shaped cover to go over the doubled sections of belt, then use a cable tie to hold it in place. Nothing to do with print quality, but would jut be a nicer fit and finish.
I'm happy with my choice of a Bondtech BMG for my V-core printer. I'm a bit unsure about that E3D one, just looking at it.
-
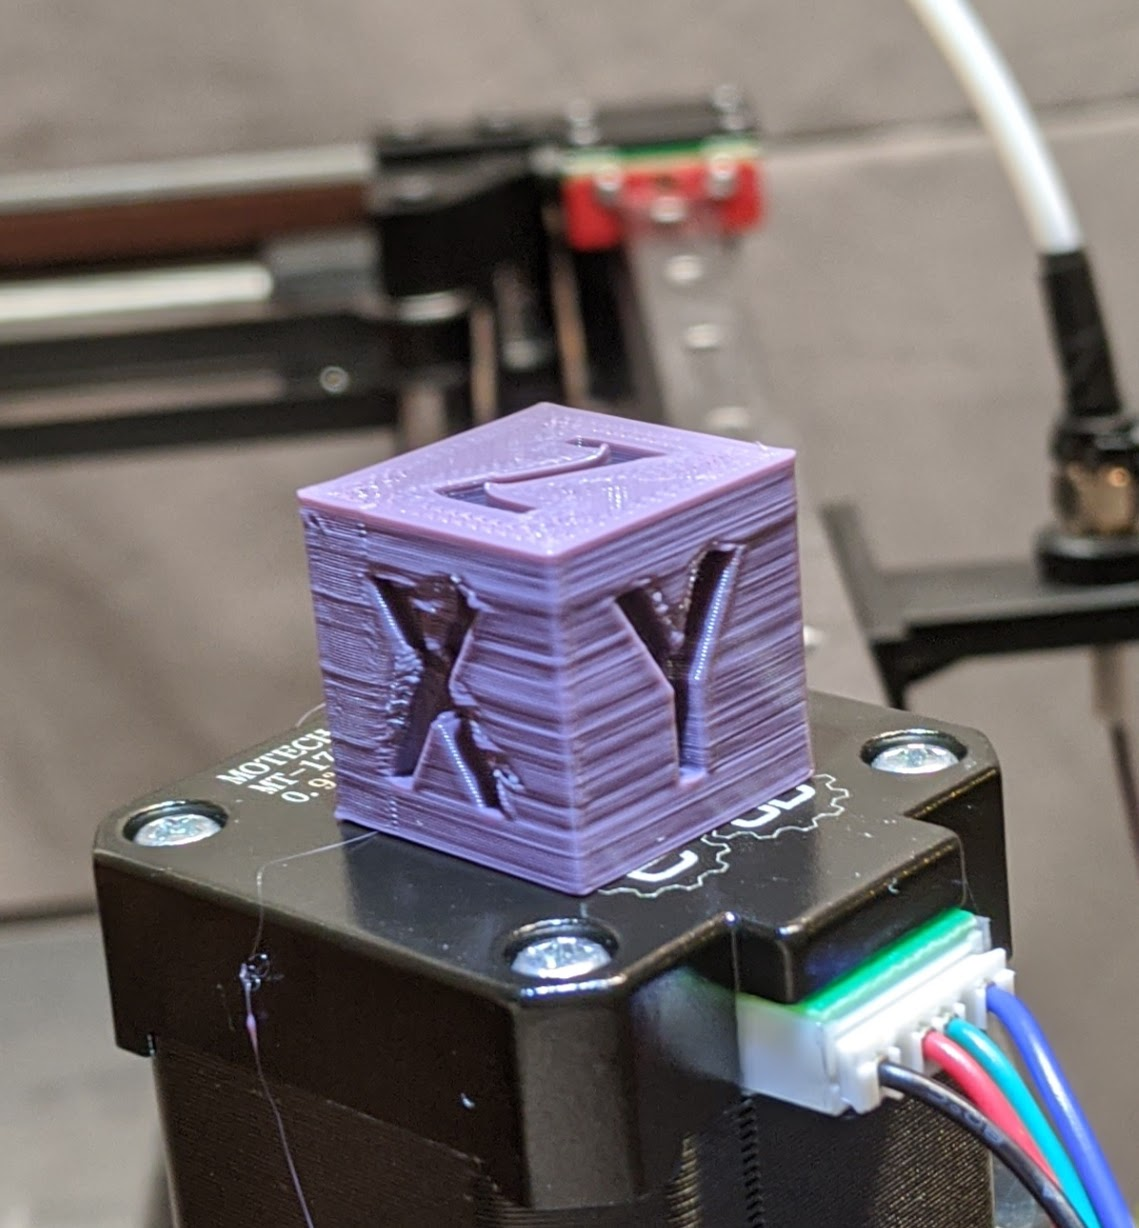
@Corexy So i ran with you setting (but 30% fan bc they won't spin at 20%) and its...different. the blobby nature is gone, but the z wobble is worse? What do you think?

-
Wow! That looks awful.
OK...so that's after you set the esteps?
What extrusion multiplier are you running in the slicer?
I'm a bit blown away by the curling of the corners on the top surfaces...I've never had that happen. It looks like a combination of over extruding and too much heat.
It would appear that the coast/retraction settings aren't working for that setup. Try removing the coast altogether ans dropping retraction to 0.5mm please.
Again, let's just leave the Z wobble for now and get the extrusion/retraction/temp right.
**EDIT.
I'd drop the extrusion multiplier to 90%/0.9 now as well as above comments.
I'd also leave the fan setting and drop 5 deg C on both first and second layers respectively.
This will be a slow process, but at least we can see the differences as we try things.
-
@Corexy It sure does look awful! lol Yes that is after checking the esteps (within 0.1mm of 100mm at 1mm/s) and 94% flow rate, 30mm/s and all the settings you told me to do earlier. Sooo....now what? I can try lowering the fans as low as possible and do like 60% fan.
-
@Corexy Should I leave wipe?
-
@CorvoDewittV2 said in Issues with print quality, wall surface rough.:
@Corexy Should I leave wipe?
No drop the wipe, and please note the edit to my above post.
-
Also, did you say 16x micro stepping?
@Phaedrux You're the expert on that mate....what do you think of that?
-
@Corexy Ah ok yeah ill print with the new settings now EDIT yes 16x interpolate on
-
Mate I've got to go to work now, so please consider this in the meantime.
As well as that, please don't let me be the only one giving you tips. I could be wrong and others should weigh in with their experience too.
There's a major setting issue here it seems, so it's time to really go back to basics. Here's where I would go from here (assuming the machine is assembled correctly and the esteps are correct, and all at 0.2mm layer height/0.5mm layer width):
-
Extrude filament while dropping the temp 2 degC at a time (no fan). When the extruder starts to click and the filament is "pigtailing" as it comes out of the nozzle, add 10 degC to that temperature, and use it as your print temp. Ignore what the reading is and whether it sounds strange, just do it to that temp.
-
Print a 50mm cube with 2 wall thicknesses and 50 bottom layers (no fan). Using the Duet DWC and starting at 100% extrusion multiplier in the slicer, lower the extrusion (in the DWC or Paneldue) by 5% at a time until you see gaps in the extrusions. When gaps appear, then raise the EM by 2% at a time until they just close, possibly dropping 1% after that. ALLOW A FULL 3 LAYERS BETWEEN ADJUSTMENTS, and click the setting just as the print starts a new layer. Again, don't worry if the setting that works seems unorthodox, just find what works. The extrusion % you get in the DWC will become the EM value you enter in your slicer for that material profile. That's a start point, and as you print more technical prints like benchy's, you may alter it slightly. If the middle of the extrusions are neat and just touching, but the ends/direction changes are gluggy, that would suggest coasting will help but leave it for the moment.
-
After that, do one of those "retraction tester" prints, the one with 2 vertical posts on a base. It's on thingiverse. Start at 0 retraction and increase by 0.2mm every 5mm of height by setting multiple processes in your slicer. Use 30mm/sec retraction speed and 120mm/sec free movement speed/40mm/sec print speed throughout. No wipe/coast/vertical lift...nothing at all but the retraction height. No fan, and don't worry if there's some stringing. Just go for the best result, and then you can do it again using that retraction setting but adding 10% fan every 5mm of print height.
Please take pics of all these tests and post them here.
It has been my experience that settings that vary wildly from S3Ds generic profile settings indicate an underlying issue, but don't dwell on that for now.
Also please remember I'm just one of a million opinions/methods on the internet and take my advice as you will.
Good luck!
-
-
@Corexy said in Issues with print quality, wall surface rough.:
Also, did you say 16x micro stepping?
@Phaedrux You're the expert on that mate....what do you think of that?
x16 with interpolation is the way to go.
-
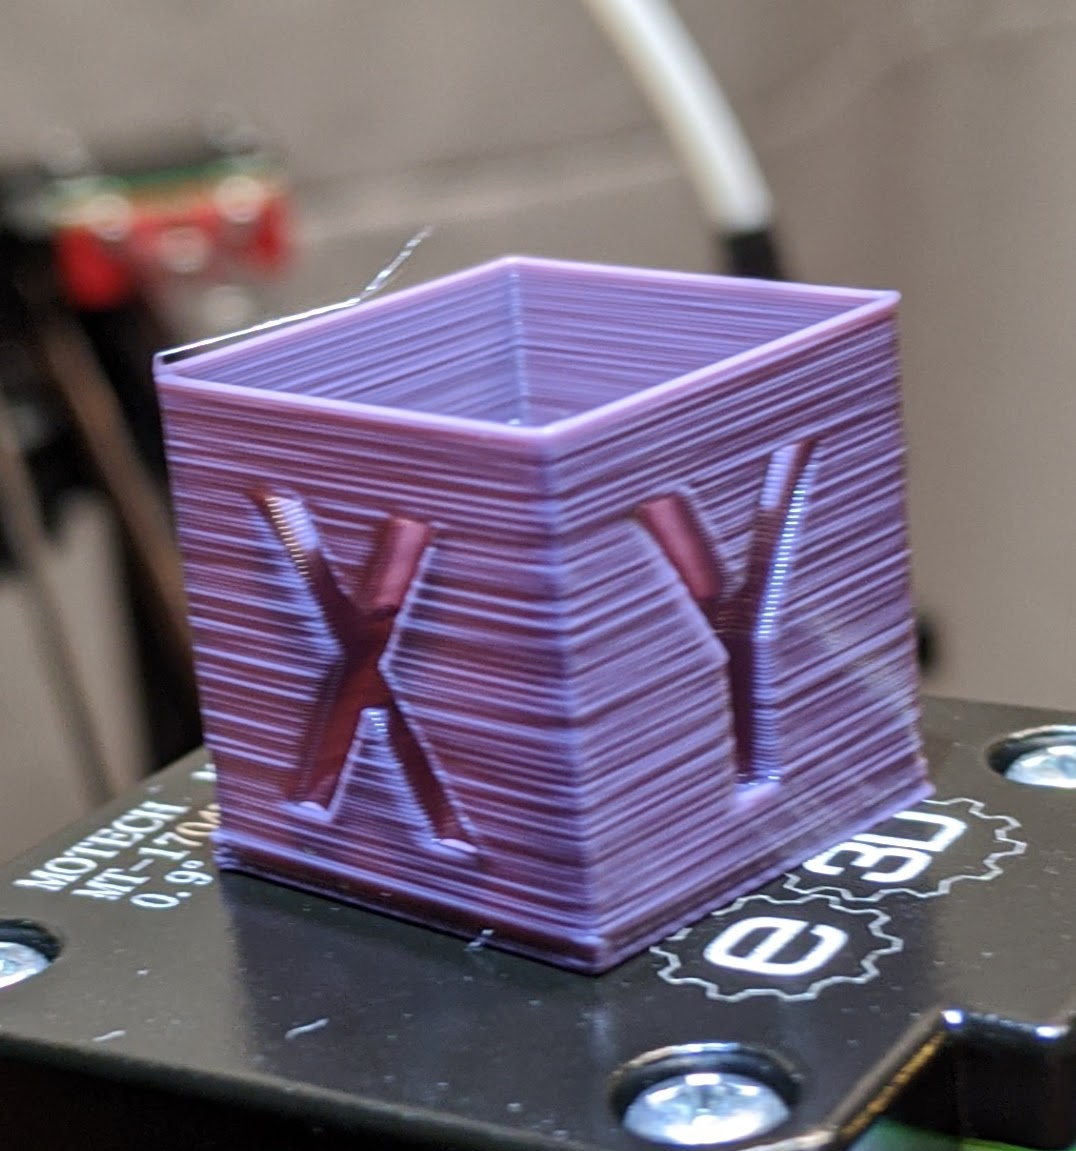
Can you try a vase mode print?
-
@Phaedrux Yep! give me 15 min.
-
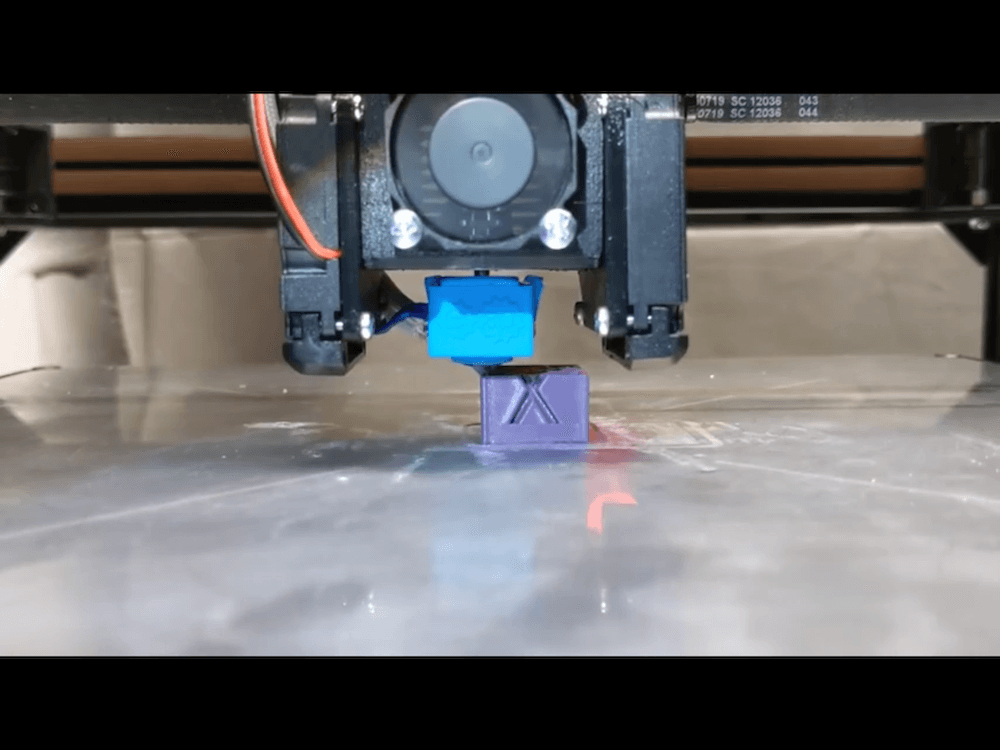
Here's what leads me to believe the part cooling ducting can be improved. This is from his earlier video. Working on new ducts now.

-
@mwolter You are amazing thank you!!!!!!
-
@Phaedrux Not a good look. 75% fan, 200C 30mm/s 90%flow

-
Have you done any prints larger than tiny cubes? The heat from the bed and hot nozzle can have a big effect. Try a scaling that up to a 100x100 cube with 10% infill.
-
@Phaedrux how many walls? Can I still do 20mm high?
-
@Phaedrux Also slow still? or can I speed things back up a bit?
-
I have seen this before on my old and new printers. I believe what I did was calibrate the XY esteps to VERY high precision, like 0.02 mm precise. I did this with digital calipers, directly measuring the movement traveled and averaging it over 5 trials. You say you have a dial indicator, that would be very helpful. Also, improved part cooling helped as well.
I'm pretty sure that fixed the issue, but it was a while ago, and I could be remembering wrong.