DuetWifi Beta board testing feedback - July 2016
-
Hi Tony,
I will send over the original Config tool output (I made a copy before editing), and also what I changed to get it all working.
And when I have everything tuned within an inch of it's life, maybe other BigBox Users may find it useful for an upgrade.
The main problem was with the step rates - the Config tool produced -
M350 X32 X32 X32 X32 I0 ; Configure microstepping without interpolation
M350 X32 X32 X32 X32 I1 ; Configure microstepping with interpolationThat's just X repeated for all axis locations by the looks of it, so I changed it to be -
M350 X64 Y64 Z32 E32 I0 ; Configure microstepping without interpolation
M350 X64 Y64 Z32 E32 I1 ; Configure microstepping with interpolationI'll update the firmware now - thanks for the link.
Pictures soon, I'm having too much fun experimenting with it at the moment

Cheers,
Rich.
-
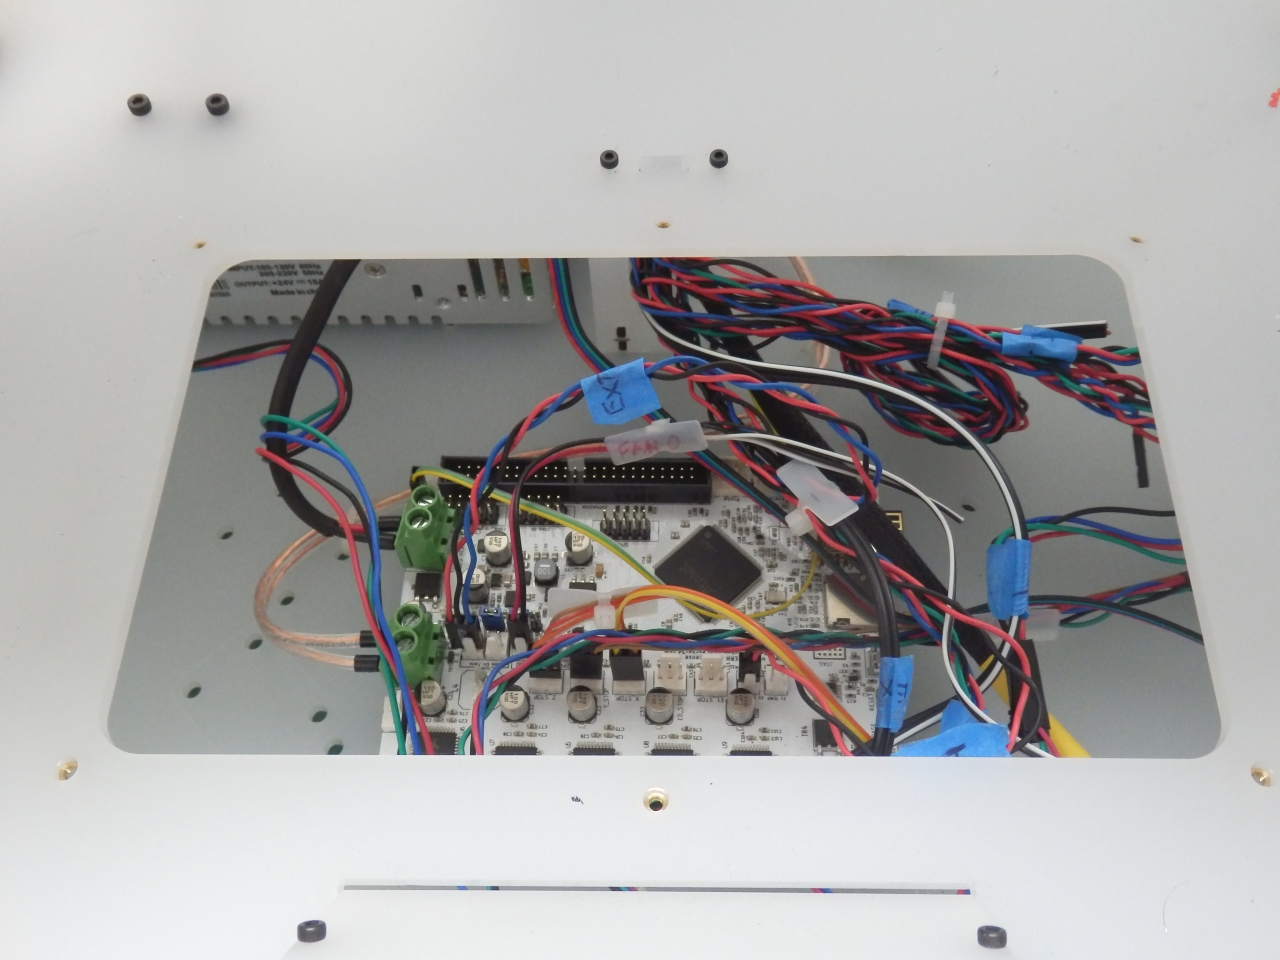
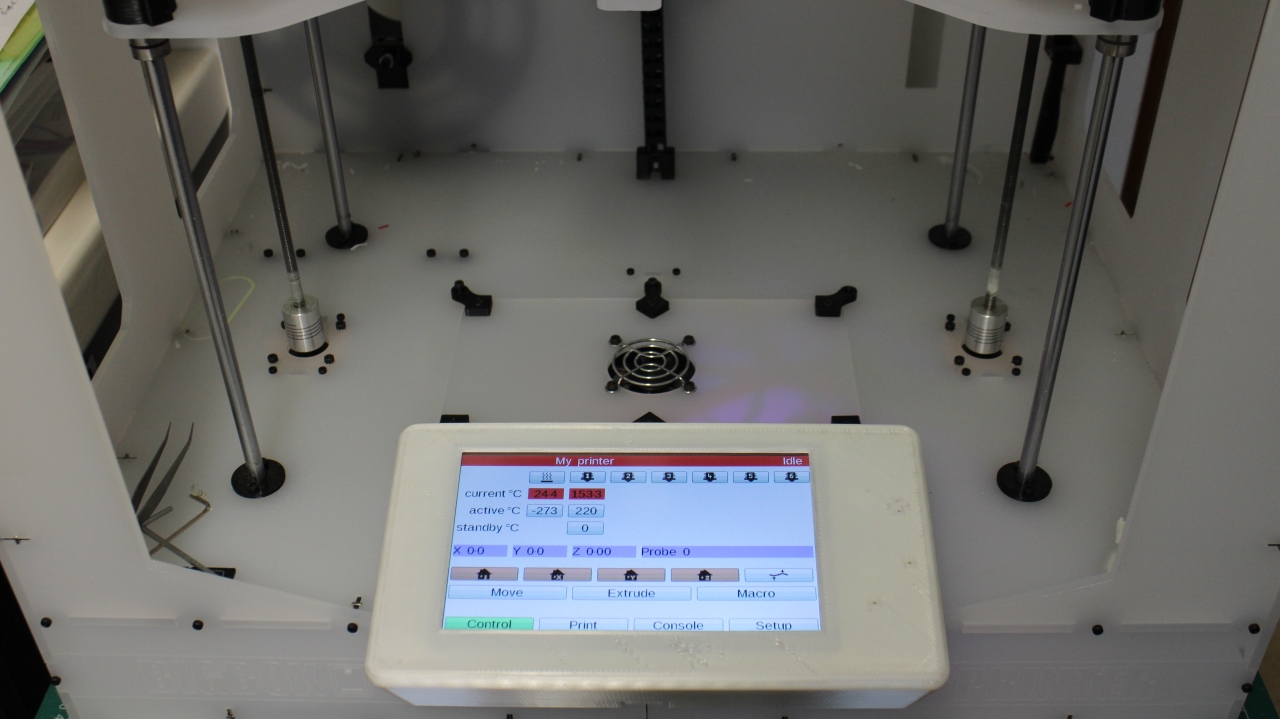
Some images of my BigBox DuetWiFi (and now also PanelDue) Setup -
Wiring into the BigBox -

Hot-end setup and first test-prints for calibration -

Vase testprint -

Functional parts -

Custom case for the 7" Paneldue - Based on David's OpenSCAD enclosure designs -

Electronics fitted -

Simple serial connection from DuetWifi to PanelDue and replaces the original BigBox graphic LCD placement -

Awesome! -

I'm still tweaking the config file, but will make it available with plenty of comments in it - it may be useful to anyone else thinking of upgrading their electronics to the DuetWiFi
Cheers,
Rich.
-
prints look fab! That paneldue case looks like some "comercial plastic" (exept that it would proably be hard to get out of a mould, from the looks of it). But what happend to the front? Bubbly / ripped kapton?
-
Rich, great work thanks!
-
prints look fab! That paneldue case looks like some "comercial plastic" (exept that it would proably be hard to get out of a mould, from the looks of it). But what happend to the front? Bubbly / ripped kapton?
Thanks. The first layer has a few problems at the back because it was set too low and the nozzle ripped up a few of the first layer traces. It was my error in not setting the first layer height calibration. Fixed now.
This print was also at slightly too high acceleration rates, causing some issues that have also now been resolved.
The LCD enclosure clips onto the front, but can also easily be taken off, and used as a tethered control unit if you need.
-
@RichRap3D, could we get the stl file for the LCD enclosure ?
-
I think it's this one from David http://www.thingiverse.com/thing:656884
-
There's one with the firmware on github.
-
I am sorry, I meant the one with the clip which can be attached to the BigBox Printer.
-
please can you explain about https://configurator.reprapfirmware.org/# I try to many way but did not so me to finish configuration