[HELP] Ender 3 Pro + Duet WiFi 2
-
Hi All,
I'm having a lot of frustration accumulating while trying to apply the Wifi 2 board with my Ender 3 Pro

I had the wires all connected successfully but I'm getting lost with all the examples of RepRap configurations (I see a lot about the Maestro board but not duet WiFi 2).
Can someone shed some light here on the right (best practice) configuration for Ender 3 Pro + WiFi 2 specifically? I spent days trying to understand how am I suppose to configure the printer, I'm exhausted. Any help/tips would be GREATLY APPRICIATED!!!
Regards,
Didi -
the configuration for the duet maestro is nearly the same.
the difference is that the wifi has R4700 resistance for the Thermistors whereas the maestro has R2200.
Apart from that the rest is the same.
Where exactly are you stuck?
-
Hi Veti,
thanks so much for the quick response!
I saw that comment to change the R2200 to R4700 but I still see a lot of errors. for example when I'm trying to test the homing of the x, y ,z.
I also noticed that the article about the maestro using an old Reprap configuration files. I tried to run the wizard again but I noticed that there are additional fields now (than where were before when the article was made).
I managed to install the 3.1.1 firmware on the Duet board, but besides that I feel really lost/overwhelmed by all the configuration parameters. I'm not an expert in this field and was hoping that there would be like a pre-configured profiles to apply instead of fine tune every single parameter (is there a reason to be able to tune each parameter instead of using presets for known printers? why would one want to mess up the best practice with modifying each value?)
if you have a config.zip that contains all the configuration needed to operate the Ender 3 Pro with the best/optimal settings. again, I'm not really an expert just want to have the capability to send prints over wifi and maybe a little bit more configuration (maybe add a fan, or something similar) more than that? I'm not sure if I understand the potential of this card to have an opinion
Didi
-
Yes, getting started with any 3d printer can be daunting, especially one as customizable as reprapfirmware.
You can start with the web tool. Select the Ender 3 Pro profile as a starting point and then choose Duet Wifi and RRF3 as the board.
To make this easier for you, I've created a profile using the web tool just now. You can choose "use existing configuration" on the starting page and then upload this file and it will pre-populate everything for you. Then at the finish tab you can download a zip file that you can upload to the printer.
-
Thank you very very much! I really appreciate this!
Another thing I forgot to mention, I bought a bltouch about 8 months ago (almost the same time I bought the Duet board, yes.. just now I'm installing it..)
I saw that people connect it to different pins on different posts, is there a best practice for that too? Would you recommend a specific mount for it as well? I saw so many in thingiverse (again.. super overwhelming)Thanks!
Didi -
I assumed you might have a BLTouch and selected that as part of the config. I chose heater pin 3. You have the option of 3 or 7. It doesn't matter which.
As for mount, that's up to you. It may be overwhelming but that's part of the fun of 3d printing. All the options available. There is a learning curve to be sure.
-
The learning curve is really "sharp"
 I guess with time I'll gain more experience (hopefully).
thank you @Phaedrux ! -
Another thing I forgot to ask. I've noticed that in the Maestro article he mentioned that he connected the board to the Ender 3 Pro display (the PCB). is that possible for the WiFi 2 as well?
-
@didi767 said in [HELP] Ender 3 Pro + Duet WiFi 2:
is that possible for the WiFi 2 as well?
Not really. Not easily anyway. You can check this thread out. Though I'm not sure where they ended up with it.
https://forum.duet3d.com/topic/15611/logic-level-shifter-for-12864-display-on-duet-2-wifi
-
Yeah I guess I'll just use the web GUI.
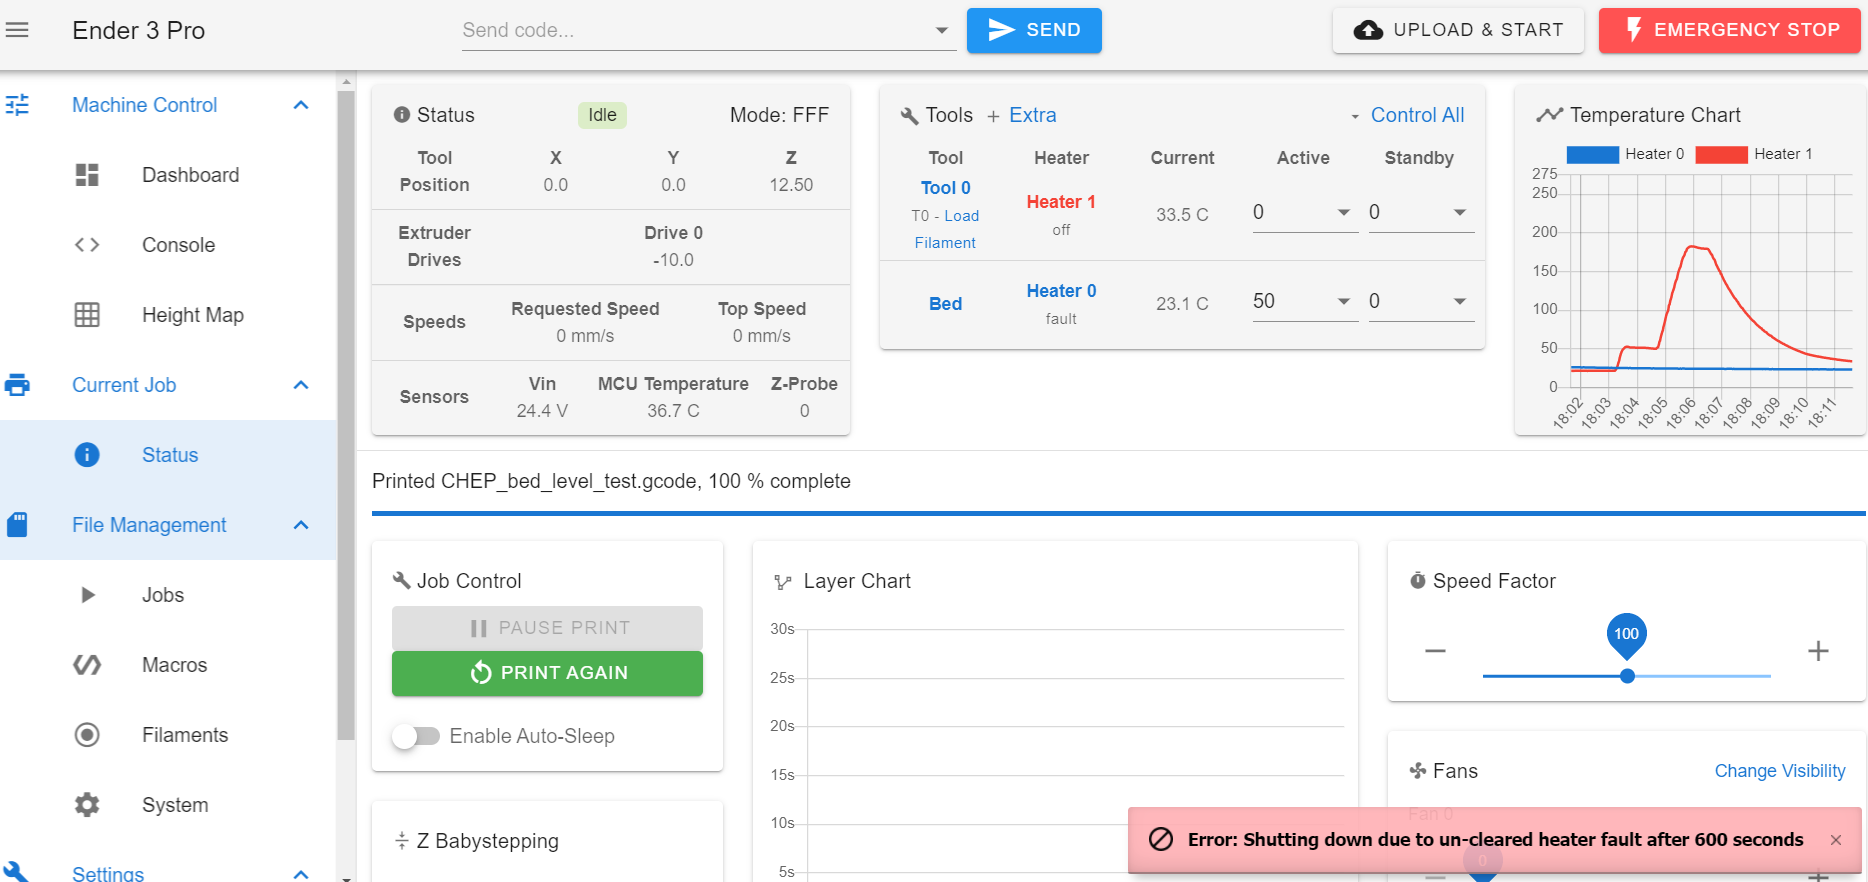
I managed to home all 3 axis without an error, and test the hot end temp test and also the fan turned off when it reached below 45C so I guess I'm good with that. but, once it happened I got an error message:
"error shutting down due to an un-cleared heater fault after 600 seconds"
I also have the fan on the side of the hot end working all the time (I remember that it was on also when I had the stock board installed, but is it necessary to have it on or not?)Thanks,
Didi
-
This post is deleted! -

-
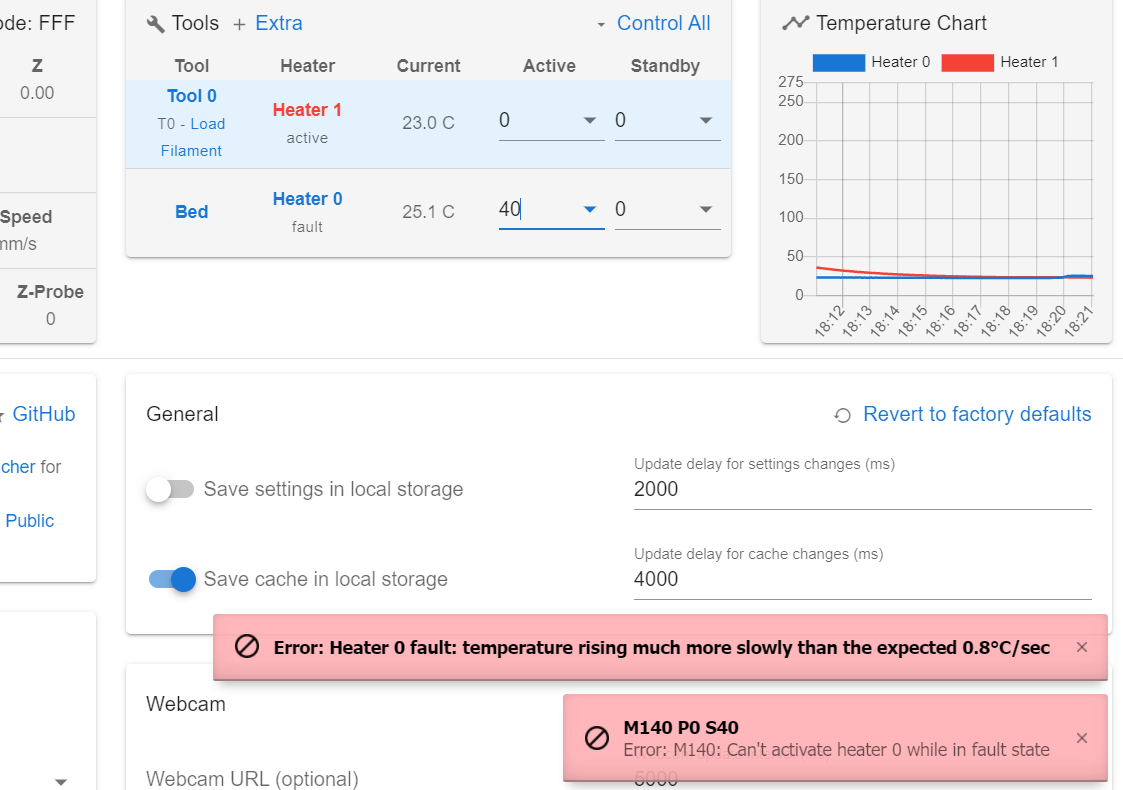
fixed it with: M303 H1 S240 and M303 H0 S60
and saved it with M500.
anything else I should do or test? -
I tried to print a test print for leveling just to see if it would be successful. so the hot end and the bed reached 200 and 50 and then I noticed that the Z axis moving terribly slow... and when it moved on the Y axis and push the bed as far as possible towards the front and then I noticed that it keeps trying to push/move and making noises like it's stuck. I immediately turned the printer off

I'm desperately trying to make the printer work again... this is super frustrating.. -
@Phaedrux said in [HELP] Ender 3 Pro + Duet WiFi 2:
Not really. Not easily anyway. You can check this thread out. Though I'm not sure where they ended up with it.
the standard firmware does not have enough free ram to include this. so at the moment the code necessary is not part of the wifi 2 firmware.
see
https://github.com/Duet3D/RepRapFirmware/blob/v3-dev/WHATS_NEW_RRF3.md[Duet 2 + 12864 display] There is insufficient free RAM to run Duet WiFi/Ethernet with 12864 display
-
@didi767 said in [HELP] Ender 3 Pro + Duet WiFi 2:
I noticed that it keeps trying to push/move and making noises like it's stuck. I immediately turned the printer off
this is most likely a wiring problem. likely a wire not making contact because of a bad crimp in the connector. check the wiring with a multimeter.
-
All the motors worked correctly when homing?
Can you verify that the movement directions are correct?
When looking at the printer from the front, the print head should move like this:
X+ should go right, X- should go left.
Y+ should go to the back, Y- should go to the front
0,0 should be at the front left cornerAnd based on this, where are the endstops located? Front, back, left, right?
Can you post your config.g and your homeall, homex, homey, homez, files.
It's possible that the endstops are configured incorrectly, or perhaps the slicer is setup incorrectly causing it to think the print coordinates are not where they are in physical space.
-
homez.g homey.g homex.g homeall.g config-override.g config.g bed.g @Phaedrux
X is going the right way but the +Y brings the bed to the front and -Y to the back
another thing, when I'm trying to home X it brings the extruder to the left front corner and then go down, but the problem is that the BLtouch is not aligned with the bed, so it doesn't touch the bed (it's in the air) and the extruder touches it without stopping (I manually triggered the bltouch to prevent the extruder to keep pushing downward). I'm assuming I need to add something to the configuration to make the corner coordinates to include the BLtouch?the endstops:
for X it's on the left side
for Y it's in the back
and the Z I didn't plug in since I have the bltouch
(Uploading 100%) -
@Veti You were right, one wire slipped out

-
@didi767 said in [HELP] Ender 3 Pro + Duet WiFi 2:
but the +Y brings the bed to the front and -Y to the back
It's a bit confusing because the bed is moving, but really we're talking about the position of the nozzle.
So let me ask it another way, when the nozzle is positioned at the front left corner of the bed, are the coordinates 0,0? Or 0,235?
To position the BLTouch correctly change your homeall.g
G90                     ; absolute positioning
G1 X15 Y15 F6000        ; go to first bed probe point and home Z
G30                     ; home Z by probing the bed
Change the X15 Y15 to something closer to X150 Y150