Calibration Cube Issues
-
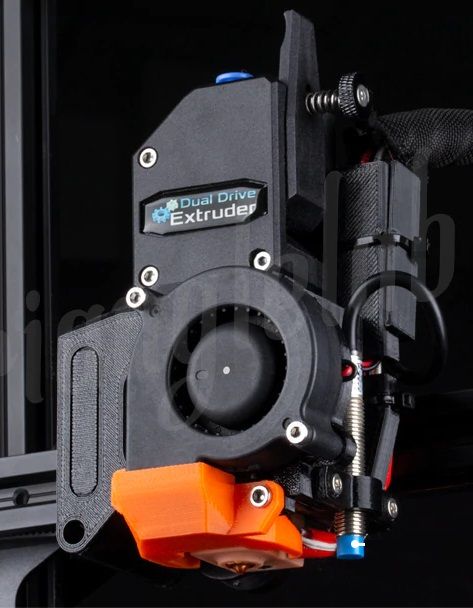
To be honest, one year ago i upgraded my machine with a cheap full bmg + V6 clone as above:

By that moment, I was already using a 32b board with TMC2209 drivers (skr mini e3 v1.2), however my part 5015 blower was not properly working. I needed to manually start it at each print for it to work, otherwise it would just stay static.
By that time I was just occasionally printing pla and I had not much time to spend on it, so it stayed as it was for a while.
However I was reading about RepRap for some time and duet's interface capabilities seemed to be absolutely brilliant when compared with the ordinary marlin firmware I was using.
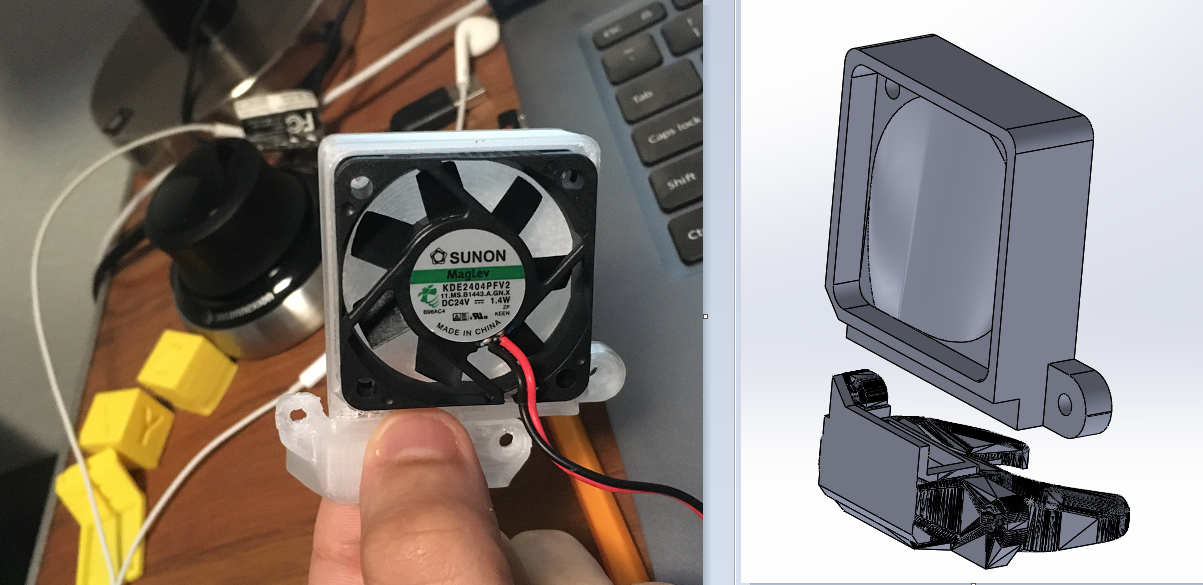
So I ordered a wifi board, and when I got it I tried to sort all issues that I had, but the blower was having the exact behaviour...Then as I had a couple of spare sunom 4010 fans, I had a brilliant idea of design my own mod for cooling, using those fans.
So the first mod is below, and was with this that I printed both cubes and the overhang test:

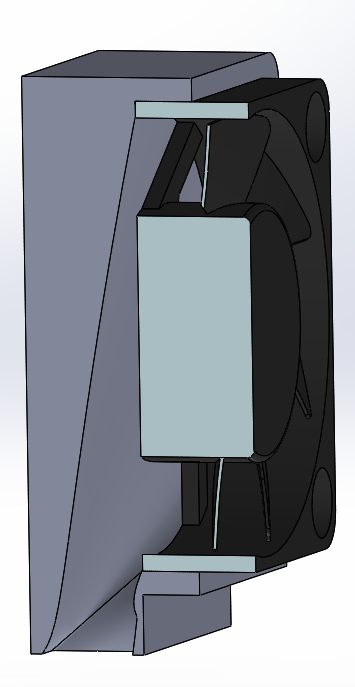
Last night after the overhang test, I realised that even being the fan working properly, the distance between the mod's interior and fan was too short and so the air flow was not moving trough the mod. It was just moving back into fan's direction.

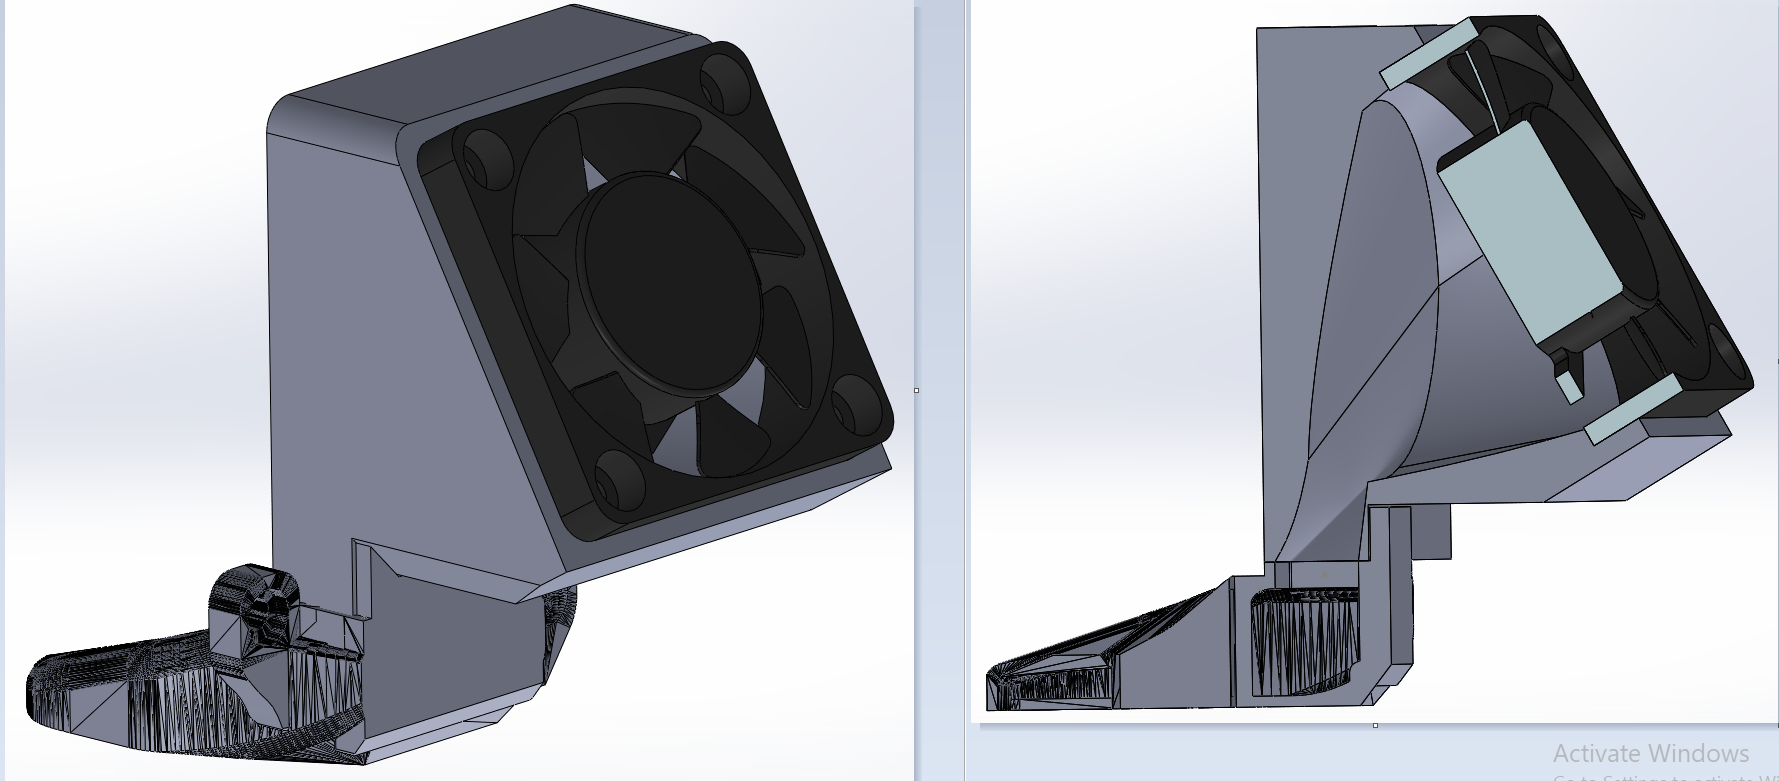
So then ok, lets improve the mod... So I gave an angle to maximise the flow direction, and I came out with this:

Now for the first time i can feel a certain blow at the nozzle... but still not what I should have yet. I am going to do a couple more calibration tests tonight and lets see what I can get from it.
However im sure that my efforts are not developing in the desired result, so if you have any tips or orientation, please expose it I will really appreciate.
Thank you for your attention and sorry about such long post! xD

-
Ah yes. Those axial fans are not the right fan for that application. No matter how much you modify the duct it won't be able to produce the static pressure required to get a good air stream to flow through the reduced air nozzle. This is where a radial blower excels due to the very high static pressure.
You'll be limited on cooling until you can replace it with a proper blower.
-
Ok, thanks. By now I have my fans as below in config:
; Fans
M106 P0 S0 I0 F20 H-1                   ; set fan 0 value, PWM signal inversion and frequency. Thermostatic control is turned off
M106 P1 S0 I0 F20 H1 T45                ; set fan 1 value, PWM signal inversion and frequency. Thermostatic control is turned on
M106 P2 S0 I0 F20 H0:1 T45              ; set fan 2 value, PWM signal inversion and frequency. Thermostatic control is turned on
How is that going to change to apply the related blower on fan 0?

-
The config won't change at all, other than you may want to experiment with a different F value for the PWM frequency to find one that works well with the fan. And maybe the B parameter which is the full power blip time at startup, since some fans need a brief pulse of full power to overcome their resting inertia to start spinning freely.
-
@screspo said in Calibration Cube Issues:
I needed to manually start it at each print for it to work, otherwise it would just stay static.
Some fans do not respond well to PWM. Since you are already using Sunon, I have had good experience with this blower and Duet's PWM. (it's 12V, find the 24V version if exists or run the fans on 12V).
-
After re-installing the 5015 blower, I tried multiple PWM values and the best I could find was around F502. However, I can only run the fan to 99% speed. At 100% it will always stop. B value was still not working (I think it is because I cant get it to work at the full power)
With that, I got the following result. (before above and after below):
![IMG_0473[1].JPG](/assets/uploads/files/1587558325430-img_0473-1-resized.jpg)
As you can see, some improvements were archived, but still far away from optimal.
So from now, I have multiple choices:
- Admit that PWM still not ok yet and look for a better value. If yes, is there any easy way to find it?
- The fan is not working properly because is damaged and it should be replaced.
- The final duct to the part is not really good and should be improved.
- Slicer settings are provoking the effect and should be improved. If yes, which of them could be still having a negative impact?
Which of them should I consider and where should I start from?
Thank you
-
All of the above.
Does the blower work ok if plugged into the always on fan port?
The fan says its 24v on the sticker. Are you using 24v PSU? Is the fan jumper set to VIN or 5v?
How are you commanding 100%?
Have you tried higher PWM F values? You can go up to 30000.
What value of B have you tried? B0.1 is usually enough. And if it starts up spinning with B0 that's fine too. Not all fans need the blip.
Getting a different blower isn't a bad idea. If you only have one on hand it's a good idea to have a spare anyway as those chinese blowers are known for going pooof.
The duct looks quite restricted with a sharp bend. Designing a good duct is not easy. Here's one that's done well. https://www.thingiverse.com/thing:1025471
For slicer settings, you can try this version of Cura which has some handy controls over overhang behaviour. You can control the print speed and fan speed and select the angles to consider as overhangs. You can also define the fan lag so that the fan will be fully spun up before it reaches the spot where it's needed. It's greatly improved my own overhang performance.
https://www.dropbox.com/sh/s43vqzmi4d2bqe2/AAADdYdSu9iwcKa0Knqgurm4a?dl=0&lst=
-
sunon maglev technology does not work well with pwm, so if you are using sunon get the bearing one it will work much better (louder too) with pwm.
did you try running these tests with part cooling fan connected directly to power (no pwm, just on/off) as for overhang you need max power anyhow
-
So, according your instructions I started checking every possibility and all seemed to be ok except it was not working. The fan in the always on port was not working, my PSU is the stock ender3 and its 24v, the jumper was not in 5v etc... and not working. So I bought a new fan as fast as I could from the closest retailer.
Look for the result:
![IMG_0485[1].JPG](/assets/uploads/files/1587757226876-img_0485-1-resized.jpg)
![IMG_0487[1].JPG](/assets/uploads/files/1587757273881-img_0487-1-resized.jpg)
Absolutely unbelievable.
It just failed near the very end because now that I have proper cooling flow, I got some adhesion issues and I then stop the print, but the result is better than I could ever expect. Didnt even need to pulse a initial B to start. Just F300 and it worked fine.
Thank you very much to all your help!
-
In order to close the subject, after some jerk tuning this is the final result:
![IMG_0490[1].JPG](/assets/uploads/files/1587916897093-img_0490-1-resized.jpg)
![IMG_0491[1].JPG](/assets/uploads/files/1587916938086-img_0491-1-resized.jpg)

At the end of the 70 region, it still possible to see a little error, but according with my hardware capabilities i think is good enough.
Thank you again for your help, the topic may be closed as solved.