Deltas are hard...
-
Decided to delve into the world of Deltas after spending alot of time with cartesian printers and I am starting to understand why people say Deltas can be "tricky" to debug.
I started with an Anycubic Predator and have thrown a ton of upgrades at it in hopes that I would be able to minimize wasted time but I am now into month 4 of debugging.
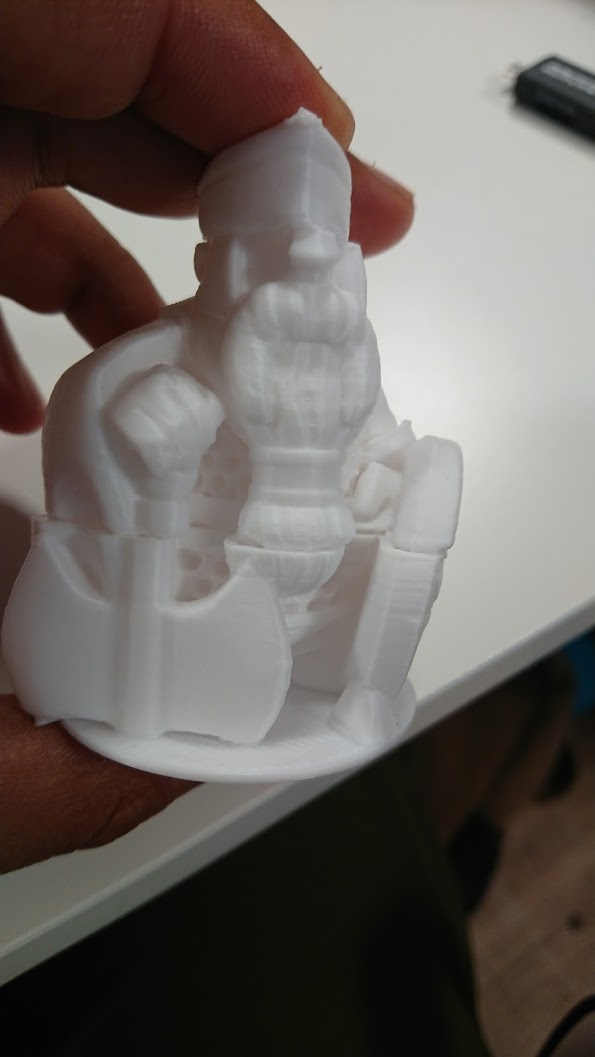
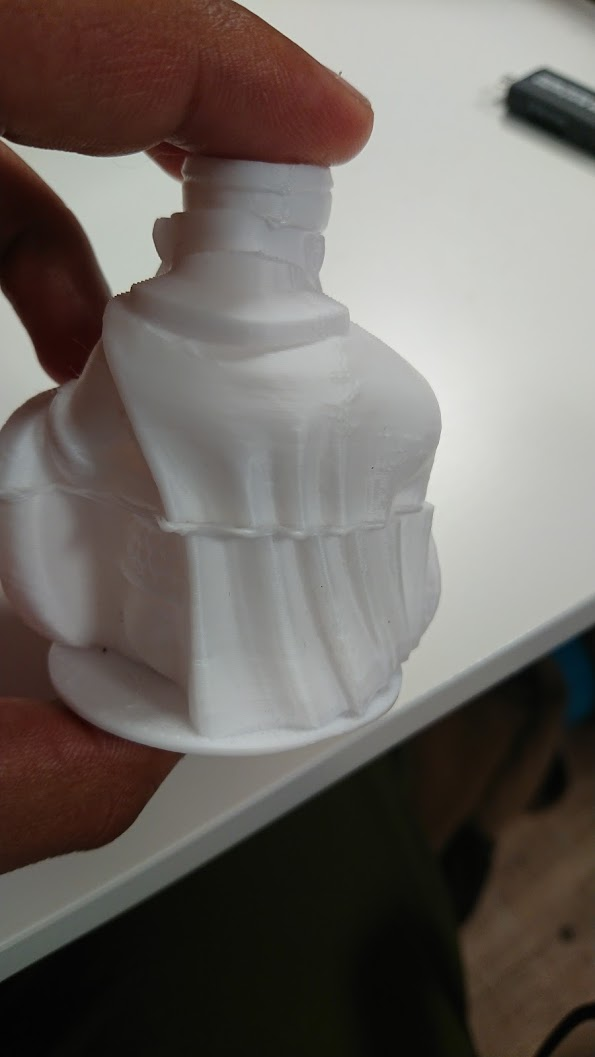
The core issue is that I am seeing weird layer artifacts on the outer layer of a particular control print I do when tuning most printers. Its almost as if it goes from a little lighter to a little darker as if a temperature fluctuation is occuring.
Stock machine before upgrades

After upgrades (today and many prints later)


What those upgrades have been
-Genuine bondtech extruder
-Genuine E36 V6, thermistor, heater cartridge
-Haydn Magball arms
-Duet Smarteffector
-Duet Maestro
-0.9 E3D stepper motors (For XYZ)The effect is reduced but still present. Since I'm looking to have this as my high print quality machine I can't accept the prints its creating at the moment. I'm at a loss as to what else mechanically could be going wrong here. On the software side of things I have been using users profiles that don't see this issue running Duet and similar upgrades, I have played with different temperatures, different filaments, Esteps, etc. I guess my question is has anyone seen something like this and what did they find caused it?
I'm thinking of lubricating my carriage wheels and I would be open to tighten or loosen them despite having tried this, belts are quite loose as from my understanding belts that are too tight are also not a good thing. I have tried it at the other extreme of super tight belts as well. Save me, delta gods.
-
Seeing as you've replaced most of the printer, I'm guessing slicer settings?
-
I'd start by properly calibrating your xyz and e steps/mm to rule that out. Hard to tell from pics but that looks a bit over extruded.
-
I concur, it looks a bit over-extruded, I think you should check the extruder steps/mm and try to deliberately under-extrude to see what happens. Also how thick are the walls, and is the infill solid?
On large solid objects my experience is to use slight under-extrusion, because when over-extruded even a little bit the excess has nowhere to go and likes to build up sometimes causing something like your test object ... just a shot in the dark -
What does the first layer look like on something like a 100mm x100mm x 2mm?
-
I appreciate all the replies and redid my extruder calibration. Looks like I may have been extruding 3.5mm more than I should have. I did extruder calibration a bit different than I usually do by extruding without the hotend attached. Apparently, this is the common way to calibrate for Bowden printers? I was unaware of that as I have always used direct drive printers. With that being said I am now using 407 on a genuine bondtech instead of 419 which I had previously used.
Now this is where things really start to suck. Print quality has gotten a bit better however for some reason my nozzle glides on the previous layer as if when it moves to the next layer it is a few microns too low. Not a big deal I thought I'll just up the Zhop value. However, this does not seem to be helping. I am not seeing an excess of filament but the sound of it riding makes me think im overextruding still. at 90% extrusion multiplier I still can hear it gliding on the previous layer.


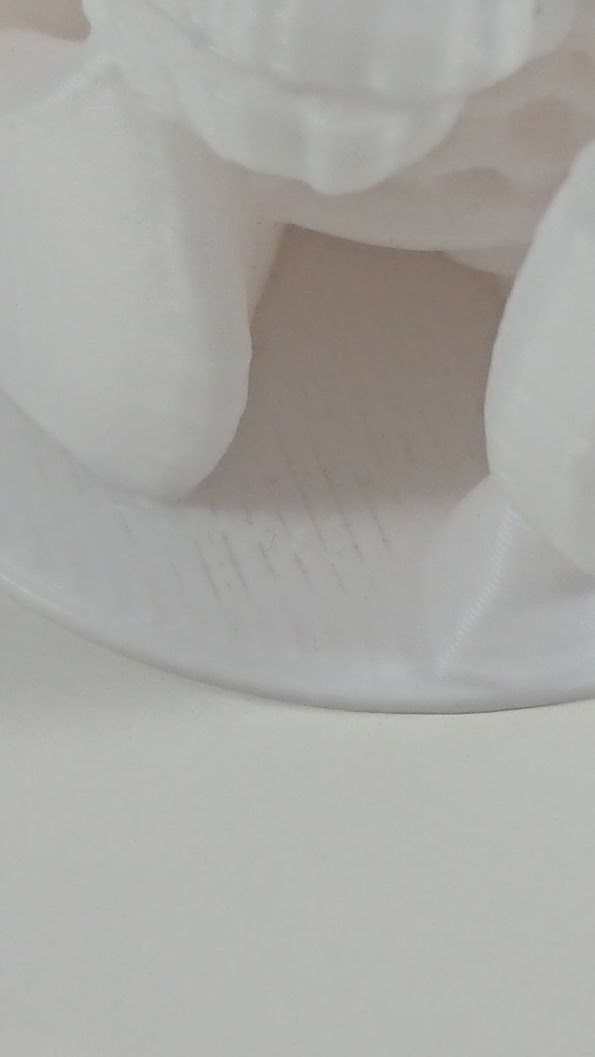
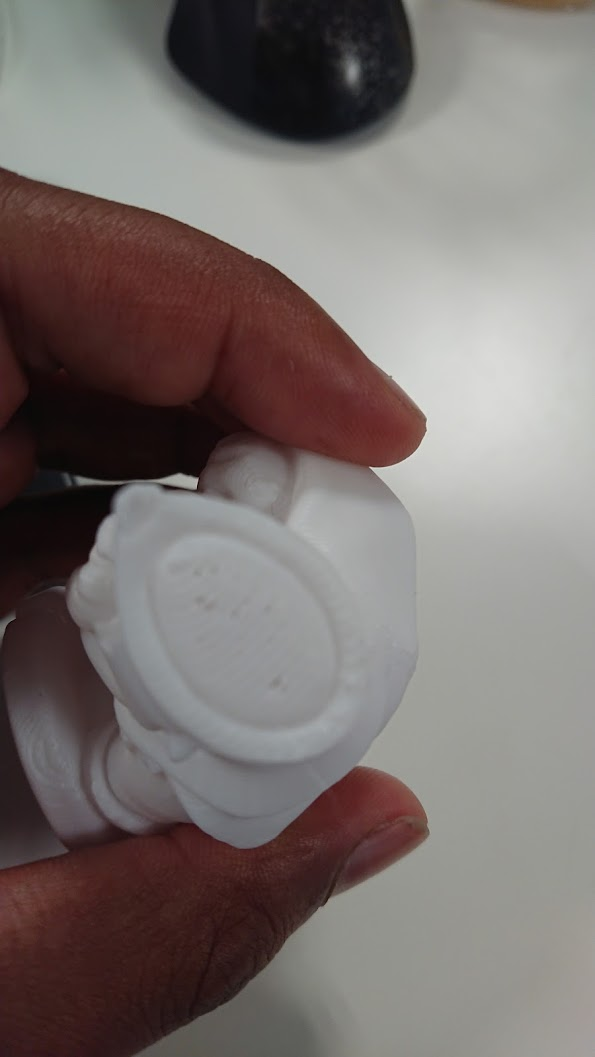
The other kicker is that my solid layers seem to look under-extruded so while I would think I was overextruding and thats why im hearing the gliding/scraping sound if I lower lower my extrusion multplier it will just make my solid infill layers look worse. Below are some photos of solid layers thinning at 100% extrusion multiplier at 407 E steps on a genuine bondtech bowden flying extruder.


A few things I have done
-double checked the axes steps/mm (other users are using 160 for 0.9 steppers without issue)
-raised stepper current to 1.3A instead of 1A (using E3D compact 0.9 steppers rated for 1.4A)
-tried printing at 90% extrusion multiplier (could still hear it gliding on the previous layer)
-removed the towers and tightened each equallyWhat I am thinking of doing next
-setting current to 1.12A (80% of rated max current)
-returning to 415 steps
-loosening the belts equally
-changing the accelerations/jerk settings (current ones below) I'm wonderinf if maybe I have something set badly here that is causing the Z axis not to have enough time to raise?
M201 X1100.00 Y1100.00 Z1100.00 E1100.00 ; Set accelerations (mm/s^2)
M203 X9000.00 Y9000.00 Z9000.00 E4800.00 ; Set maximum speeds (mm/min)
M566 X600 Y600 Z600 E1200.00 ; Set maximum instantaneous speed changesWould appreciate any other thoughts on what others would do!
-
If there are no missed steps, then no higher current is needed. I use 24V 750mA for my towers, also 0.9 deg steppers.
On travel moves, when there is no z-hop some contact may be normal between the part and the nozzle.
I myself use Cura with machine settings plugin (from store ...free) set the machine settings => firmware retraction to ON, set the retraction amount to something minimal in cura, like 0.01mm (otherwise it does not send firmware retract commands either) and set my zhop and retraction amount with the firmware itself.