I just found out something interesting. I've implemented my own simple backlash compensation into my microscope Python test script that simply subtracts 0.08mm from the x coordinate when the head moves back and with this I was able to eliminate the x offset I always had on the center point. I now just see a very small movement in the y direction. Sadly the Duet firmware has no backlash compensation setting I could test.
Posts made by TheNetStriker
-
RE: How to fix offset on CoreXYposted in Tuning and tweaking
-
RE: How to fix offset on CoreXYposted in Tuning and tweaking
I've now created some more pictures and also two videos that I will explain later on and uploaded everything to my Dropbox: https://www.dropbox.com/sh/9v3dm7zkaz675v8/AAC1bPLbn8EGZeFq-upOlNnfa?dl=0
On one of the photos you can see a spring stick out of the leadscrew. That is just because someone suggested to try out printing without the backlash nut and I couldn't remove it completely because then I would have to remove everything and build it back up again.
@denke Yes the lines of two different prints seem to line up pretty well. I guess the effect is less pronounced compared to the first because this is printed in vase mode so the head does not make as much turns as with a thicker wall. I already tried printing slower but that doesn't change the effect at all. The printer frames wiggles on fast moves and I tried to compensate that with a heavy weigh at the bottom, but also this didn't change the effect.
What I found out is that I can move the head itself quite a bit in every direction by hand when it is held by the motors. I also tried if that play changes when I tighten the belts more, but I was still able to move the head. I've uploaded two videos to my Dropbox folder. The first one shows how much the belts are moving if I pull on the head by hand and the second one shows the same but the head forwards and backwards with the motors. I also found out that the offset can be reduced if I apply a little bit of force by hand in the direction the head moves when it changes direction.
Are maybe the belts to weak or is it normal that I can move them this much by hand? And is there a difference in quality of different belt manufacturers and if so, for what should I look to get a good belt?
-
RE: How to fix offset on CoreXYposted in Tuning and tweaking
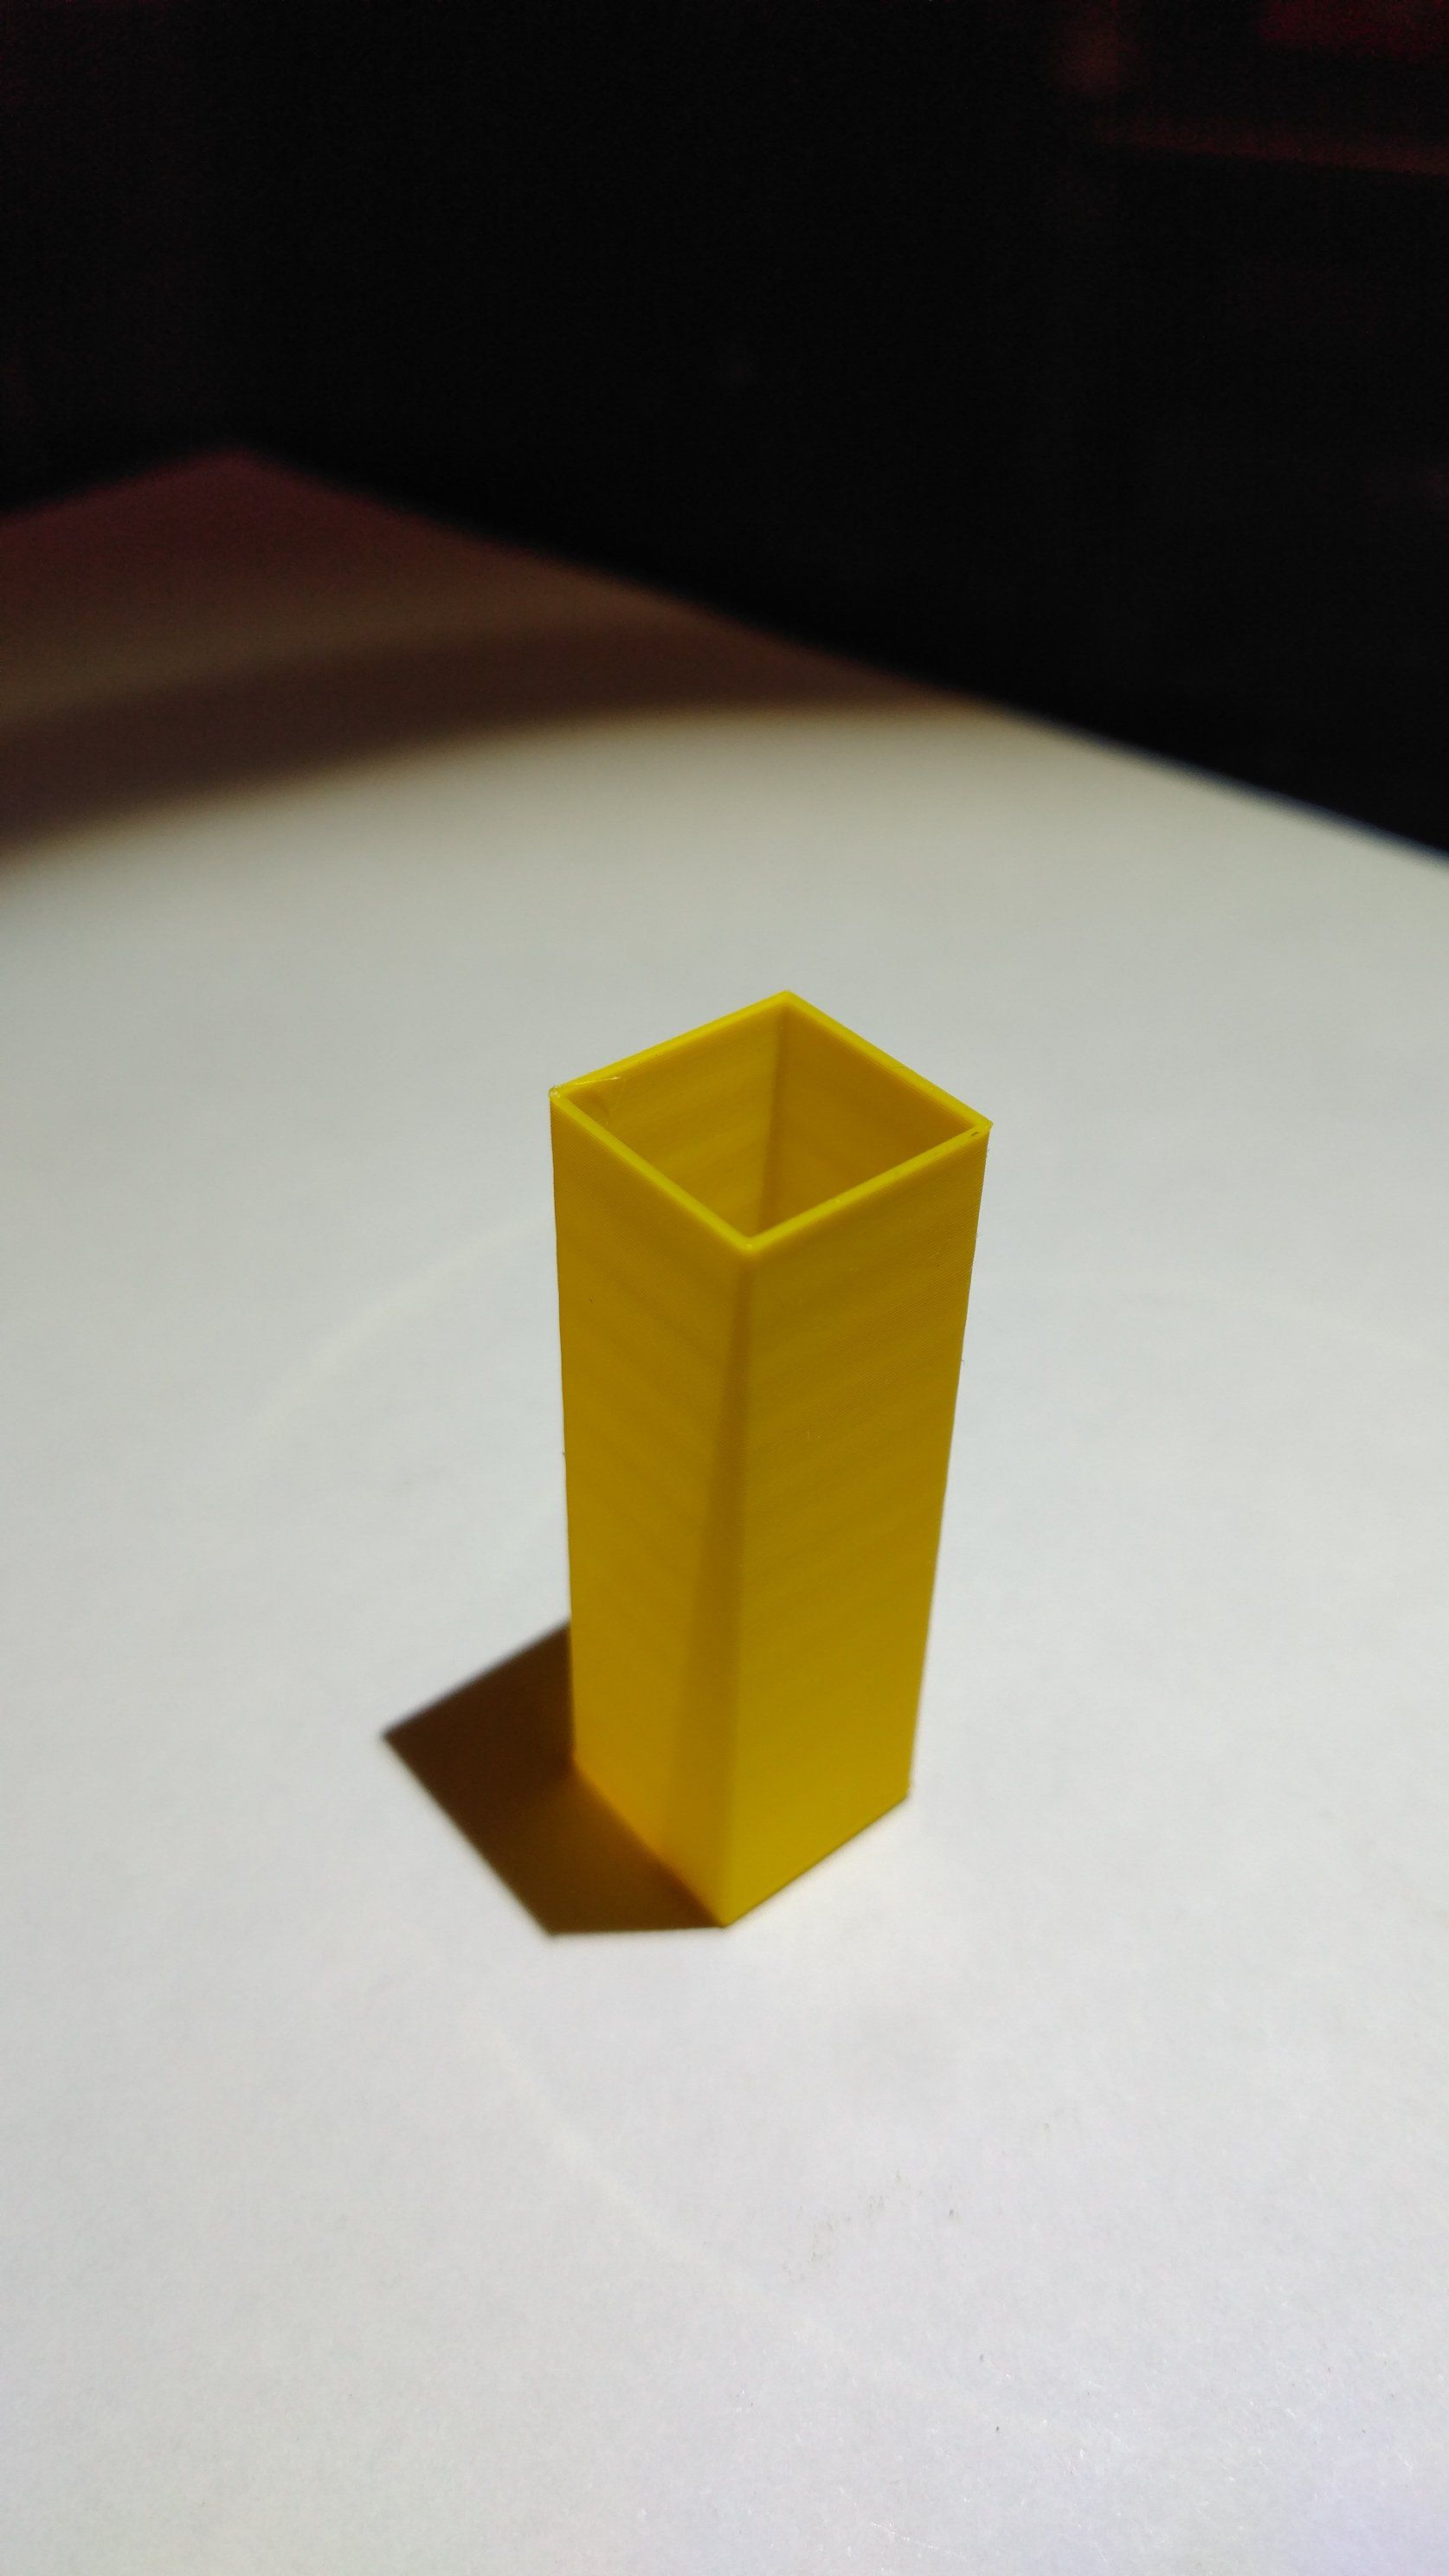
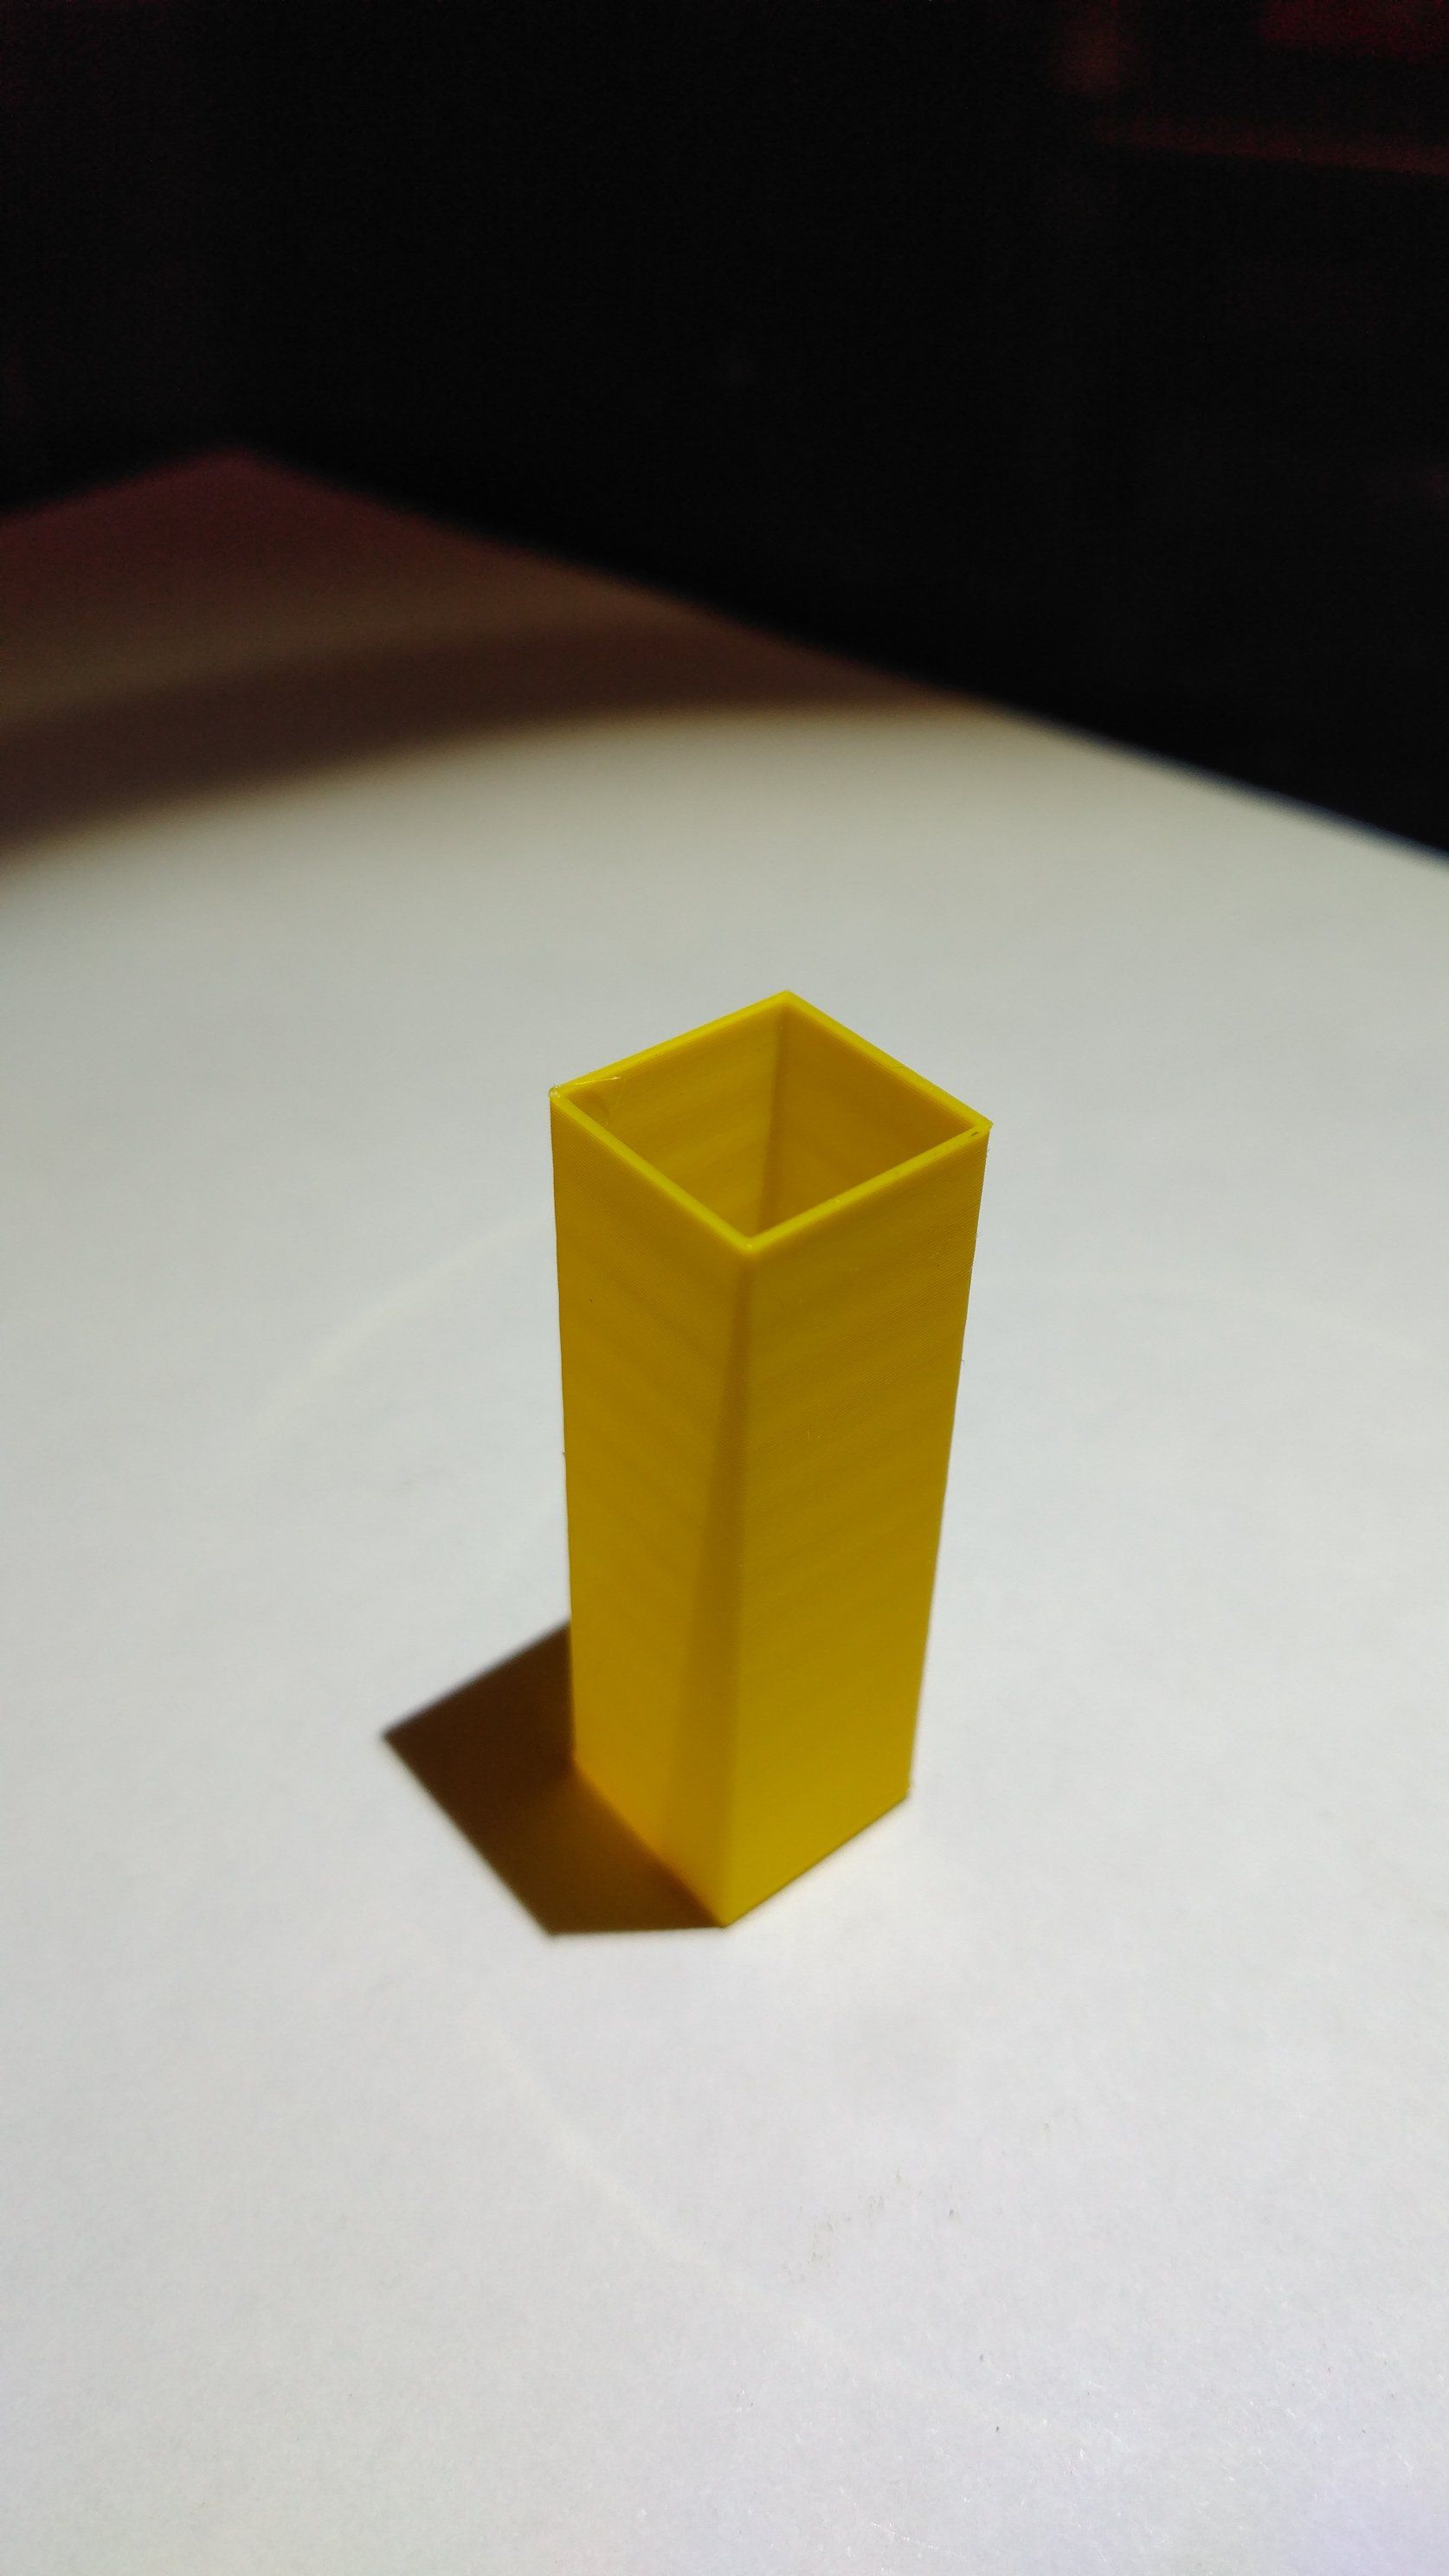
@denke I found out that the effect is worse on some sides of the print than on other sides with a vase print. I hope you can see it on those photos, it is very hard to take a good photo of the effect:
On this picture the left outer wall is perfect. The effect is visible because it is only on the inside of the print and the light shines through because of the thin wall. On the right side the effect is also on the outer wall.

And this is the opposite side of the print. Here the effect is stronger than on the other side. And it's most visible on the side opposite to the left side of the first picture.

From this effect I would guess that it has to be a problem of the CoreXY, or do you have an explanation that the z axis could to something like this? (The bed should not be able to move in x and y because of the 3 linear rail it's attached to)
@littlehobbyshop I did put in bearings at the top of the leadscrews, but I also tested without them and there is no visible change in the print.
@mrehorstdmd The zip ties are only to hold the microscope in place that I currently use to measure the offset of the print head. This is what it looks like without the microscope:

And here is a picture from the leadscrew upgrade:

I will also take some photos of the CoreXY system and post them here.
-
RE: How to fix offset on CoreXYposted in Tuning and tweaking
@Veti @fcwilt @Phaedrux @mrehorstdmd I don't think that friction is a problem. I just tried moving the head without the belts attached and I can move the head with one finger with very little force. I've uploaded a short video of this to my Dropbox: https://www.dropbox.com/s/9xuigr7xk9jun8d/VID_20191105_221635.mp4?dl=0
On the y axis is a linear rail and on the z axis are normal rails and the head moves on plastic bearings. But as I said I have the problem on every axis, so this can also not be the problem.
I already changed the belt tensioning countless times, but I always get the same result. Not better, not worse. I also don't know if this would explain that on a straight line with three points only the middle point is always off when the head travels back and the outer points are always correct. When the head moves back from the last point to the middle one it seems to travel a shorter way to the middle point as but then makes this difference up when traveling back to the start point. I don't know what could explain such a behavior.
-
RE: How to fix offset on CoreXYposted in Tuning and tweaking
@Phaedrux @gtj0 @Veti I've now improved my microscope test script so that it creates a video from every point the head moves to. I then tried if I can correct the positioning by tensioning the belts and also by adjusting the stepper steps, but with both methods I was not able to get better positioning.
I now found out that the problem already shows if I move the print head on just one axis with three points. My videos show that the start and endpoint are always at the exact same location, but the point in the middle is always offset when the print head changed direction. It also doesn't matter which axis is used, I tried x, y and also directional in both ways that only one motor is working and the offset shows every time on the point in the middle. The Duet logging shows that for each movement between the points the exact same amount of steps is used. I also tried to tension the belts as much as possible so they cannot flex anymore, but that also doesn't help. I'm out of ideas at the moment.
Do any of you have any other ideas what could cause such a problem?
-
RE: How to fix offset on CoreXYposted in Tuning and tweaking
@Phaedrux I've just tried that, but without the backlash nuts I still have the exact same result. I will try to adjust the belt tension next and if that not helps I will try with different stepper steps for each of the CoreXY motors.
-
RE: How to fix offset on CoreXYposted in Tuning and tweaking
@gtj0 I also tried that but there is also no difference. I also tried printing without the heated bed, but the pattern is still there. The only idea I have at the moment is that I could try different stepper values per motor. Maybe one motor moves the head a bit more than the other for some reason.
-
RE: How to fix offset on CoreXYposted in Tuning and tweaking
I've now also zip tied the coupler tops and bottoms together to be sure the don't get pulled out when driving down the bed, but still no difference in the print. I've also tested vase mode and printing without z hop, but also no difference.
On the vase print I have noticed that one outside wall of the print is almost perfect, but all other three walls show the pattern. I guess this could be related to the problem with the CoreXY position, but I have no clue why this happens.
I also compared the photos from the microscope and If I look only at every other picture the position is perfect. So when driving back it lands on the exact same position. Only when the movement changes from clockwise to counter clockwise it ends up in a slight different location.
-
RE: How to fix offset on CoreXYposted in Tuning and tweaking
@mrehorstdmd I followed this guide on Thingiverse: https://www.thingiverse.com/thing:3601545
There are 3 leadscrews and 3 linear rails on the z axis.
Before the modification the quality was very bad. Also the printer was not reliable. The print bed was originally driven by 4 small belts and one motor. It was very complicated to install and tension the belts and when I put a little force on the bed the belts skipped over the gears. Also the positioning of the bed was really bad. On the first print I watched the nozzle melt into the print a few millimeters. This is now all much better compared to before, but I guess there is still room for improvement.
-
RE: How to fix offset on CoreXYposted in Tuning and tweaking
@mrehorstdmd You can find a lot of pictures of the CoreXY system of the machine on Google:
The Y axis is done with two linear rails, but the X axis has round guide rails.
-
RE: How to fix offset on CoreXYposted in Tuning and tweaking
@Veti I've no printed without mesh bed compensation but that makes no difference. I'm using leadscrews with 4mm pitch and the pattern on the walls also repeat every 4mm. Also the walls are alternately thicker, then again thinner on the outside and on the inside of the walls.
The problem could be that one turn of the screw matches 4mm, but that a quarter turn of the screw doesn't always exactly match 1mm and because of this some layers get a bit more plastic than others. Could this be the cause of this issue? And if so what could be done to improve this? I'm using those couplers and those anti backlash nuts. With the backlash nuts I don't know if there is a specific way they have to be installed. I just tried to press them together as much as possible when inserting the leadscrew.
-
RE: How to fix offset on CoreXYposted in Tuning and tweaking
@Veti said in How to fix offset on CoreXY:
https://forum.duet3d.com/topic/12503/reprapfirmware-2-04rc4-released/48
Yes I'm aware of that and I'm also disappointed of the product. But I was able to fix most of the problems with the leadscrews and the Bondtech extruder. Now it is a decent printer. Not as good as my Prusa, but also not far away. And it was an interesting project so far and I learned a lot. So I'm hoping I can also find a solution for this final problem.
I guess the Z moves in the logs come from the mesh bed leveling. Maybe the mesh bed correction do make such small prints worse for some reason. I will try printing without mesh bed leveling as a next step.
-
RE: How to fix offset on CoreXYposted in Tuning and tweaking
@Veti I just tried that but there was no difference. There is still an offset between the pictures.
I've also created a debug log of the motion, but the step values of X and Y are always the same. For some reason there is also the Z axis in the log. Here is the full log:
Do you have any other ideas what could cause such a problem?
-
How to fix offset on CoreXYposted in Tuning and tweaking
I'm having some troubles with my M3D Promega. I've modified the printer with leadscrews and with a Bondtech extruder. This solved a lot of problems and now I get almost perfect prints. But there is still an issue that can be seen in the layers of the walls:

I did various tests with the bed and the extruder and I think I can rule out that the problem has something to do with either one of them. I guess the problem comes from the CoreXY system.
To test this I attached my USB microscope to the head of the printer and put some tape on the bed. Then I created a Python script that takes an image from the microscope, moves the head in a square and back to the start position, then takes another image and so on.
What I found out ist that there is almost no change in the images when the extruder only moves clockwise. But if I also move the head counter clockwise every other move then I'm getting an offset that could be big enough to cause this problem:
The question now is if this is some kind of problem with the Duet hardware /firmware or if the problem is in the CoreXY system itself. Is there a way to e.g. debug how much stepper steps are used in each G1 command or other ways to debug this?
-
RE: BLTouch does not work anymore if M558 executed twiceposted in Tuning and tweaking
@fcwilt I've just tried that but that also doesn't work. The probe is just not doing anything after the second command.
-
RE: BLTouch does not work anymore if M558 executed twiceposted in Tuning and tweaking
@droftarts Here is the output of the M115 command:
FIRMWARE_NAME: RepRapFirmware for Duet 2 Maestro FIRMWARE_VERSION: 2.03 ELECTRONICS: Duet Maestro 1.0 FIRMWARE_DATE: 2019-06-13b2
And those are the command I'm executing:
M558 P9 H5 F300 T2000 ; Executed by config.g
M280 P64 S10 ; Deploy probe => works
M280 P64 S90 ; Retract probe => works
M558 P9 H5 F100 T2000 ; Execute command again
M280 P64 S10 ; Deploy probe does not work anymoreA reset of the Duet board also fixes the problem until the command is again executed a second time after the system is started up. I've uploaded the whole content of my sdcard to GitHub. There you can see all gcode files that I'm currently using:
https://github.com/TheNetStriker/Promega/tree/LeadscrewBondtechV6/SD Card Structure/Compound/sys
@fcwilt You solution seems to work. I will use this as a workaround until a fix for the problem is found.
-
BLTouch does not work anymore if M558 executed twiceposted in Tuning and tweaking
I would like to configure a BLTouch (Version 3.1) probing that first probes fast and then slow. But the problem is that the probe stops working when I execute the M558 command a second time. After that I have to power down the Duet board completely to get the probe working again. This is the command I'm using:
M558 P9 H5 F300 T2000
Does anyone have the same problem and what could cause this problem?
-
RE: Problem with mesh bed leveling on modified M3D Promegaposted in Tuning and tweaking
On a second try the level was already better. I now reconfigured the z homing so it is probing against the z probe and not the end switch. Now the height map levels are quite good.
-
Problem with mesh bed leveling on modified M3D Promegaposted in Tuning and tweaking
I'm trying to run the mesh bed leveling on a modified M3D Promega with leadscrews for the bed instead of the standard belts. I followed the manual from dehidding on Thingyverse:
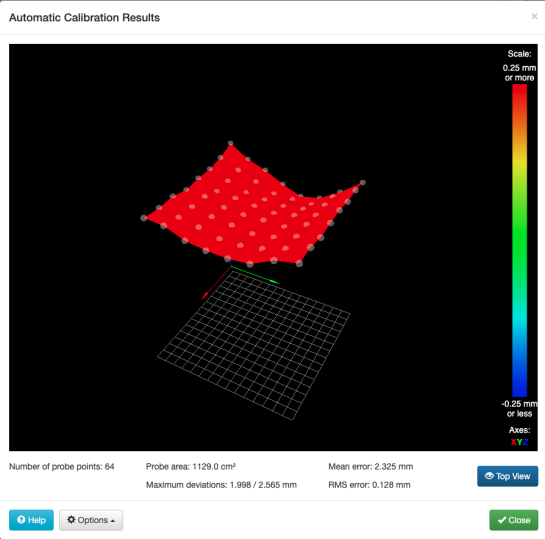
https://www.thingiverse.com/thing:3601545So far everything seems to work, but I'm getting a strange result when running the mesh bed leveling. All the points are way above the grid:

What could cause this problem and how can I solve this?