My motors are still whatever came on my wanhao duplicator i3+. Probably should have got new ones.
It sounds like my best bet is just to try it and see how it goes. Thanks folks!
My motors are still whatever came on my wanhao duplicator i3+. Probably should have got new ones.
It sounds like my best bet is just to try it and see how it goes. Thanks folks!
I just rebuilt the frame on my 3D printer. It's looking great and I'm excited to get it running again.
The design I followed seems to have forgotten about end stop placement with the upgrades I have. Given that my printer is down, I was going to cut some small blocks of wood to hold the end stops until I can print something so that things match. But as I was browsing the docs, it seems like sensorless homing is a possibility with this board. I run a BLTouch 3 so I'm not worried about the Z-axis, but it sounds kind of nice for the X and Y.
So I'm just curious if other folks have run their printers sensorless and what the experience has been? I doubt I'd ever need 100% of the build plate in either direction so if it's very slightly off occasionally, I don't think that'd be a huge deal... But yeah. Just looking for a little feedback before I commit one way or another.
Just wanted to come back here to post the results and close the loop. Overall, I was able to tune things and get things looking good. Here are the after pics https://imgur.com/gallery/Ogqr8lM
I did switch the order of the walls.
I printed the pressure advance test here https://forum.duet3d.com/topic/6698/pressure-advance-calibration/18 and adjusted accordingly. This made a nice improvement.
I lowered my print temp to 230. Might play around a little with this just to see.
I turned off combing. I did this more so because retraction on this extruder is tiny.
I also lowered my flow to 98%, lowered the speed of the walls to 60%, and turned on my cooling fan 30% after layer 3. For bridging I jumped the fan to 100%.
I've still got some slight ringing, but I'm going to tighten the belts a little and see how that plays out. They seem like maybe they are just a touch loose.
Just want to say thanks to @jens55 and @Phaedrux . Your tips definitely helped.
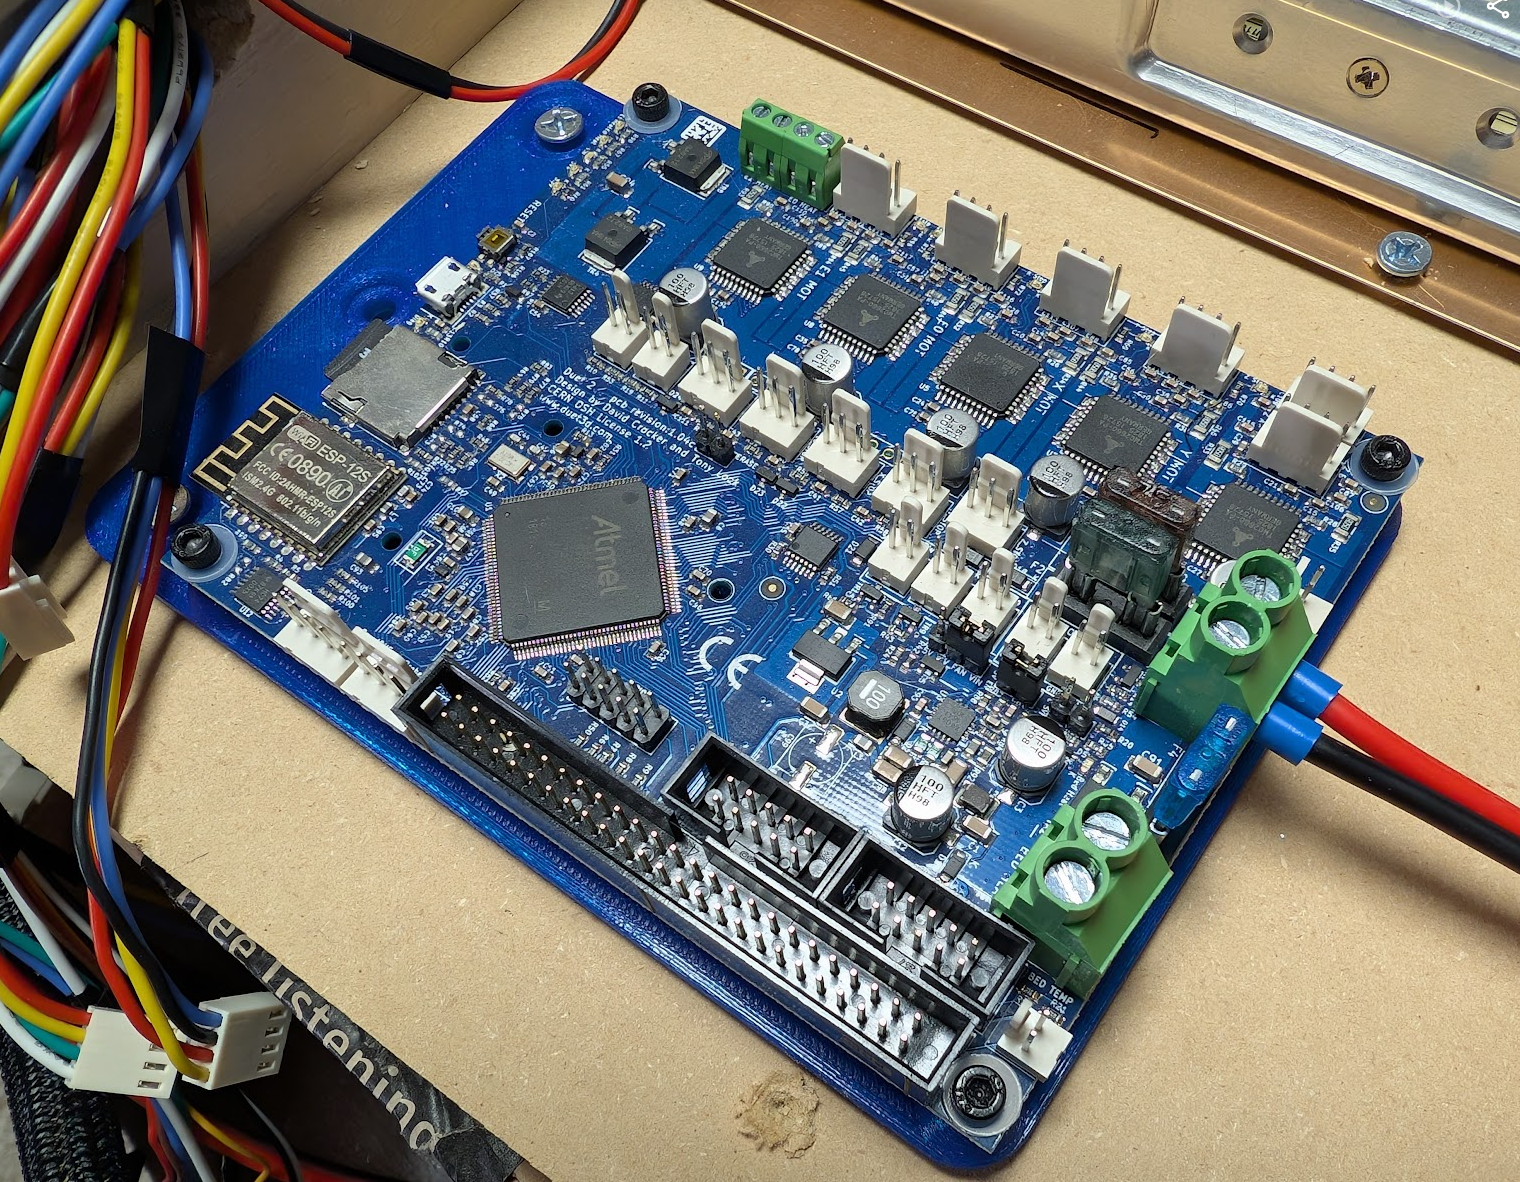
I recently gave my Wanhao Duplicator i3 Plus an overhaul. I upgraded the board to a Duet Wifi, rewired everything, and changed to a Hemera extruder. Many would say it wasn't worth it, but I learned a lot along the way which I love. My goal is to eventually go full ReDuplicator.
I was able to dial in PLA pretty quick and easy. Even pushed the speeds up to 100mm/s with decent results. A little ringing/ghosting that high. But I am stuck on PETG. I got some pretty iffy prints with the settings I used on my previous Micro Swiss all metal hot end. The cube dimensionally is good in both PLA and PETG so I imagine my axis steppers and esteps are calibrated ok.
I know I have to tune my bridging. The fan was completely off the whole time which I think lead to the mess when the ceiling went on the Benchy although it did surprisingly almost make a full recovery.
The main issue I'm not sure how to fix are the gaps along the X axis. It happens on the bottom and top layers on the cube but seems a bit more random in the Benchy. It's like it's retracting too early on layer changes maybe? I'm keeping the retraction lower as I've heard is best on the dual gear extruders like the Hemera. I had pressure advance off for these prints, and after poking around the forums, I feel like maybe that's where I've got issues. That and maybe still acceleration and jerk issues as I'm seeing the banding on the Y side even at 45mm/s for PETG.
Cura Print Settings
Layer Height: .2mm
Wall/Top/Bottom Thickness: .8mm
Top/Bottom Layers: 8
Infill: 20%
Infill Pattern: Concentric
Print Temp: 240
Build Plate: 75
Speed: 45 mm/s
Retraction Distance: .5mm
Retraction Speed: 30 mm/s
and my config.g
; Configuration file for Duet WiFi (firmware version 2.03)
; executed by the firmware on start-up
;
; generated by RepRapFirmware Configuration Tool v2.1.8 on Thu Mar 05 2020 15:48:10 GMT-0600 (Central Standard Time)
; General preferences
G90 ; send absolute coordinates...
M83 ; ...but relative extruder moves
M550 P"wanhao-di3" ; set printer name
; Network
M552 S1 ; enable network
M586 P0 S1 ; enable HTTP
M586 P1 S0 ; disable FTP
M586 P2 S0 ; disable Telnet
; Drives
M569 P0 S0 ; physical drive 0 goes backwards
M569 P1 S0 ; physical drive 1 goes backwards
M569 P2 S0 ; physical drive 2 goes backwards
M569 P3 S0 ; physical drive 3 goes backwards
M584 X0 Y1 Z2 E3 ; set drive mapping
M350 X128 Y128 Z128 E16 I0 ; configure microstepping without interpolation
M92 X632.71 Y633.66 Z3229.06 E397.09 ; set steps per mm
M566 X540.00 Y540.00 Z12.00 E120.00 ; set maximum instantaneous speed changes (mm/min)
M203 X12000.00 Y12000.00 Z1200.00 E3000.00 ; set maximum speeds (mm/min)
M201 X800.00 Y800.00 Z100.00 E5000.00 ; set accelerations (mm/s^2)
M906 X855 Y855 Z855 E855 I30 ; set motor currents (mA) and motor idle factor in per cent
M84 S30 ; Set idle timeout
;M572 D3 S0.025 ; enable pressure advance
; Axis Limits
M208 X-3 Y10 Z0 S1 ; set axis minima
M208 X200 Y200 Z180 S0 ; set axis maxima
; Endstops
M574 X1 Y1 Z1 S0 ; set active low and disabled endstops
; Z-Probe
M307 H3 A-1 C-1 D-1 ; disable heater on PWM channel for BLTouch
M558 P9 H5 F120 T6000 ; set Z probe type to bltouch and the dive height + speeds
G31 P25 X13 Y54 Z1.659 ; set Z probe trigger value, offset and trigger height
M557 X10:200 Y10:200 S40 ; define mesh grid
; Heaters
M305 P0 T100000 B3988 R4700 ; set thermistor + ADC parameters for heater 0
M143 H0 S120 ; set temperature limit for heater 0 to 120C
M305 P1 T100000 B4725 C7.060000e-8 ; set thermistor + ADC parameters for heater 1
M143 H1 S285 ; set temperature limit for heater 1 to 285C
; Fans
M106 P0 S0 I0 F500 H-1 ; set fan 0 value, PWM signal inversion and frequency. Thermostatic control is turned off
M106 P1 S0 I0 F500 H-1 ; set fan 1 value, PWM signal inversion and frequency. Thermostatic control is turned off
M106 P2 S0 I0 F500 H-1 ; set fan 2 value, PWM signal inversion and frequency. Thermostatic control is turned off
; Tools
M563 P0 S"E3D Hemera V6 .4" D0 H1 F0:1 ; define tool 0
G10 P0 X0 Y0 Z0 ; set tool 0 axis offsets
G10 P0 R0 S0 ; set initial tool 0 active and standby temperatures to 0C
; Miscellaneous
T0 ; select first tool
M501 ; for saving
I'm going to run through the post stickied here today with the tuning macros, but if anyone has any thoughts/insight/experience, I'd love to hear it. I feel like I'm capable of tweaking and adjusting to many of the more common issues, but this one is feeling slightly more advanced.
@droftarts said in Upgraded extruder, nozzle offset clarification.:
https://duet3d.dozuki.com/Wiki/Centering_the_bed_or_setting_the_bed_origin
Thanks for the link. So when would M206 be used?
I recently upgraded my extruder to an E3D Hemera. The extruder and nozzle are positioned differently from the previous setup. When I home the X axis now, the nozzle is now off the build plate by ~3mm (or -3mm X direction). And when I home the Y axis, the nozzle is about ~10mm into the build area (or +10mm Y direction).
I saw when defining the tool you can set an offset with the G10 command. I also watched a video of someone doing their extruder upgrade and using the M206 command to set the axis offset from the nozzle.
So my question is G10 or M206? And do I pass the offsets like they are (-3, 10) or do I reverse them? Maybe that's different depending on which of these two commands I use.
@chas2706 I know it's been a while, but if you didn't mind sharing your load and unload macros, that'd be great. The filament management, in my opinion, is a weak point of the interface.
I get what they were going for but it's a step too far. Simpler is better here.
I recently upgraded my Wanhao Duplicator i3 Plus to the Duet Wifi. I'm loving most of the options available to me and I feel like I've got my PLA dialed in.
One place I'm struggling is the filament system. I initially had to call the API to create the directory for filaments. That's fine. But then I can't seem to name filaments appropriately? I managed to get one in called PLA but if I try anything longer like InlandBluePETG it fails.
Operation failed (reason: err 1)
I have multiple PLA filaments I'd love to define, but also, they will all use pretty much the same load/unload macros. I'm not sure if I'm missing something obvious? I'm guessing I must be?
And speaking of those macros, I initially grabbed the ones off of the site, but running the extruder at 3000mm/min to load and unload seemed real fast. Does anyone have a better macro set up they'd like to share? For now I toned it down and it's working, but I don't love it. I liked the default Wanhao behavior of waiting for the end to get up to temp, then running the extruder slowly until I pushed the button to stop it.
I must have had a bad connection. I re-did the connector on one side and we're good.
I've got my board wired into my printer (wanhao duplicator i3 plus) and I'm read to calibrate my esteps. I created a filament and a load/unload macro.
When I go to load filament, it makes a terrible noise and gives me this warning.
motor phase A may be disconnected reported by driver(s) 3
Here's my Drives portion of my config.g
; Drives
M569 P0 S0 ; physical drive 0 goes backwards
M569 P1 S0 ; physical drive 1 goes backwards
M569 P2 S0 ; physical drive 2 goes backwards
M569 P3 S1 ; physical drive 3 goes forwards
M584 X0 Y1 Z2 E3 ; set drive mapping
M350 X128 Y128 Z128 E16 I0 ; configure microstepping without interpolation
M92 X640.00 Y640.00 Z3200.00 E100.00 ; set steps per mm
M566 X900.00 Y900.00 Z12.00 E120.00 ; set maximum instantaneous speed changes (mm/min)
M203 X12000.00 Y12000.00 Z1200.00 E3000.00 ; set maximum speeds (mm/min)
M201 X1000.00 Y1000.00 Z100.00 E5000.00 ; set accelerations (mm/s^2)
M906 X855 Y855 Z855 E855 I30 ; set motor currents (mA) and motor idle factor in per cent
M84 S30 ; Set idle timeout
And I just copied and pasted the load/unload and adjusted values. Here's the load
M291 P"Please wait while the nozzle is being heated up" R"Loading PLA" T5 ; Display message
G10 S190 ; Set current tool temperature to 190C
M116 ; Wait for the temperatures to be reached
M291 P"Feeding filament..." R"Loading PLA" T5 ; Display new message
G1 E10 F600 ; Feed 10mm of filament at 600mm/min
G1 E470 F3000 ; Feed 470mm of filament at 3000mm/min
G1 E20 F300 ; Feed 20mm of filament at 300mm/min
G4 P1000 ; Wait one second
G1 E-10 F1800 ; Retract 10mm of filament at 1800mm/min
M400 ; Wait for moves to complete
M292 ; Hide the message
G10 S0 ; Turn off the heater again
Looks like some other users have maybe had connection issues, so I'll go back and check the connections. Is that the most likely?
Thanks for the link and explanation. That's a really cool feature, but I'm not sure if It's something I want to implement yet. My end goal here is to get things back to working well, then to tear it apart again and convert it to the ReDuplicator.
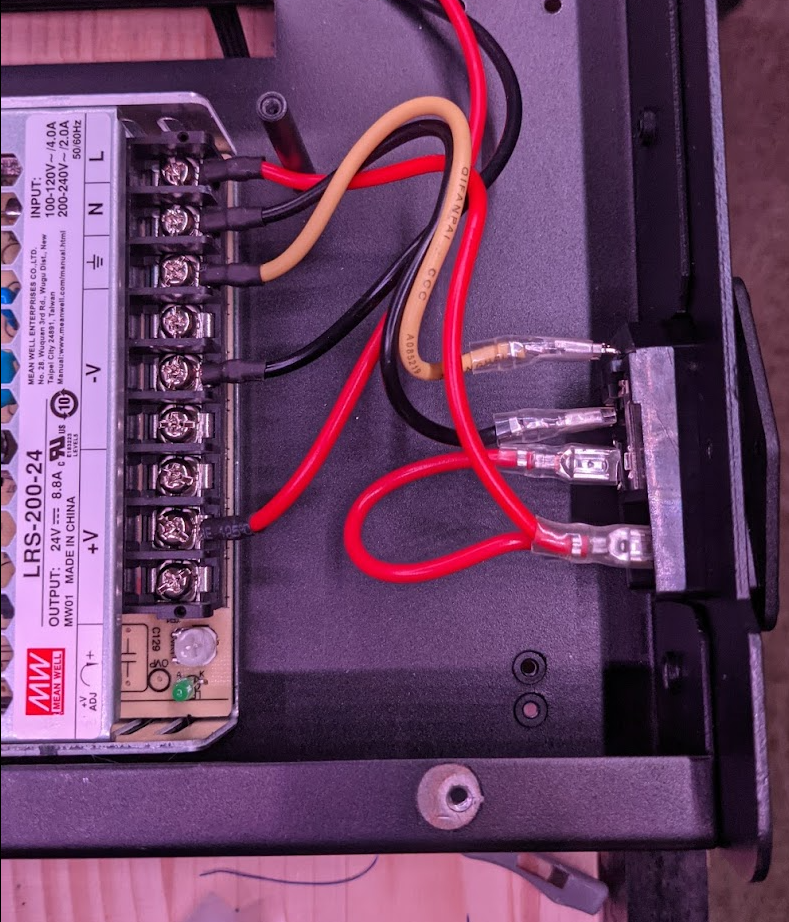
Just re-wired my Wanhao Duplicator i3 Plus to use my Duet Wifi board and a BLTouch sensor.
Things seem to be going fine so far which is great.
I'm configuring my BLTouch sensor and I'm following the guide on https://betrue3d.dk/bltouch-on-duet-wifi-configuratio-and-usage/ . I'm at the point where I've adjusted my homing scripts to use G30. I ran through a few times and manually adjusted my screws to get it fairly level. Looks like the important bit is then making sure the height map is loaded in my sliced Gcode, correct?
Now I'm at the point where the author begins talking about multiple Z motors which my printer does have... It seems like this is trying to have the printer do some auto bed leveling by individually controlling each Z motor? Is that really necessary? It feels like this section got tacked on without extra detail of the previous bits. If it is necessary, does anyone have a clearer guide on doing this for a "tower" style printer ie bed moves along y and head moves for x and z?
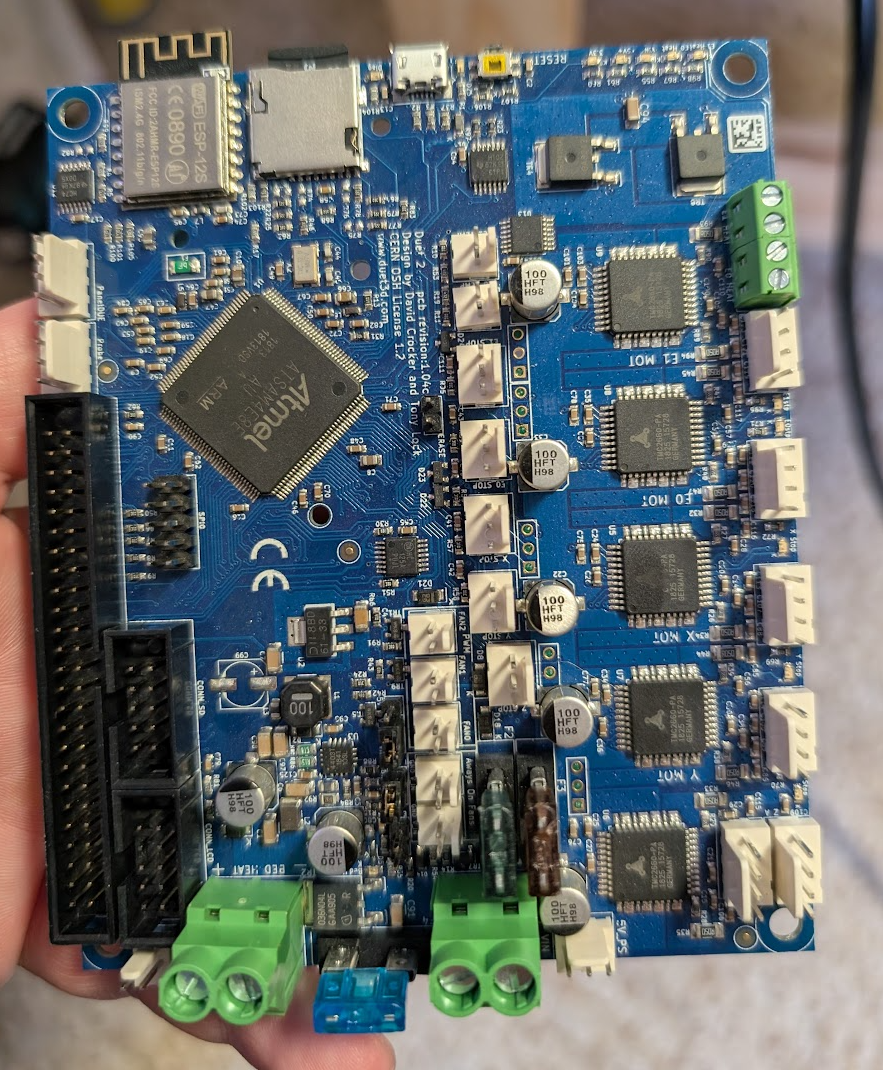
Got my Duet WiFi this week and finally getting around to attempting to upgrade my old Wanhao Duplicator i3 Plus (technically it's a Power Spec or whatever Microcenters branded version is).
Everything seems fairly straightforward which is great. I've actually been re-wiring the whole thing while I'm at it. I've been taking some notes along the way and I'll probably post a write-up later as there's not much out there on doing this on the i3+. Right now I'm swapping the board and adding BLTouch, but the ultimate goal is to upgrade further to the ReDuplicator plans and hopefully go from the Microswiss all metal hotend and extruder to maybe a Flexion or something.
Anywho, I just wanted to clarify a few things.
I've been running the Opticooler for my hot end (similar to Ciii cooler) which uses two 24v blowers. I also ordered a Noctua fan for the extruder cooling (original fan is noisy on startup). That fan is just always on if the machine is on. But the Noctua is 12v. A friend has extra buck down converters. Since my print cooling fans are 24v, I'm assuming I'm best off wiring the buck in between the Noctua fan and the board, correct?
I'm using my existing endstops. They are two wire. I wired them to the outside pins in the 3 pin connector. That's correct right? I am fairly positive I read that but I was trying to find where I read it and I didn't see it again (could have just totally missed it).
And if anyone has done this same printer and has any tips or just any other tips in general I'd love to hear them. If all goes well with this printer I'll be looking to upgrade my MPCNC board to one of these too!