@dc42 many thank's!
Posts made by paulg4h
-
MQTT integration in 3.5.0-beta.4_101 working not as shouldposted in Beta Firmware
Hello,
first thank's to bring MQTT into the RRF 3.5 beta firmware, I tried it and it works only limited and not as MQTT could.
Current:
- connection during config.g and setup of the one usable topic to publish before connecting to the broker.
- publish from within GCode using M118 P6 to this topic
- no LWT*
- when an other topic is needed, disconnect mwtt set the topic and reconnect.
Default:
- while connecting set a LWT*
- publish with M118 P6 T"devices/rrf-printer/wahtever" S"payload" where T is the topic.
With this changes the usage of MQTT will be improved a lot, as example:
- send values like temperatures, status details with daemon.g
- get the device state when powered off (LWT)
- use any other MQTT device as example switch a shelly / tasmota device from within GCode (macro or wathever)
*LWT --> Last will and testament, this is used to tell the broker what to do when the client is disconnected. As Example set the dopic devices/rrf-printer/online with the payload false. And after the connection set the topic devices/rrf-printer/online with payload true will to the following.
When the printer goes online it sets the topic devices/rrf-printer/online to true and when you power it off the broker sets the devices/rrf-printer/onnline topic to false after 15 to 30 seconds. So you will see when the devices is offline, eventbased without ping or others.Many thank's again for all your effort and hard work!
-
RE: Home Assistant Integrationposted in Third-party software
Many thank's for your work!
Hopefully we can expect a update do see the RRF 3.5 working too.
-
RE: Testing servomotors in my printer... again.posted in My Duet controlled machine
@mrehorstdmd
After adding a level shifter from 3.3 to 5V the servo now works, even when there is no GND connection between the board and servo PSUJay point me to your reverse protection circuit, but I am based in Austria and need to build that at my own for only my four servos which would cost the same as four 36V 154W MeanWell PSU's which I use to drive them on my KillerBee.
-
RE: Testing servomotors in my printer... again.posted in My Duet controlled machine
@mrehorstdmd manny thank's for your reply!
I will test that within the next days and come back to you!
-
RE: Testing servomotors in my printer... again.posted in My Duet controlled machine
@mrehorstdmd Hello,
I try now to wire up a JMC iHSV57 Servo to an RRF board, maybe you are so kind and help me to wire / set it right?this are the axis config line:
M569 P0 S0 R1 T4.0:5.0:6.0:11.0 ; physical drive 0 X goes backwardsThe board is sourced with 24V, the Servo with 30V.
Wired on the Servo to the board are
ENA+ > ENA
DIR+ > DIR
PUL+ > STP
ENA- > GND
DIR- > GND
PUL- > GNDGND of the servo input is also wired to the signal GND
The servo just flashes in one second interval infinite, the JMC 1.7.6 sw is working either but I have no clue which parameter needs to be set either in the servo or RRF to make it working.
Many thank's in advance for all your support!
-
RE: M291 S3 Z1 broke in RC2posted in Beta Firmware
@chrishamm tried your fix --> some of the dial buttons are not functional all the time!
After homing Z the nozle is positioned at 5mm and the move down Z-0.05 works one time only and then the Z-0.05, Z-0.5, Z-5 are not working but Z-25 works
--> my bed to have a nice mark now!
-
Red laser diode to align worksheetposted in Laser Cutters
To align the worksheet exactly I installed and red laser diode parallel to the laser beam after the last mirror.
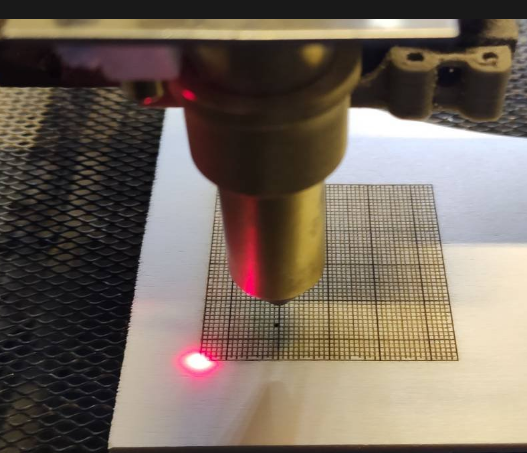
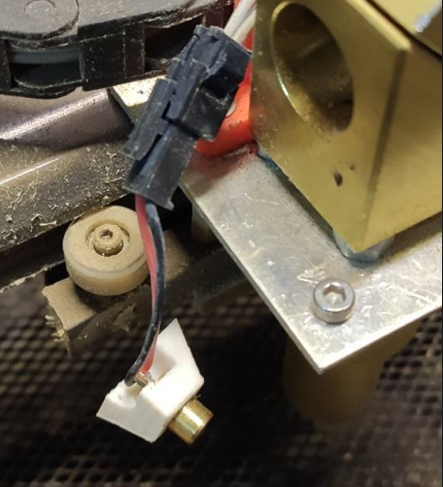
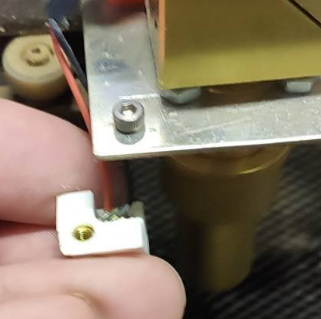
The wiring was easy, I just use an available fan2 connector and the 5V my BTT SKR 2 board offers and connect this directly to the laser diode.
To activate the pin I add in config.g
; Tools --> red dot Laser
M950 F2 C"fan2" Q100                             ; create red dot laser as 2 on pin fan2
M106 P2 S0 C"RED Laser" H-1                 ; set red dot laser to off on startup --> controlled by macros
To use it I create two macros, first LASER ON with the following content:
G10 L2 X0 Y0                        ; Reset workplace coordinates to zero

; Move laser head by red laser offset
G1 F5000 X{move.axes[0].machinePosition + 14.5} Y{move.axes[1].machinePosition + 8.5}

M106 P2 S0.7                        ; switch on red laser diode to 70% brightness
and the LASER OFF which contains:
; move main laser headto current red laser position
G1 F5000 X{move.axes[0].machinePosition - 14.5} Y{move.axes[1].machinePosition - 8.5}

; set the current position as X and Y zero position
G10 L20 P1 X0 Y0

M118 P3 S"Workplace zero set"

; switch of red laser
M106 P2 S0
To find the right values for your offset here is an SVG which you can use to engrave a 50x50mm raster:
To get your values just engrave the raster and then run LASER ON macro, place the red dot in direction where your ZERO is configured (mine is front left) and then fire your laser, then read the offset and change the values in LASER ON and LASER OFF macro.
Hopefully someone else find this feature useful too
-
RE: Firmware request - Laser mode "frame"posted in Firmware wishlist
@dc42 sorry to bring up this rather old topic, but since fast laser engraving is now possible this feature is an other must have for using RRF on laser cutters.
Please include this in the next release.
Many thank's!
-
RE: Ghosting laser while rasteringposted in Laser Cutters
@o_lampe no, I am not use M593 currently (https://duet3d.dozuki.com/Wiki/M593)
Would this improve it also?
-
RE: Ghosting laser while rasteringposted in Laser Cutters
I now also do an engraving test with an picture I found in Internet, the speed limit for the SKR 2 so far seams to be 250mm/s, at 300mm/s the head stops in the middle of an move and at more than that it either lost his reference and hit in my case the right machine limits.
The first 10mm of engraving works as expected even at 500mm/s but then it stops, so this seams for me some sort of CPU power / cache / code issue.
Maybe @dc42 there is some chance to cleanup / improve the code for laser usage beyond the proof of @gloomyandy s test version?
But at 250mm/s I get this engraving quality which looks great for me:

-
RE: Ghosting laser while rasteringposted in Laser Cutters
Today I get an test firmware for my BigtreeTech SKR 2 board to improve the raster engraving quality and speed dramatically!
This is on trotec laser "plastic" aluminium / black 1.6mm
The 500mm/s made with the test firmware and the others below with the stock firmware https://github.com/gloomyandy/RepRapFirmware/releases/tag/v3.4.0beta5_1
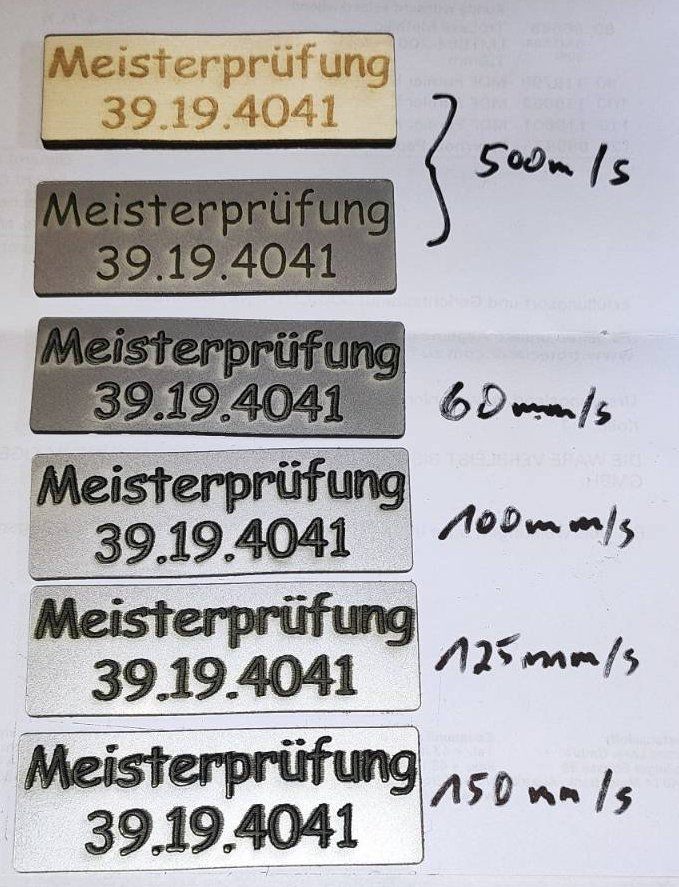
With default firmware and 150mm/s on an 70 x 23 mm size work sheet I do get such results:
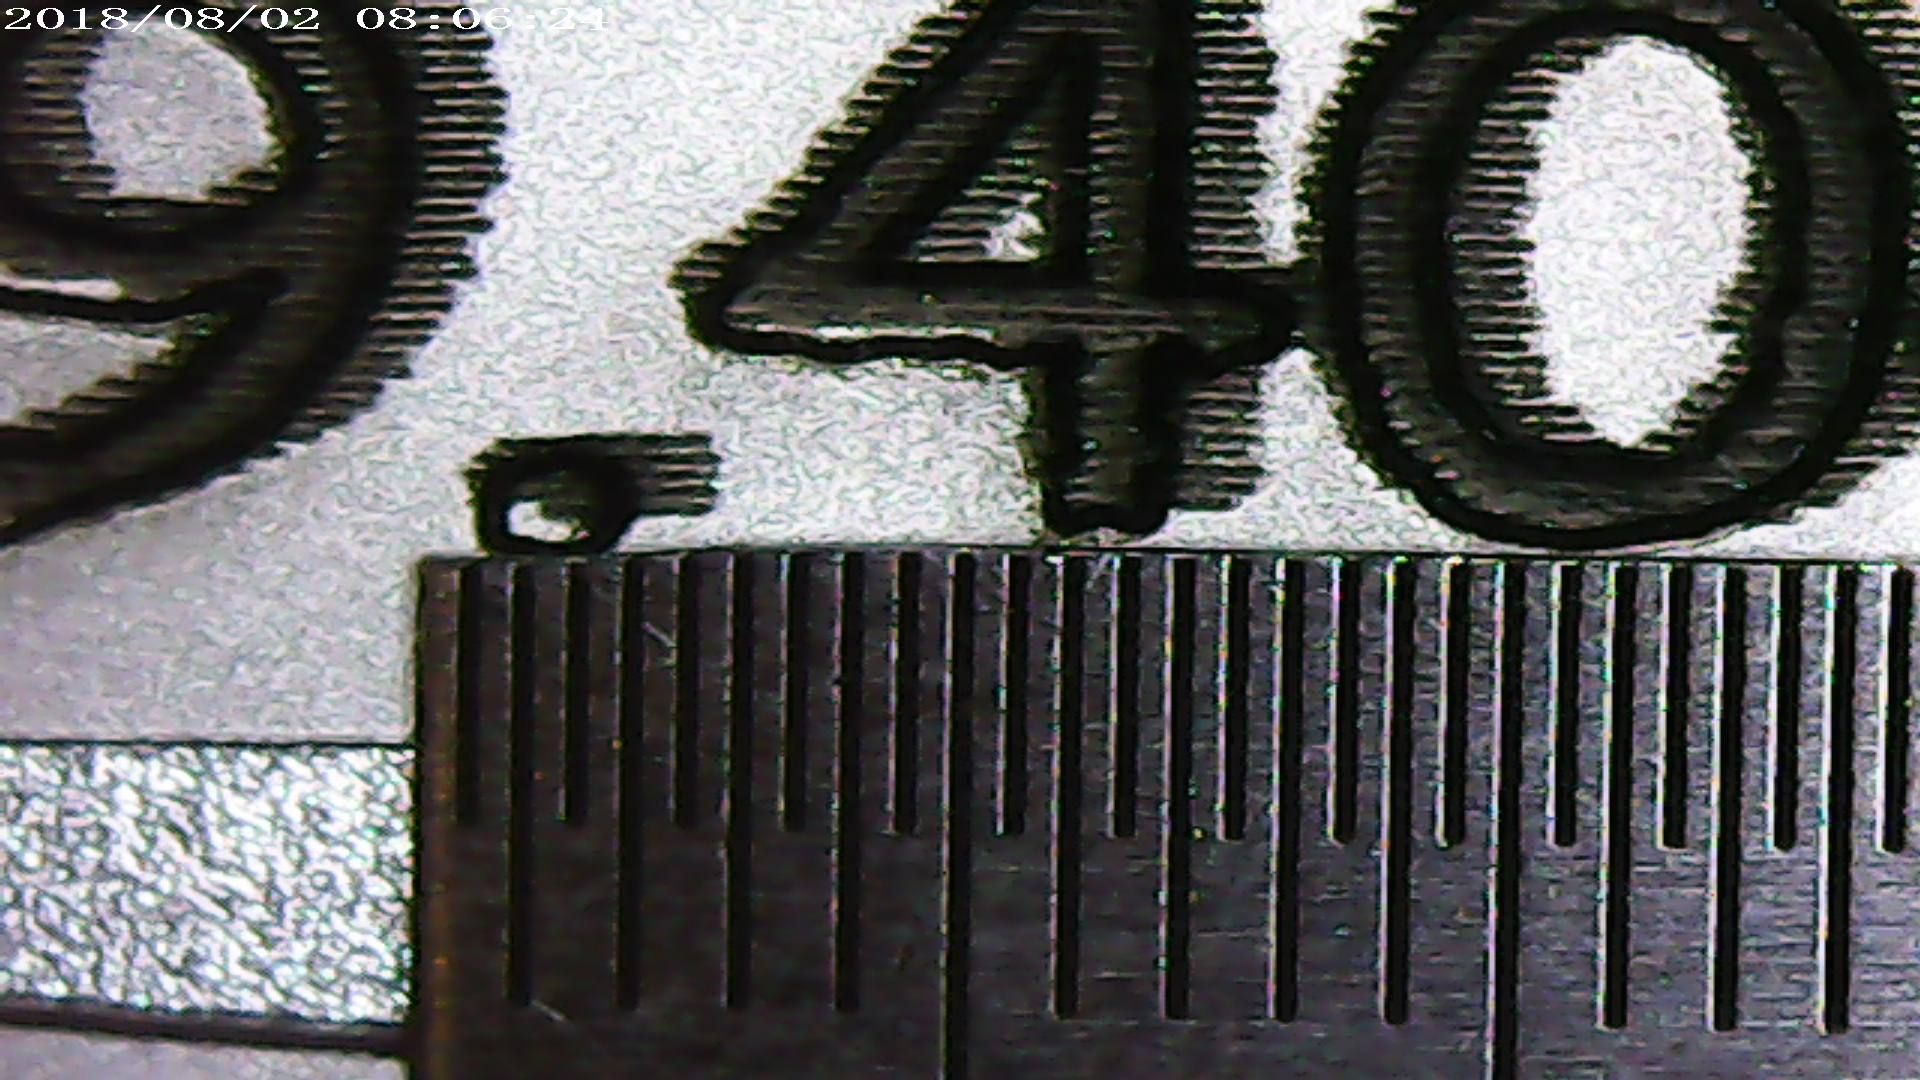
(each vertical line of the ruler is 0.5mm)this are the lightburn settings for that:
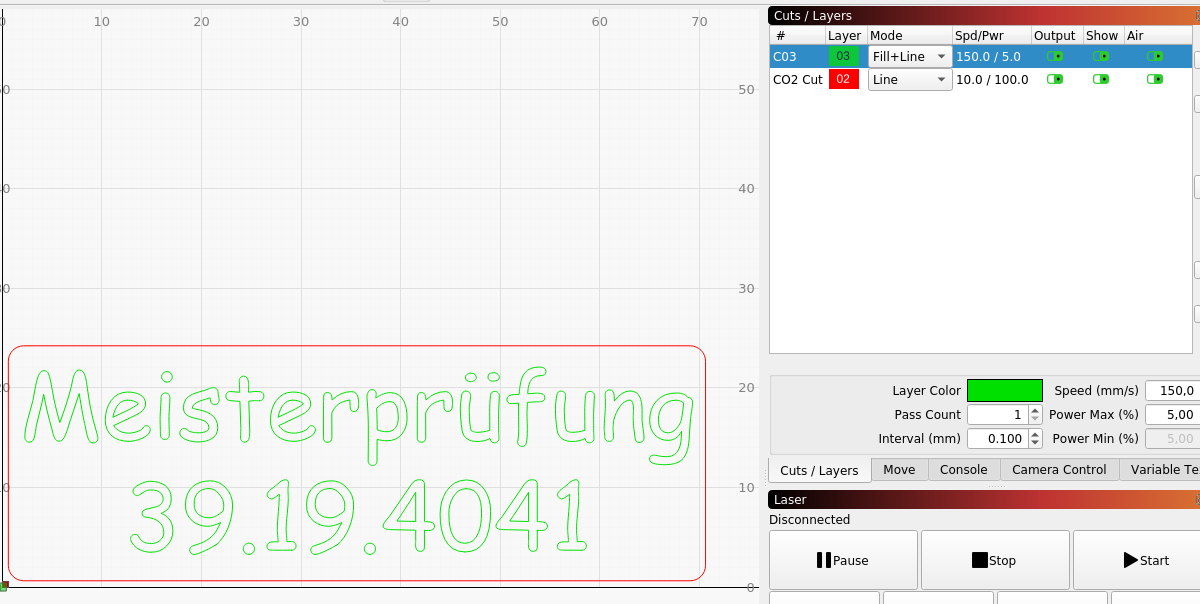
with the test firmware and at the speed of 500mm/s and changing from LINE+FILL to FILL only as increasing the laser power I get this now:

Here are the lightburn setting for that:
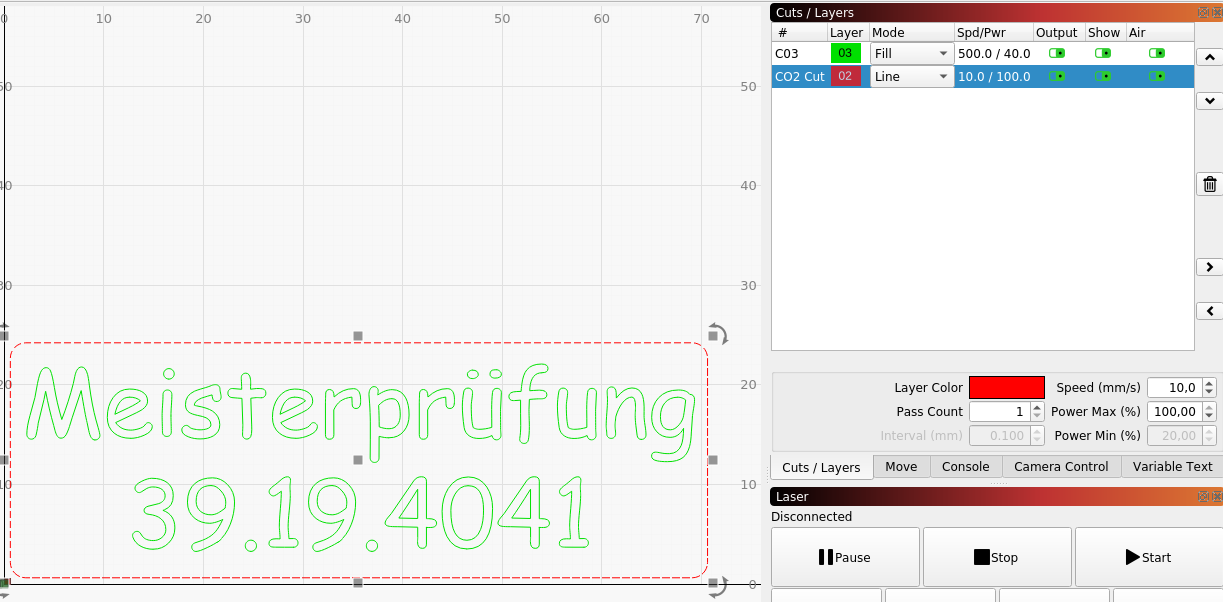
So hopefully this major improvement made by @gloomyandy will be available in the future to the RRF release at least when it is in laser mode!
-
RE: Ghosting laser while rasteringposted in Laser Cutters
I get the Information that the SKR 1.4T board with his LPC chip do not have a hardware PWM just Software PWM which can not handle more than a few hundred Hz, so I changed the 1.4 by an SKR 2 with n STM chip and now I can run the laser with 500 hz and get this quality when I connect the laser to the bed mos fet which is also software driven:
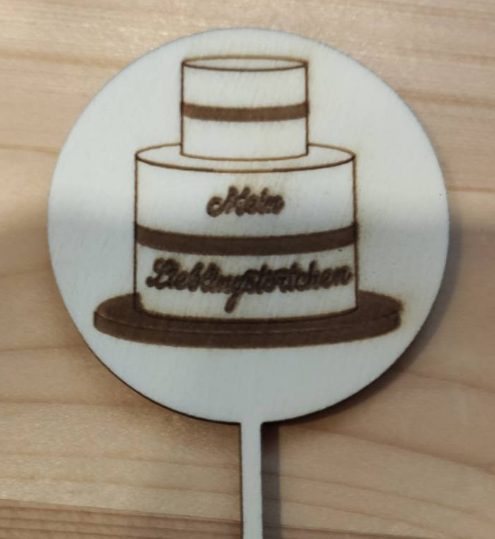
After reducing the Laser power in Lightburn it looks like:
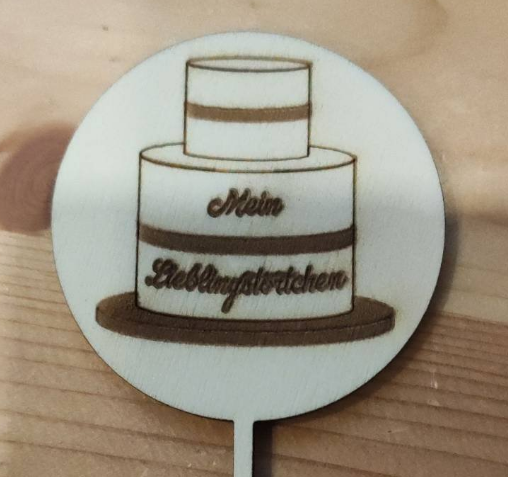
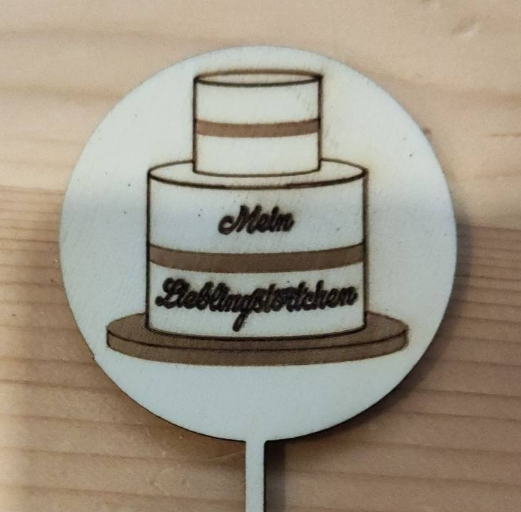
After changing the laser connection from bed mos fet to the e1heat mos fet which is hardware PWM driven I was able to revert the laser settings to 5kHz and got this result after reducing the laser power again:
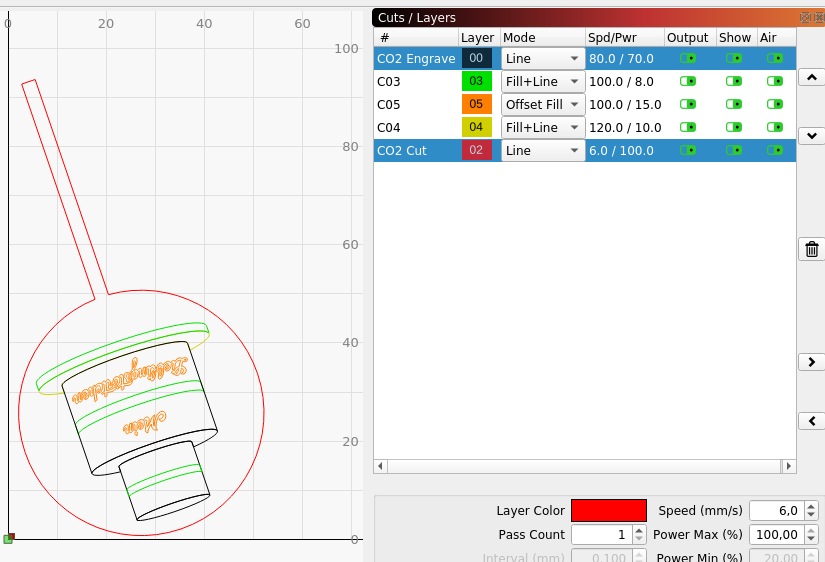
This are my Lightburn settings for the result above:
-
RE: Preview version of CNC optimized DWC.posted in CNC
@sindarius said in Preview version of CNC optimized DWC.:
@paulg4h let me take a look but I imagine that should not be a problem.
Many thanks again!
With the latest Version 3.3.0-CNC07 the Temperature and Flow are now shown in DWC!

-
RE: Ghosting laser while rasteringposted in Laser Cutters
@dc42 now I try a lot to get usable raster engraving with RRF 3.3 connected to the bed mos fet of an SKR 1.4T board
Here are my config.g snipped:
;############## Laser Settings #########################
M452 C"bed" R255 S1 F100 ; laser uses bed pin,  PWM frequency 100Hz
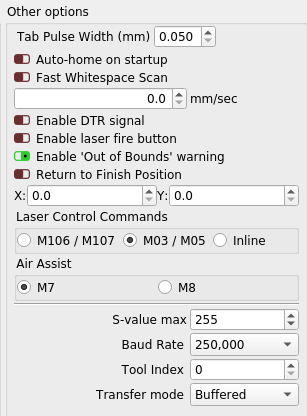
I use Lightburn to create the Gcode with this settings:
Here you can see the same gcode with different laser frequency settings:

I also try to change the M05 in GCode by search and Replace with M03 S0 but no change.
What can I do get the quality of letters as shown with 100 and the area engraving quality like 500hz?
-
RE: Preview version of CNC optimized DWC.posted in CNC
@sindarius is it possible to show in LASER and CNC Mode in the sensors area as marked below also temperature values?
I do have a flow meter which are configured as fan rpm input and a thermistor to get the water flow and temperature.
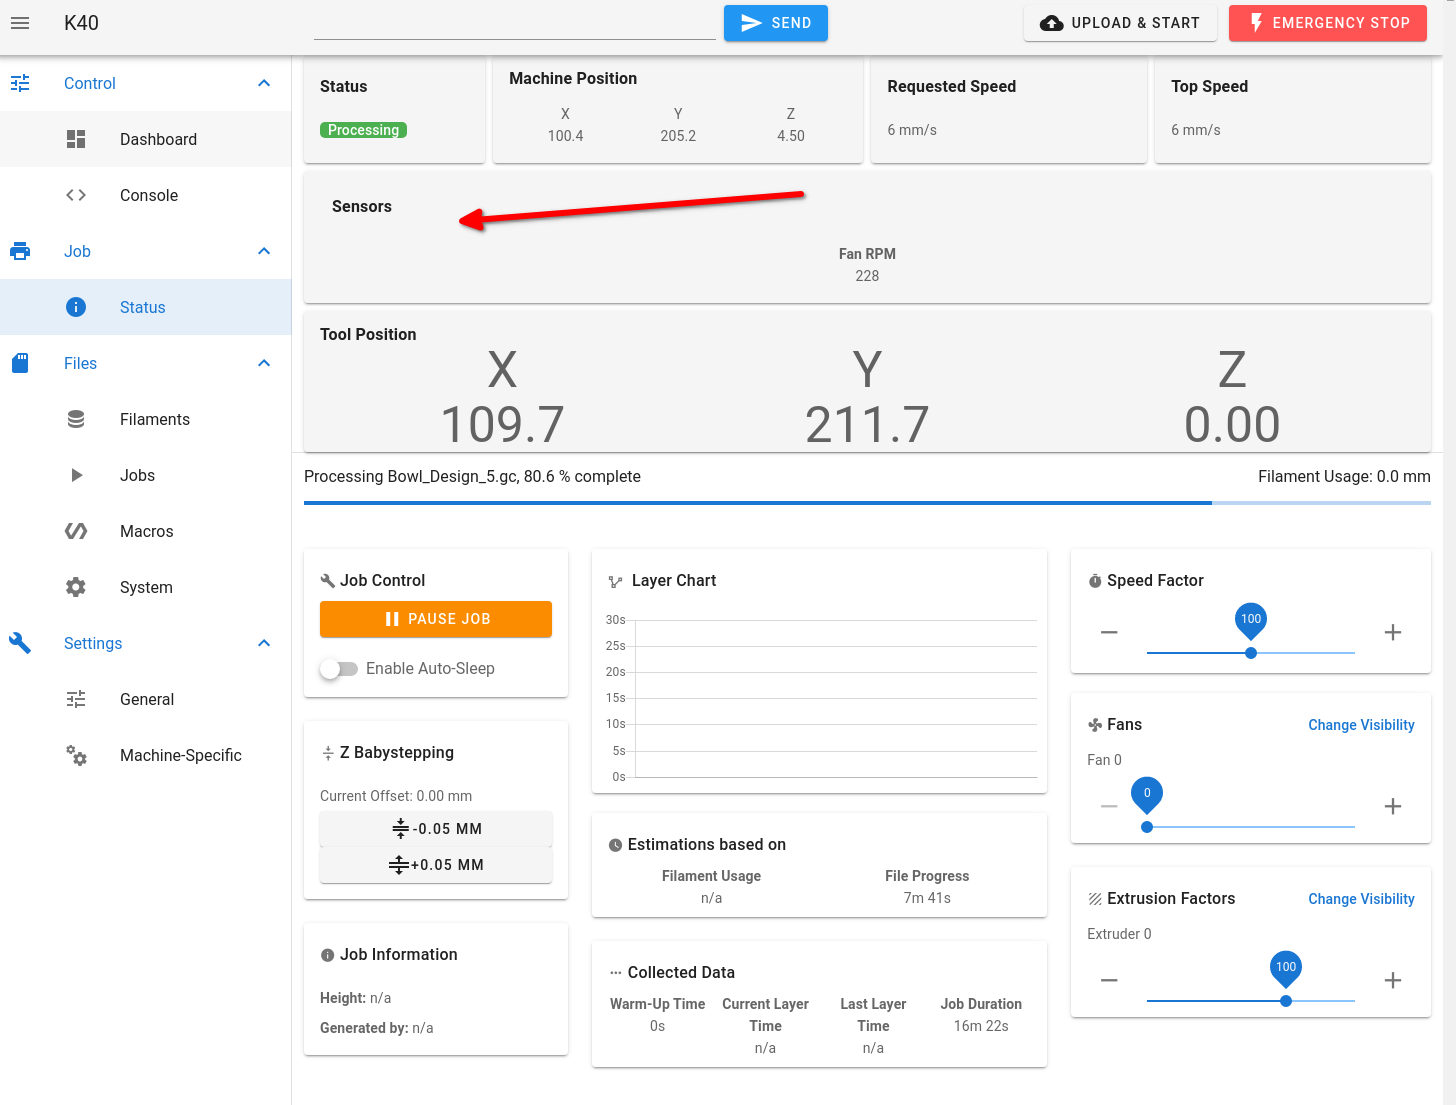
Maybe it is easy to show all analog sensor values, here are mine in Object browser:
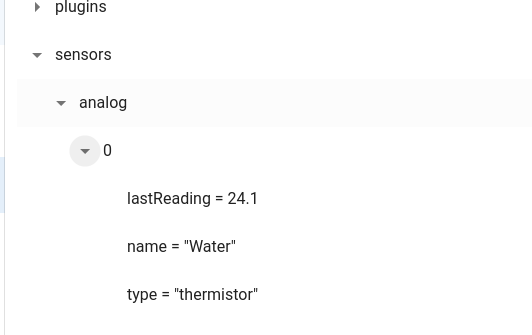
Many thank's for your support!
-
RE: Enable Workplace in LASER modeposted in Laser Cutters
I grab the latest from here:
https://github.com/Duet3D/DWC-CNC/releasesAwesome!
You dit a great job!
-
RE: Enable Workplace in LASER modeposted in Laser Cutters
@paulg4h the workouround which "solves" this issue for me are
create a macro like G10 with the following content:
G10 L2 X{move.axes[0].machinePosition} Y{move.axes[1].machinePosition}Then position the laser on the worksheet zero and call it with DWC or Display.
-
Enable Workplace in LASER modeposted in Laser Cutters
Hello,
I am using my Co2 Laser with RRF and DWC (ESP), all works perfectly beside one small issue. When I like to cut a part from an already used worksheet I need to set the X and Y zero with G92 and then it happens that the Laser moves outside machine boundaries and hits the end of the axes...
So it would be perfect when the workplace options from CNC mode are shown in DWC also in LASER mode.
Many thank's!
-
RE: Connect a water flow sensor --> will M591 P7 work in Laser mode?posted in Laser Cutters
Many thank's I updated today and now the RPM of the flow sensor is working perfectly without the variables!