First Layer and Extrusion Problems
-
@CaLviNx


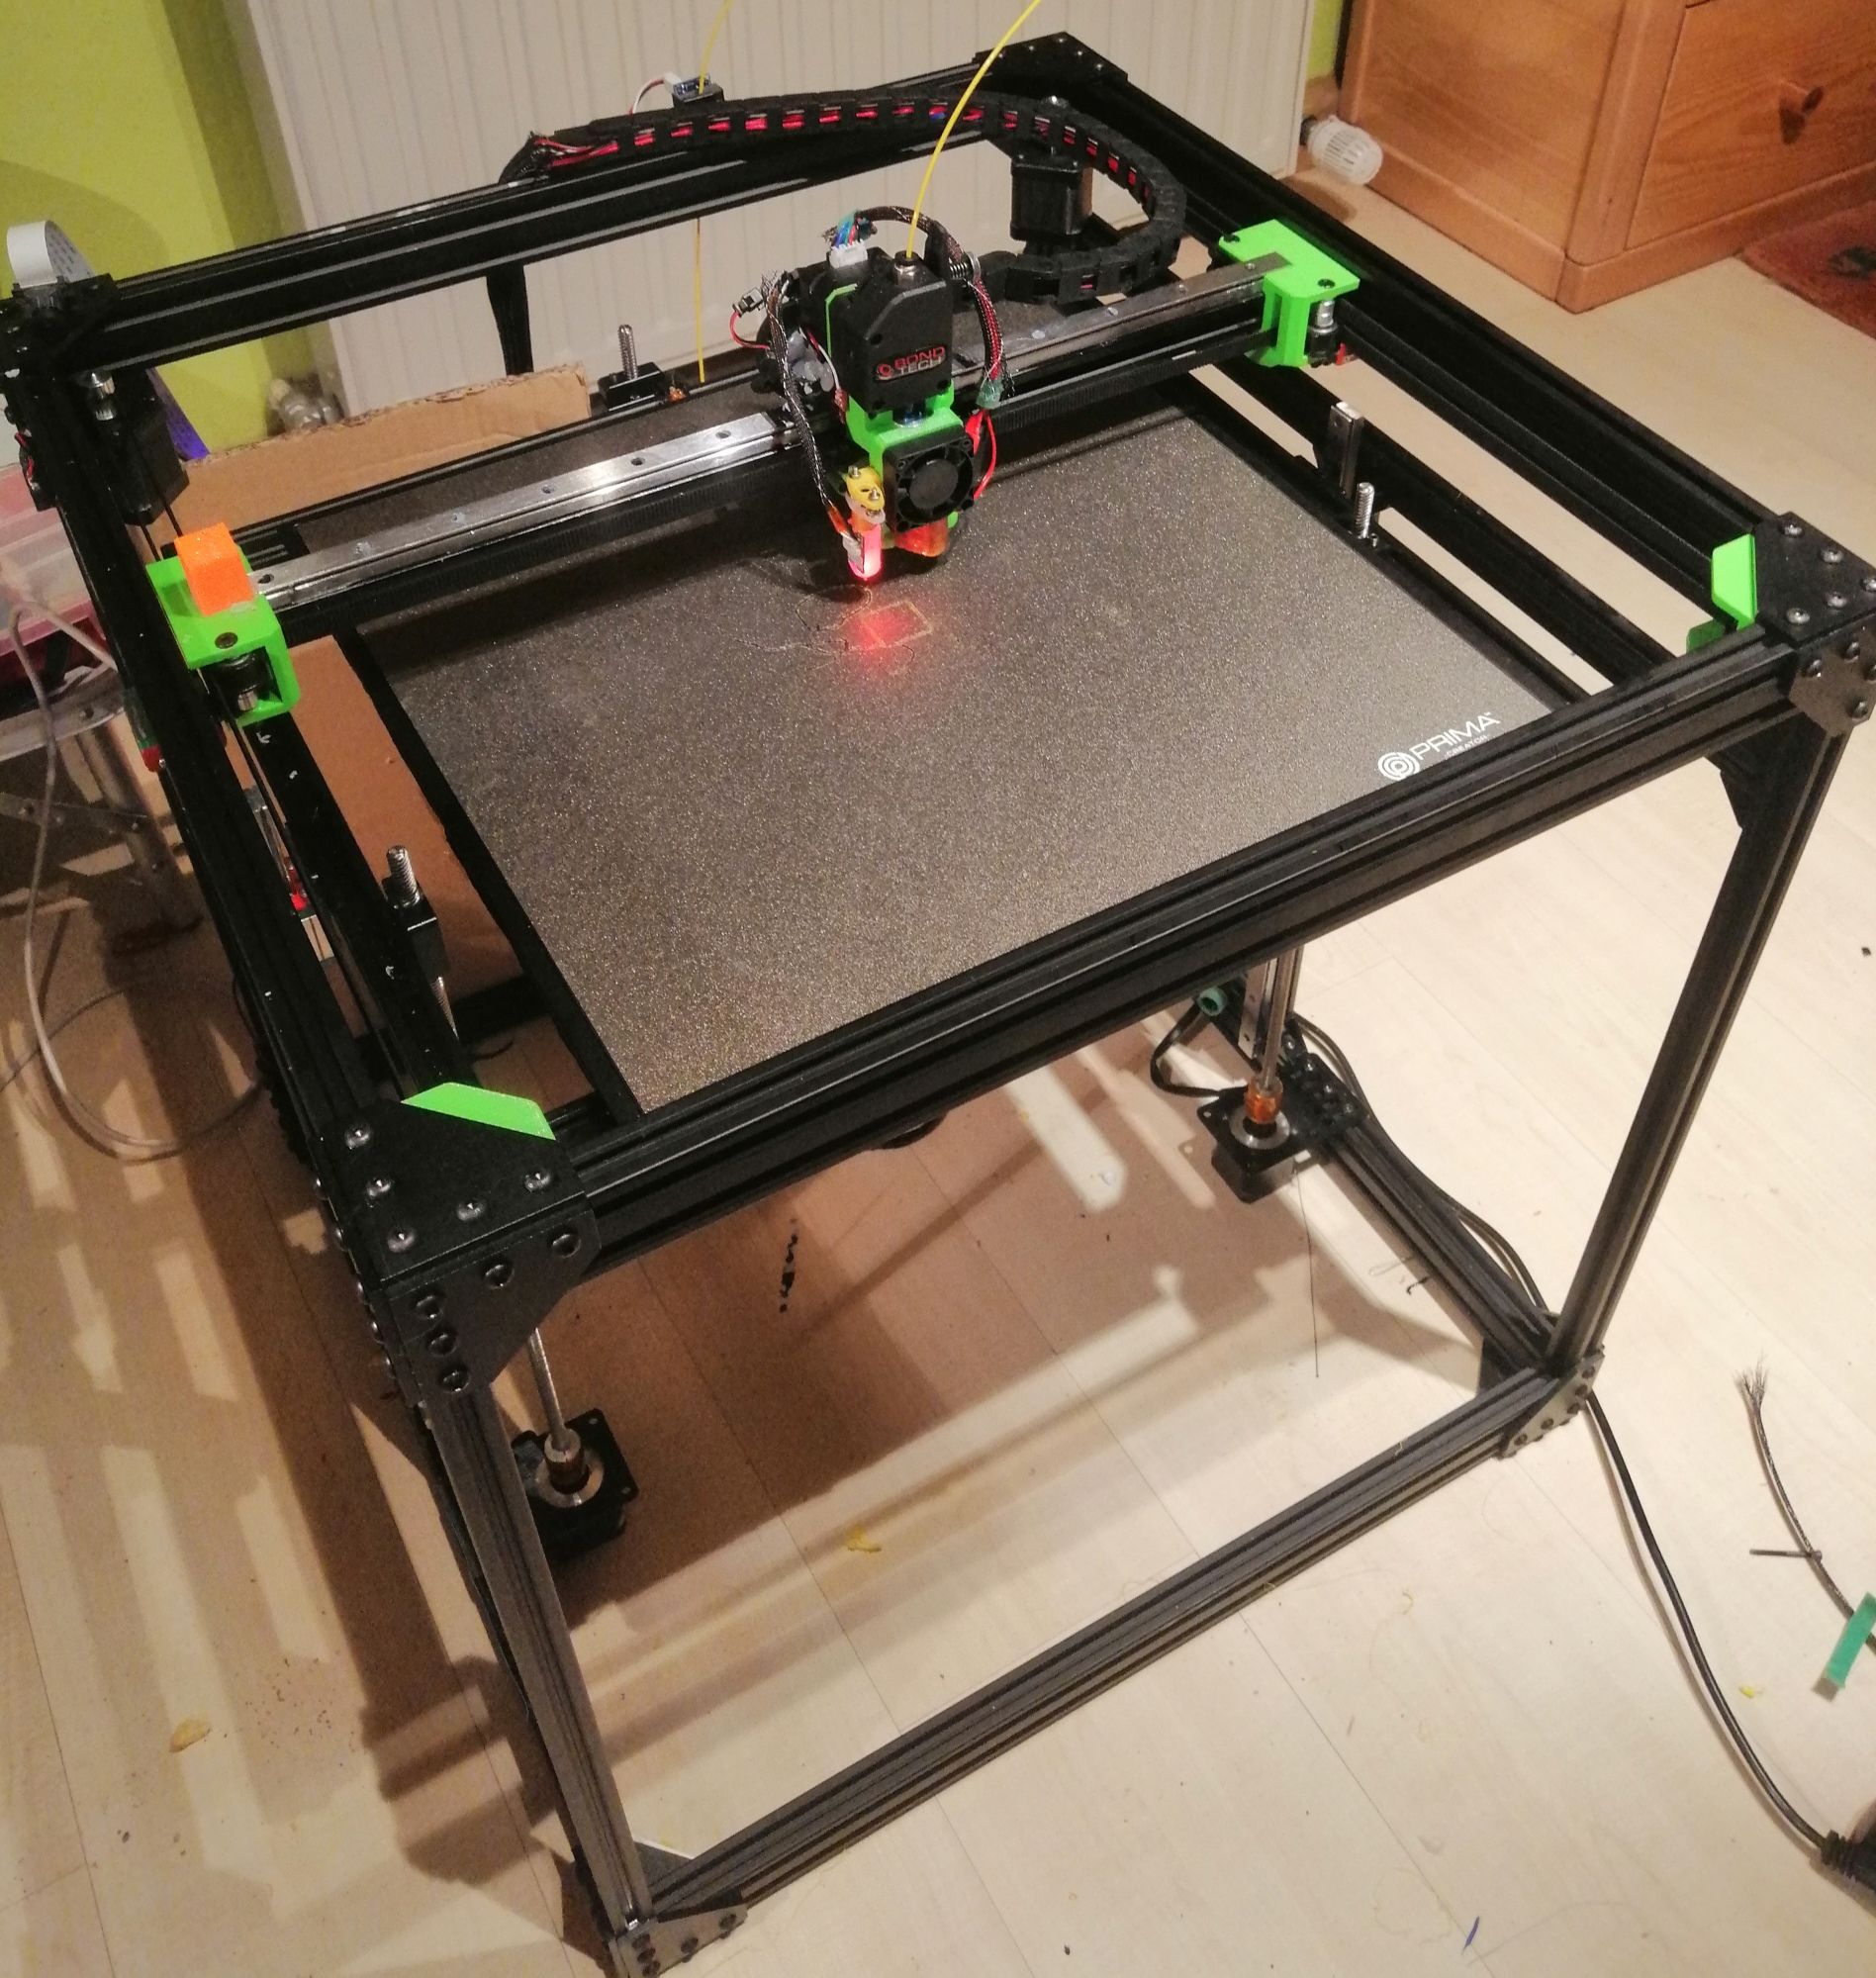
My Printer is a Ratrig VCore Pro Kit with the EasyMod and EVA Carriage.
I startet my journey into 3d printing around 4 weeks ago with Information gathering etc...
... And 4 days ago, I finished the build. -
if it was me I would firstly tension the bed to bed frame springs, then measure them and make they all the same height, perpendicular to the bed frame.
Then I would home all with the final homing of Z axis taking place with the probe located at the bed centre.
Then I would have the printer carry out a G32 (more than once) NOTHING else, and allow it to "level" the bed/frame using the three lead screws, and allow it to apply those corrections .
Then carry out a single G30 probing at the centre of the bed to re-establish the datum point.
Then finally carry out a G29 and see what it comes up with.
You need to remember level doesnt mean flat..... and dont get too hung up on the graphic look at the amount of deviation you have.
how many linear rails does the z axis run on ?
-
@CaLviNx Ok, i will test this in the morning.
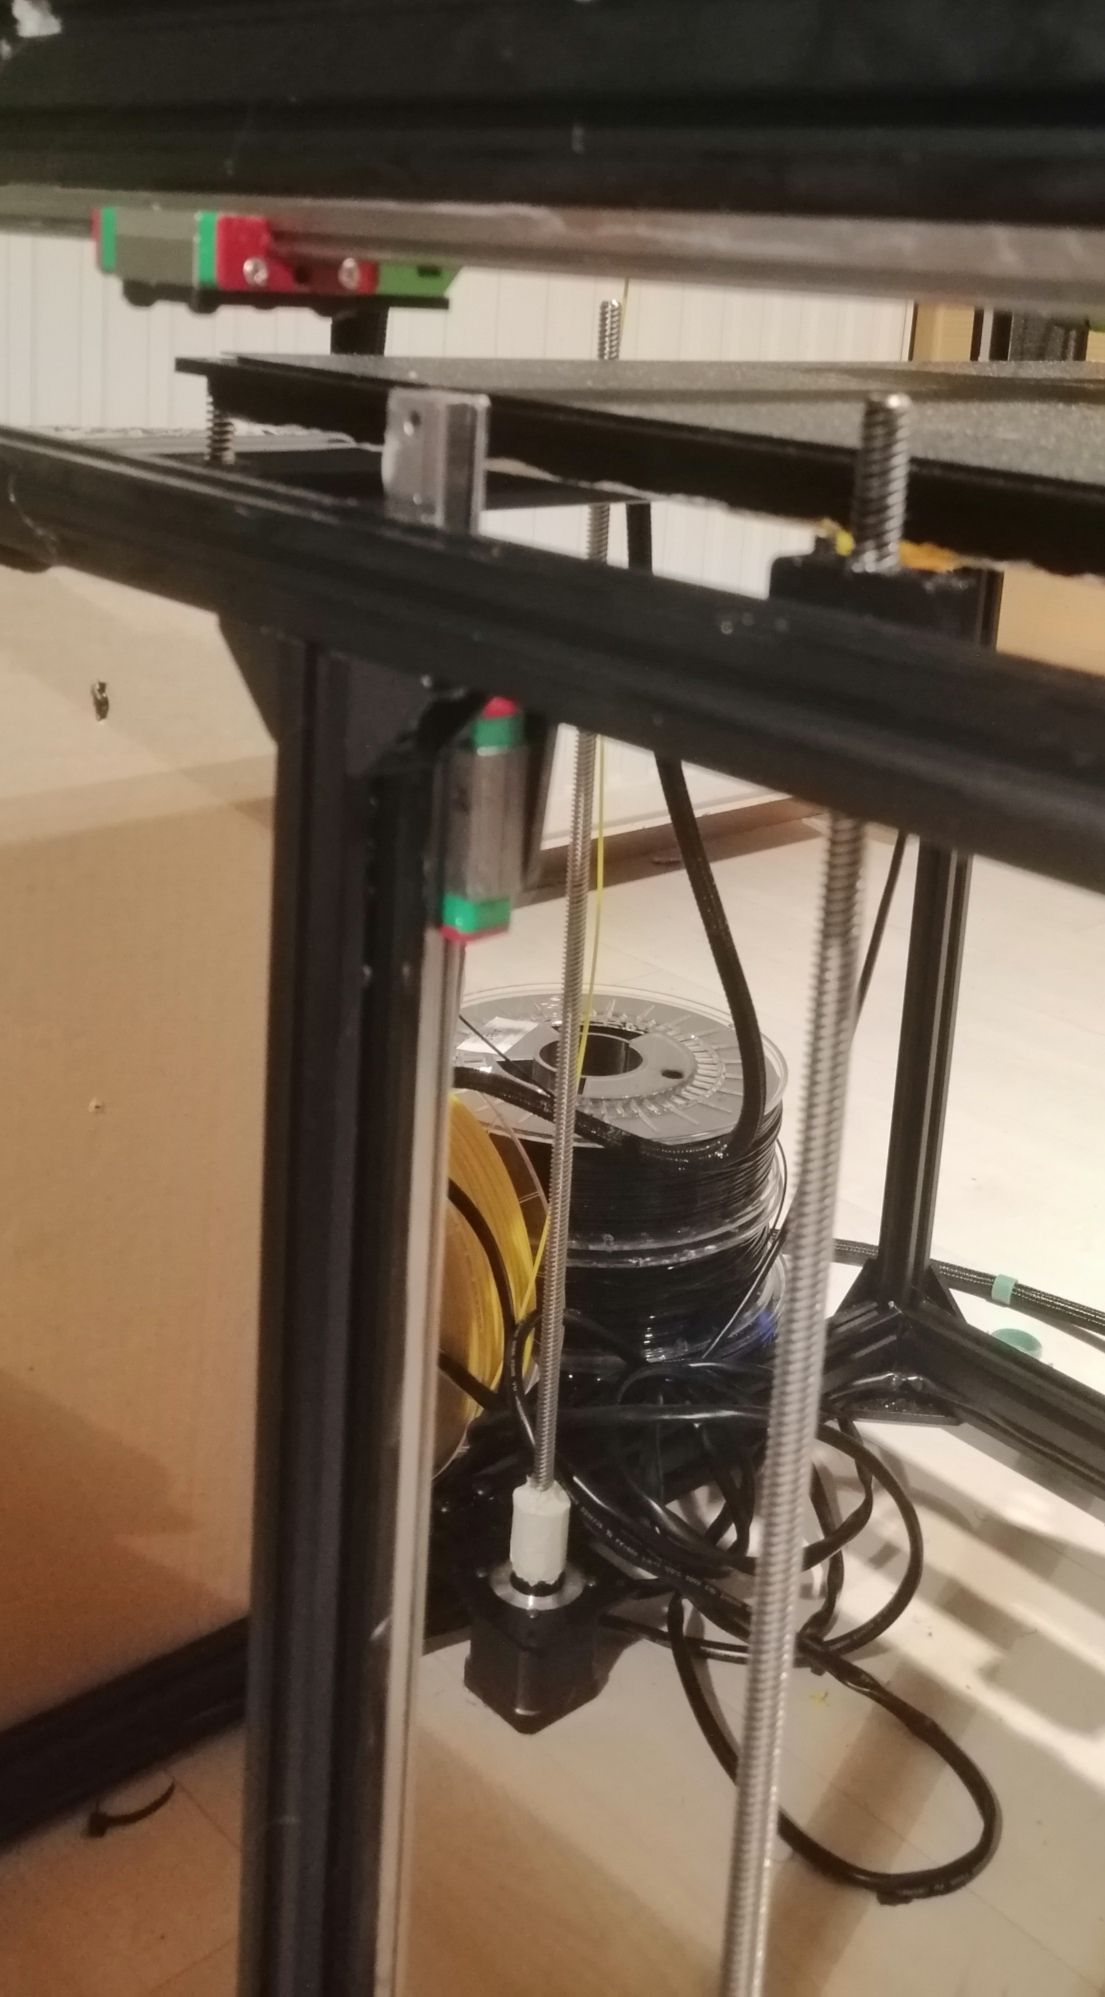
I have 2 Linear Rails on z ( left + right in the middle ). The Leadscrews are ~ 6 cm in front of them
-
@Frederik said in First Layer and Extrusion Problems:
I have 2 Linear Rails on z ( left + right in the middle ). The Leadscrews are ~ 6 cm in front of them
A very strange (to me anyway) arrangement for linear rails, in that you would expect 3 rails with three lead screws.
But if it works then happy days. Personally I always have x3 rails/lead screws and have the bed frame with a degree of articulation to allow the levelling to operate as it should, once you get it setup the levelling gives you great prints
-
@CaLviNx said in First Layer and Extrusion Problems:
G30 P0 X2 Y-2 Z-99999 ; Probe near the front left lead-screw
G30 P1 X152 Y278 Z-99999 ; Probe near the rear lead screw
G30 P2 X290 Y-2 Z-99999 S3 ; Probe near the front right lead-screw
M671 X425:200:-25 Y240:-25:240 S1 ; leadscrews at front left, rear middle and front right
how are these points near the leadscrews?
-
@CaLviNx That´s how this kit is designed. Eventually, I will change it to a kinematic mount without the 2 Linear Rails like the HevOrt. At the moment I have a battle with my E3d Volcano... it is constantly clogging and I don´t know what
I´m doing wrong... trying to print PLA with ~ 205 ° Nozzle and 60° Bed. -
@Veti i have this settings:
M671 X425:200:-25 Y240:-25:240 S3 - position of Spindles with drives 2.3.4
and this are the spot i´m probing:
G30 P0 X330 Y250 Z-99999 ; Probe near the front left lead-screw
G30 P1 X165 Y0 Z-99999 ; Probe near the rear lead screw
G30 P2 X0 Y250 Z-99999 S3 ; Probe near the front right lead-screw -
is 0,0 not the bottom left of your printbed?
-
@Veti x0,y0 ls in my case the right, rear corner
-
I could only mount the Endstop on the left side of my carriage and the Y Endstop is at the back
-
@Frederik said in First Layer and Extrusion Problems:
x0,y0 ls in my case the right, rear corner
thats going to be very confusing.
certainly because of that you got the offset of your probe wrong. -
@Veti should i change it ?
-
@Veti this is my actual drive mapping and endstop config:
M569 P0.0 S0                                          ; physical drive 0.0 goes backwards
M569 P0.1 S0                                          ; physical drive 0.1 goes backwards
M569 P0.2 S0                                          ; physical drive 0.2 goes backwards
M569 P0.3 S0										  ; physical drive 0.3 goes backwards
M569 P0.4 S0										  ; physical drive 0.4 goes backwards
M569 P0.5 S1                                          ; physical drive 0.5 goes forwards
M584 X0.1 Y0.0 Z0.2:0.3:0.4 E0.5                      ; set drive mapping```
;Endstops M574 X2 S1 P"!io1.in" ; configure active-high endstop for high end on X via pin !io1.in M574 Y1 S1 P"!io0.in" ; configure active-high endstop for low end on Y via pin !io0.in M574 Z2 S2 ; configure Z-probe endstop for low end on Z -
can you set 0,0 in your slicer to be top right? i just checked in prusaslicer and 0,0 is bottom left
-
@Veti i have to look. i used cura 4.8.0 at the moment. I didn´t want to spend money on simplyfy 3d bevor the new version 5 is released. Hopefully soon

-
@Veti yes, its possible. you can set high or low endstop positions in advanced printer setttings
-
@Frederik
my recommendation is to not do it. why do you think that is better? -
what could be the cause of this message :
G28 Z
Error: Z probe already triggered at start of probing move
Error: Homing failedi got this message on every 4th or 5th try to home z.
its a genuine bltouch
-
that sounds like a wiring probem
-
@Veti i tought, perhaps its the standard and would be better for compatibility or troubleshoooting reasons...