nozzle wipe
-
@deckingman said in nozzle wipe:
Things that don't work are simply fixing it at both ends.
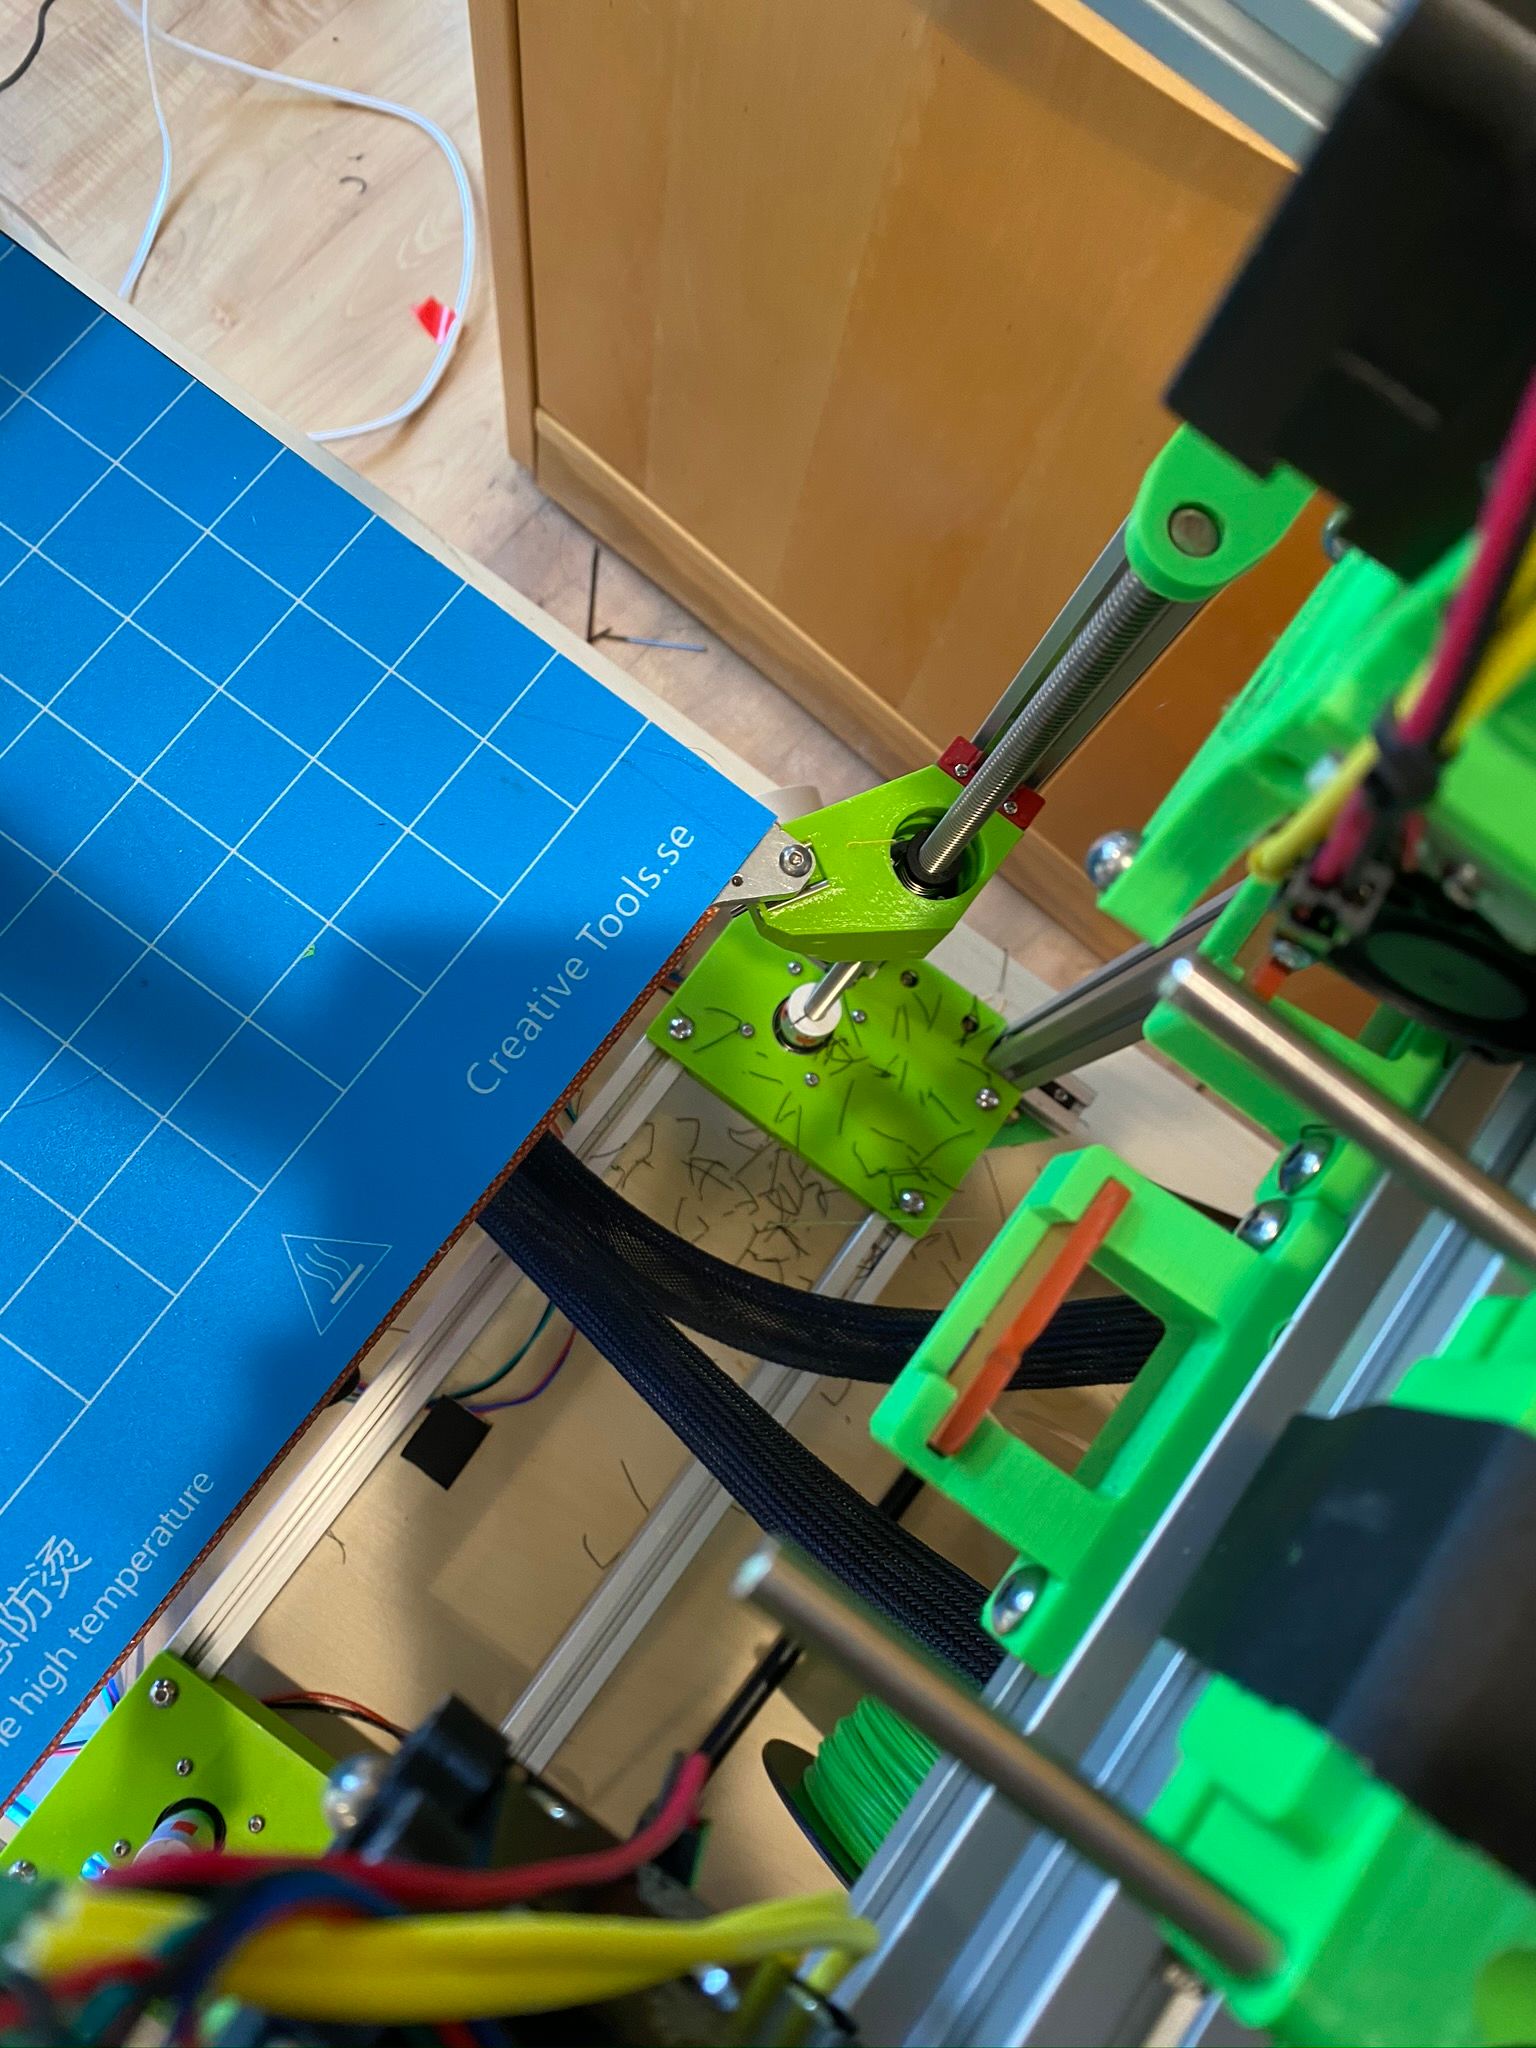
Assumed so, that's why I designed that wiper to hold the silicone strip from both sides throughout the full length. Unfortunately do not have the silicone strip so could not test it out

The milled channel you use, do you think without milling the channel and just using 2 L shape alu profiles 5x5mm screwed in the bed and silicone strip between them would work?
using the original strip
Where did you get the strip from if I may ask?
-
@arhi Anything that can clamp the silicone along one edge should work. You might be able glue it to a piece of something rigid. Not sure what would work - silicone adhesive maybe?
I honestly can't remember where I bought it from but it would likely be off eBay. I had to buy a 3 or 5 metre length but it wasn't expensive. -
@deckingman cool, when this whole thing finish I'll try to get one strip
 that looks perfect
-
def. has potential but not ideal .. this .6 nozzle is rather leeky need to add some retraction to wipe procedure
-
@arhi That video is private so I can't view it. For info, and in case you haven't seen it, you can see mine here from about 1min 40 secs https://www.youtube.com/watch?v=IG3AGKDzdH4
-
@deckingman thanks, I clicked on public and did not click on done but save and ... well happens
 should be public now
Yes, I have seen that video, and that's what inspired me to do this wiper in the first place as cleaning nozzle manually before homing is not very efficient due to the position of the printer and since I installed .6 nozzle there if I don't clean it before homing it will have nasty Z offset

I normally have some type of nozzle cleaner on every printer but I can't say I'm satisfied with any of them :(. This type is not possible on them as, usually, head can't move outside of the printbed area so anything mounted outside of the bed won't work. Here I have few cm so I used them
 ... now just to make it work.
IMO this will work for now but as soon as I can I'll add a second 2020 along side Y axis to hold on to the proper silicone strip.
As for the glue, dunno, I think I'll go with mechanical option, silicone, ptfe, pp, hdpe are materials I never had luck gluing.
-
@arhi Ref the YouTube videos - I discovered just the other day that you can also use "unlisted rather than "public". That way, they don't show up in your channel or any searches, but anyone with the link can view. Ref the "mechanical" option - if you had wide enough silicone, you could perhaps screw it to something flat, rather than sandwich it between two plates - might need some big washers. Just a thought........
-
If you have a U channel, why not use a couple of push pins in previously drilled holes near the top of the U channel as a mechanical fix to prevent the strip from being pushed out?
-
@jens55 said in nozzle wipe:
If you have a U channel, why not use a couple of push pins in previously drilled holes near the top of the U channel as a mechanical fix to prevent the strip from being pushed out?
That should work. Although in my case, I milled a slot the right size so that the silicone stays put without the need

-
I modified a bit height of the wiper and the script and I'm super happy with the results

code that works
wipe.gif !move.axes[0].homed || !move.axes[1].homed echo "X and Y axes not homed, aborting the wipe" M99 if sensors.analog[1].lastReading < 200 echo "Extruder too cold, no point wiping, aborting the wipe" M99 ; Drop all motor currents down M400 M913 X30 Y30 Z25 ; relative extruder (if I understand how push/pop work in RRF ; this should be returned to what it was on exit from this macro) M83 ; Wipe G0 X-110 Y40 F9000 G0 X-135 Y40 F9000 G0 X-135 Y100 F9000 G0 X-90 Y80 F600 G0 X-110 Y40 F9000 G0 X-135 Y40 F9000 G0 X-135 Y100 F9000 E5 G0 X-123 Y100 F9000 E-0.2 G0 X-123 Y70 F9000 E-0.2 G0 X-123 Y100 F9000 E-0.2 G0 X-123 Y70 F9000 E-0.2 G0 X-123 Y100 F9000 E-0.2 G0 X-123 Y70 F9000 E-0.2 G0 X-123 Y100 F9000 E-0.2 G0 X-123 Y70 F9000 E-0.2 G0 X-123 Y100 F9000 E-0.2 G0 X-123 Y70 F9000 E-0.2 G0 X-90 Y100 F9000 G0 X-130 Y100 F9000 E-0.1 G0 X-130 Y70 F9000 E-0.1 G0 X-130 Y100 F9000 E-0.1 G0 X-130 Y70 F9000 E-0.1 G0 X-130 Y100 F9000 E-0.1 G0 X-130 Y70 F9000 E-0.1 G0 X-130 Y100 F9000 E-0.1 G0 X-130 Y70 F9000 E-0.1 G0 X-130 Y100 F9000 E-0.1 G0 X-130 Y70 F9000 E-0.1 G0 X-110 Y40 F9000 G0 X-135 Y40 F9000 ; Return all motor currents to 100% M400 M913 X100 Y100 Z100@deckingman yeah I know about unlisted but on this YT account I just send stuff and leave them there, nothing to hide, but nothing "consistent". But I used imovie for that prev video to join 2 videos
-
@arhi Neat - I really must find time to stat looking at conditional gcode.
-
This works reasonably well. Orange silicone strip is aircraft baffling material. Just tried it because I have a ton of it. It is stiff enough that when dropped into a three sided slot, it wipes plenty well. Tool mounting always makes three passes over this; no intelligence, just does it every time.
0:/sys/tpost0.g
; Runs after firmware thinks Tool0 is selected
; Note: tool offsets are applied at this point!
; Note that commands prefixed with G53 will NOT apply the tool offset.

G53 G0 X1        F5000				; Square move to avoid diagonals.
G53 G0      Y350 F5000  ; Rapid to the approach position without any current tool.  This lets the human know the next command is waiting on this new tool.
M116 H1                 ; Wait for set temperatures to be reached

M302 P0                  ; Prevent Cold Extrudes, just in case temp setpoints are at 0


G53 G1 Y373 F2500        ; Move to the pickup position with tool0.
M98 P"/macros/tool_lock.g" ; Lock the tool
G53 G1 Y355 F2500        ; Retract the entire tool and wipe Backwards.
G53 G1 Y370 F5000        ; Wipe Forwards.
G53 G1 Y355 F5000        ; Wipe Backwards.
G53 G1 Y370 F5000        ; Wipe Forwards.
G53 G1 Y275 F5000       ; Wipe Backwards and get clear of tool row, in case next move is large X move.

G1 R2 Z0        ; Restore prior position now accounting for new tool offset
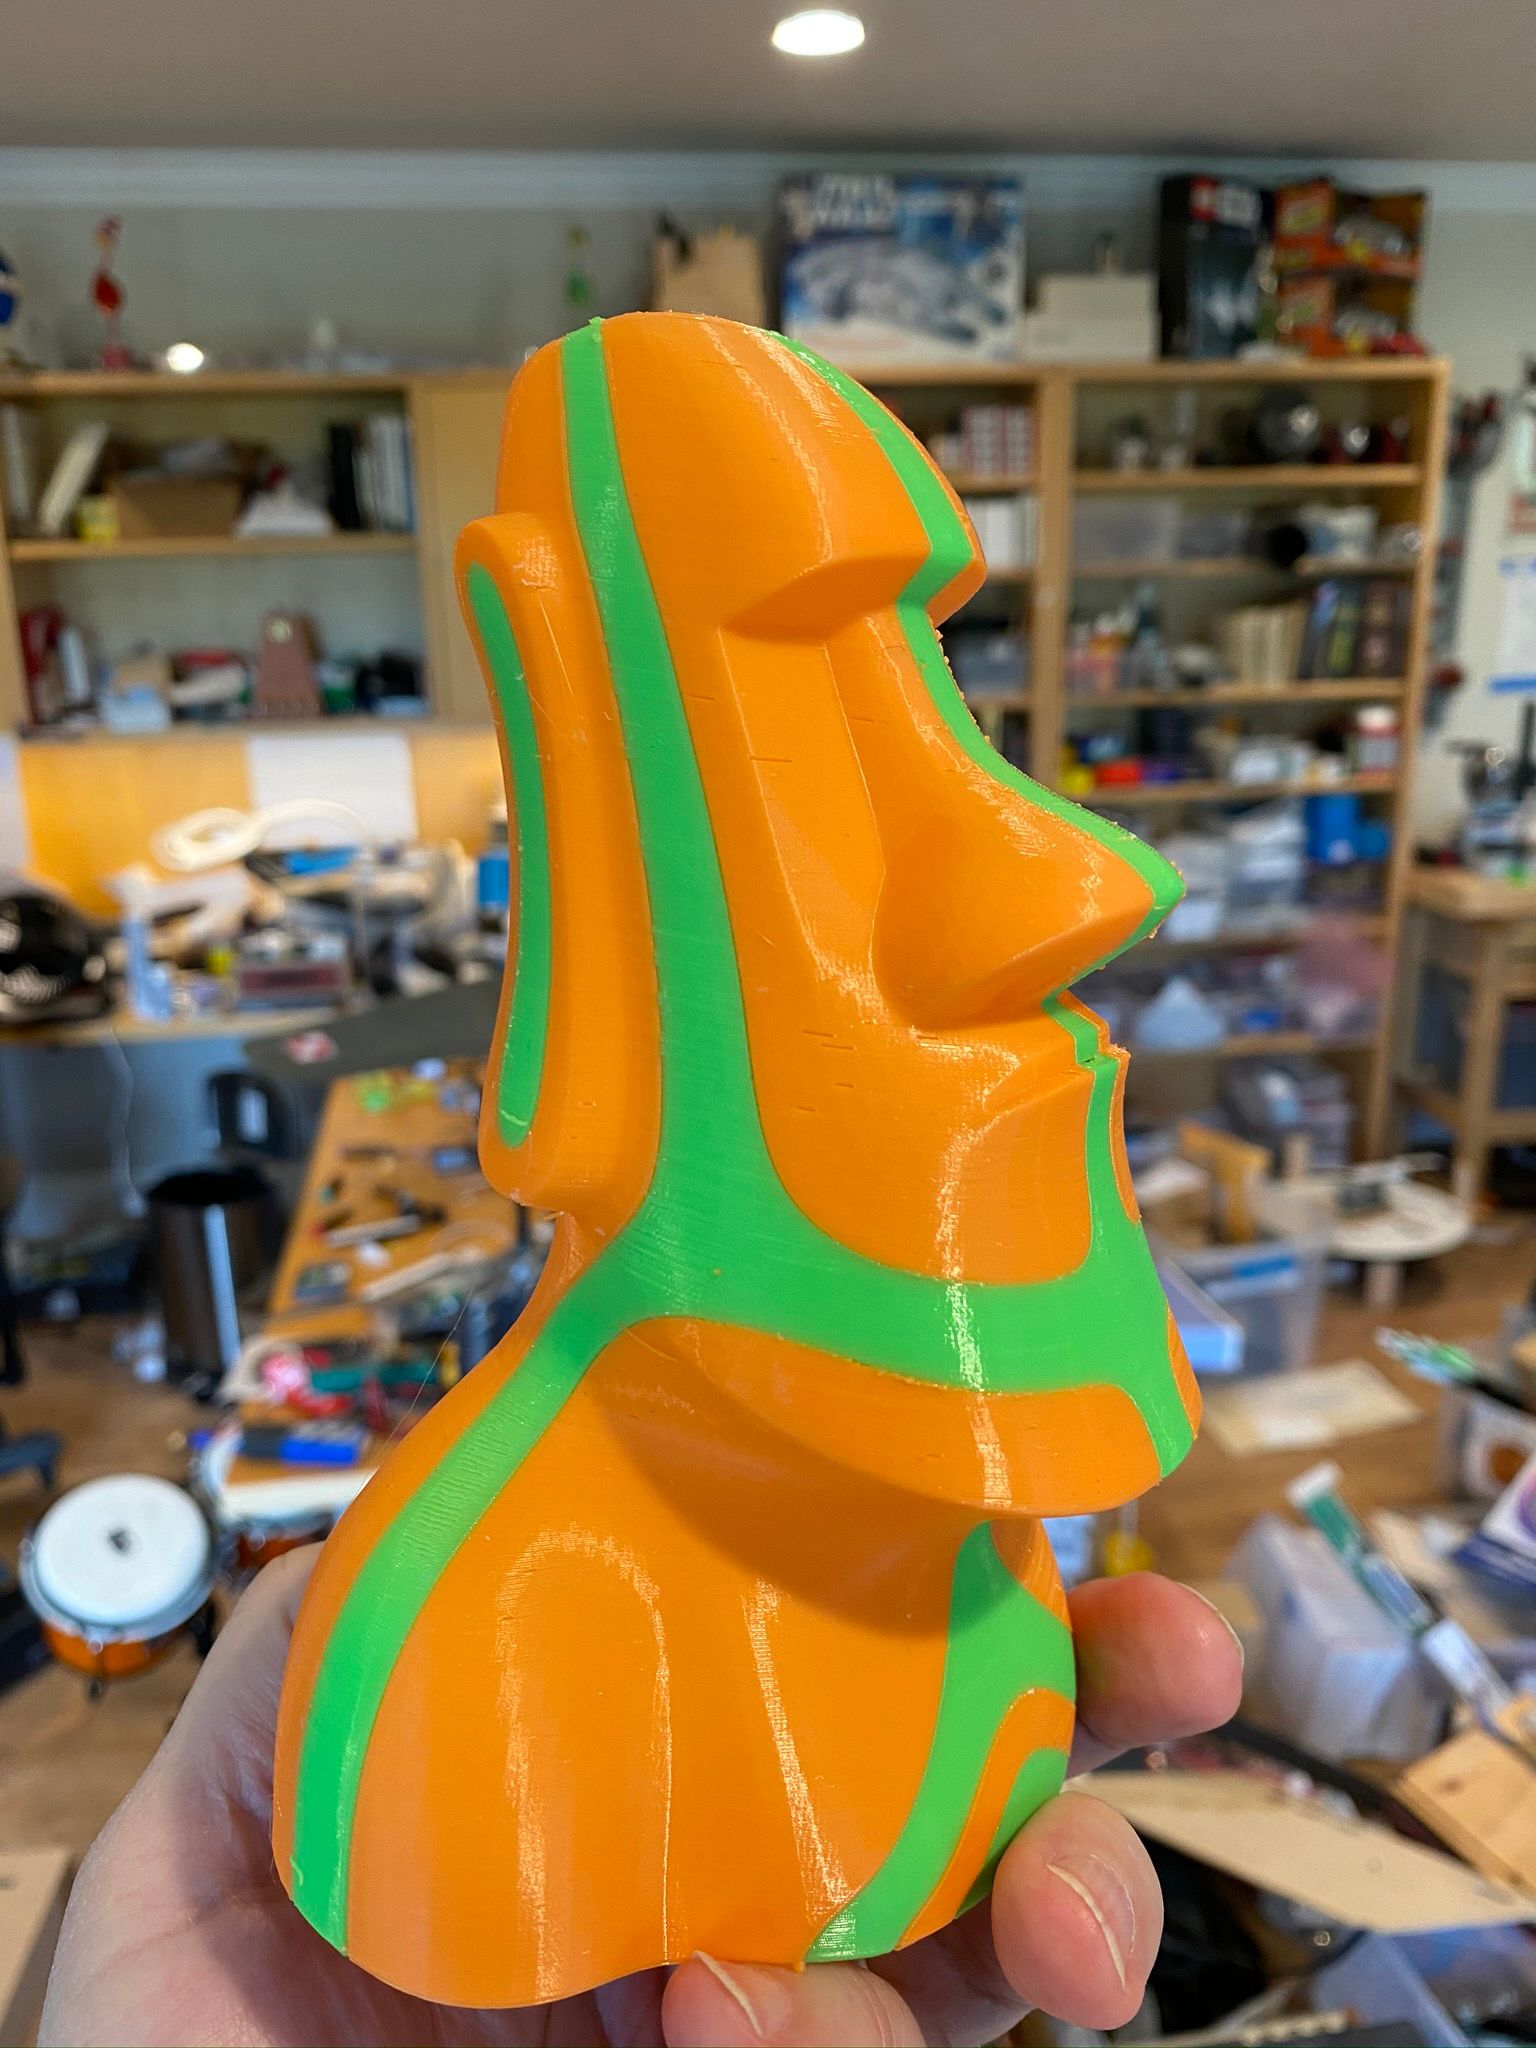
Sample resulting print, no cleanup at all, straight off the bed. NOT perfect (for one thing it needs more shells on the 'top' curved areas), but pretty good in terms of clean transitions. With a little bit of post process, it became really nice.

-
I have been using soft brass bristle brushes with an auto wipe system for a long time, the nozzle travels between two rows of the brush bristles.
Nozzles are holding up well, so much so I have never even noticed them needing to be changed .
I didn't make too much of it, it just works.
Maybe too much thought on a simple problem is being applied.
-
@CaLviNx said in nozzle wipe:
Maybe too much thought on a simple problem is being applied.
Nah, this group would NEVER do that!!! 27 steppers and five switches to align something that snaps into place anyway? GREAT!
-
If we liked things simple we would just buy a printer and ... imagine that .... print stuff.
There is no fun in that
-
@jens55 said in nozzle wipe:
If we liked things simple we would just buy a printer and ... imagine that .... print stuff.
There is no fun in that
If you say so.
-
@Danal said in nozzle wipe:
This works reasonably well. Orange silicone strip is aircraft baffling material. Just tried it because I have a ton of it
The results look very good. Any idea where one can source that or a similar material?
-
@zapta said in nozzle wipe:
@Danal said in nozzle wipe:
This works reasonably well. Orange silicone strip is aircraft baffling material. Just tried it because I have a ton of it
The results look very good. Any idea where one can source that or a similar material?
You can buy a foot of it for $2.50. I'm not sure what their minimums are... shipping... etc. My orders are always big.
https://www.aircraftspruce.com/catalog/appages/siliconecowlseals.php?clickkey=4767
-
@Danal, thanks, will give it a try. My goal is to wipe PETG every few layers. Need to figure out where to install it since my nozzle doesn't go beyond the bed.
-
I use a silicone cooking brush - something along the lines of these:
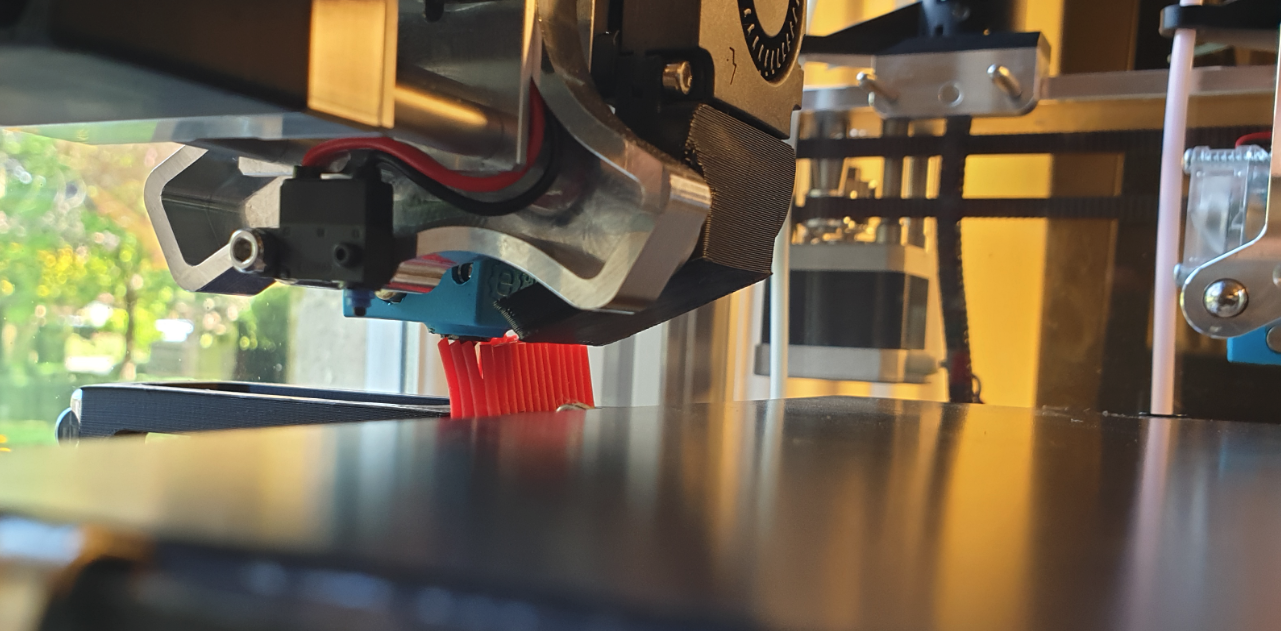
The only bit I'm interested is the brush, so the rest is cut off, and the tines are cut down to about 15mm, so they become reasonably stiff. The nice thing about passing the nozzle through the brush seems to be that a) the filament gets caught in the brush, and b) the brush cleans the underside of the hot end and nozzle if mounted at the right height. The hot end isn't in contact with it long enough to impart any significant heat, but even so, the silicone can handle pretty high temps.
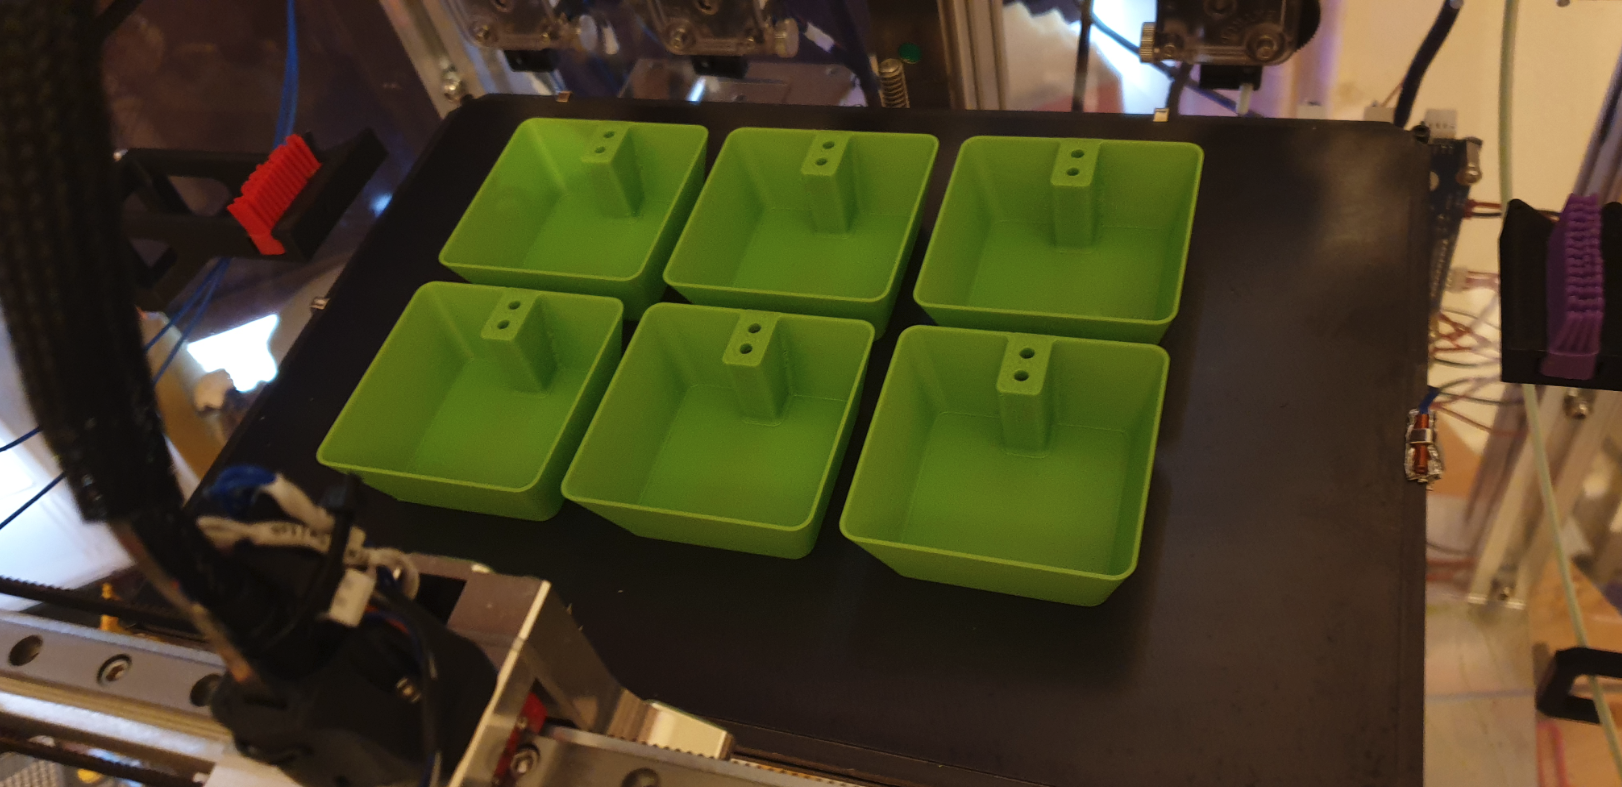
Here's how it ends up looking, with one mounted either side of the bed:

I prime 30mm reasonably fast just infront of the brush to create a thickish string, pass back and forth through the brush along slightly different lines to avoid re-collection of the string, then move immediately to begin printing.
Here's a closer view of the wipe:
